Calendar 365
The Calendar 365 activity enables you to automatically perform some of the operations related to Microsoft Calendar 365 services such as create event, modify event, cancel event and so on.
Default calendar, Group calendar or calendars specific to the logged in user can be used to perform the supported operations.
Using Calendar 365 Activity
- Make sure the prerequisites for using Office 365 activities are met.
- Create a new process.
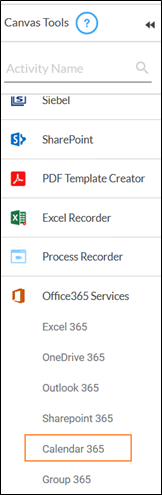
- In the Canvas Tools pane, click Office 365 Services to expand the tool and view the associated activities.
- Drag the Calendar 365 activity inside the Application activity block of Office 365 type.
The validation error symbol disappears once you enter the mandatory fields in the required format.
-
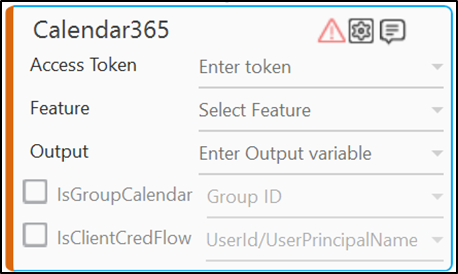
From the Access Token dropdown list, select the argument holding the access token retrieved using the OAuth activity.
NOTE:
The access token can be retrieved either from the Oauth activity present in the same or in another process workflow. For more information, see OAuth Activity. - Select the IsGroupCalendar checkbox, if you want to perform automation using a Group calendar.
NOTE:
Group calendars do not support the Client Credential Oauth flow type. Hence, if the IsGroupCalendar checkbox is selected, the IsClientCredFlow checkbox is disabled. - Select the IsClientCredFlow checkbox, if the access token is obtained using the ClientCredential OAuth flow type. The Client Credential OAuth flow type uses identity of the application itself (instead of any user) to obtain the access token. The application permissions are granted directly to the application by an administrator.
- From the IsClientCredFlow dropdown list, select the argument holding the administrator’s details who can grant the application permissions. You can provide either the user Id or the User Permission Name (UPN).
NOTE:
UPN is the email Id used to login to the Azure portal while user Id is the corresponding unique identifier mapped with the UPN. For example, robinwaltson@testoncloud.onmicrosoft.com. - In the Output list, select the argument to store the result. The argument should be of Out Direction.
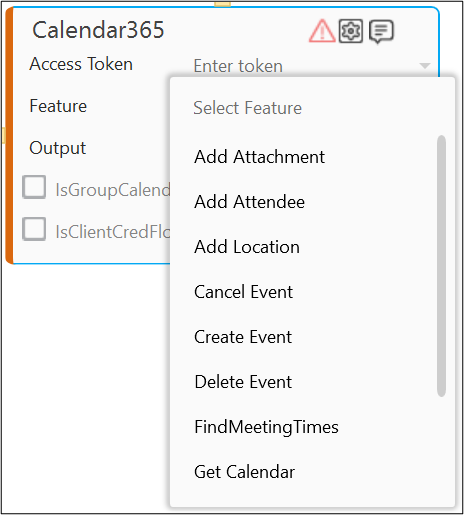
- The instructions related to the specific features differs depending upon the selected feature.
Click the appropriate link to know the details.- Add Attachment
- Add Attendee
- Add Location
- Cancel Event
- Create Event
- Delete Event
- FindMeetingTimings
- Get Calendar
- Modify Event
- RSVP
- Search Events
NOTE:
You must have the Calendar.Read and Calendar.ReadWrite permissions configured in the OAuth activity to automate the Calaendar 365 features. For more information, see OAuth Activity. However, the required scope for client credential must always be https://graph.microsoft.com/.default. You can pass this value as .default as well.
- Configure the above steps specific to the required feature and save the process.
- Click Test Run if you want to test run the process to verify the desired output.
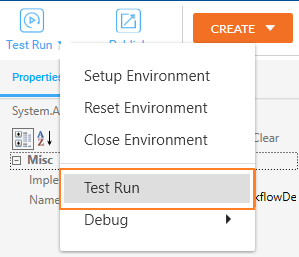
Post execution, the relevant output gets generated.
For more information regarding test run, setting up environment, debugging a process, refer Process Management section.