Sign In Process
A sign in process (also known as a log in process) is used to access an application upon authentication. In a typical scenario, a username and password is required to sign in to an application.
You can use a Sign In Process to automate the repetitive task of signing in to an application.
Prerequisite
Configure the application in Automation Studio that you want to automate for sign in.
To create a signin process
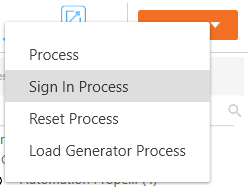
- In the Tool bar, click Create and then click Sign In Process. The Flowchart designer opens.
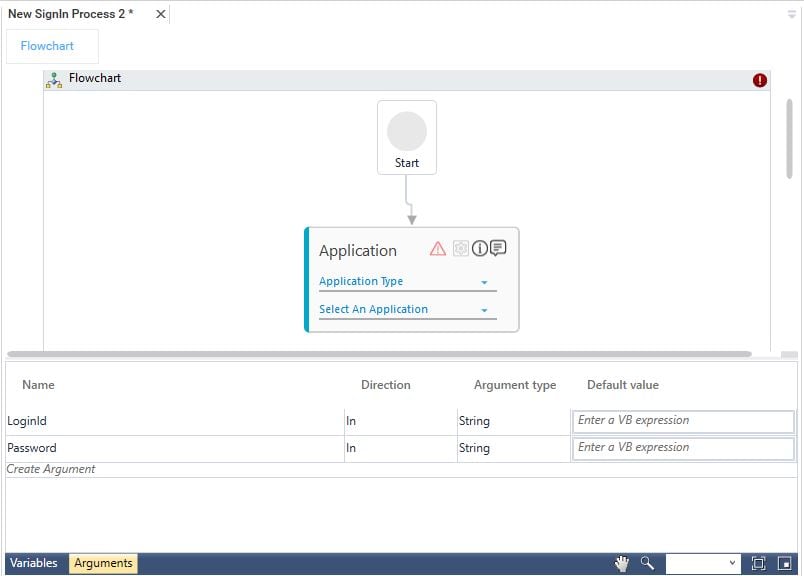
- In the Studio menu, from the Canvas Tools pane, drag Application activity and drop on to the Flowchart designer, below the Start element. The LoginId and Password attribute gets automatically created for a Sign In Process.
- In the Application Type list, select the type of application you want to reset.
- In the Select an Application list, select the configured application. Alternatively, you can add a new application at this level.
|
NOTE: |
An Application activity must be added and the relevant application is selected; else, the system displays a validation error and the process does not get saved. |
- Click the
 (Settings) icon to open the Multimodal interface. The application opens and the respective Multimodal interface appears.
 - Configure the fields required for signing in to the application in the same way you capture any other automation action.
-
Click Save to save the Sign In Process.
The SignIn Process is created with the name same as the selected application.
If the required application is selected as mentioned in step 4, any validation errors are ignored while saving the process, however the Sign In Process cannot be published until the errors are fixed. You can view the saved process in Homepage. To know how to use a SignIn Process, see Using SignIn Process section.
|
NOTE: |
If you want to enable-disable the auto-save option or change its duration see the section Auto-Save Process Workflow. |
Example of Creating a SignIn Process
Take an example of configuring a web application that requires signing in, this establishes a connection between Automation Studio and the application . Here we are configuring the LinkedIn account. In an organization, multiple HRs might required access to LinkedIn using admin credentials. Instead of logging into the profile of admin user individually, an automation process can be created to automate this task.
Prerequisite
- In the Admin menu, add an application of Application Type- WebApps.
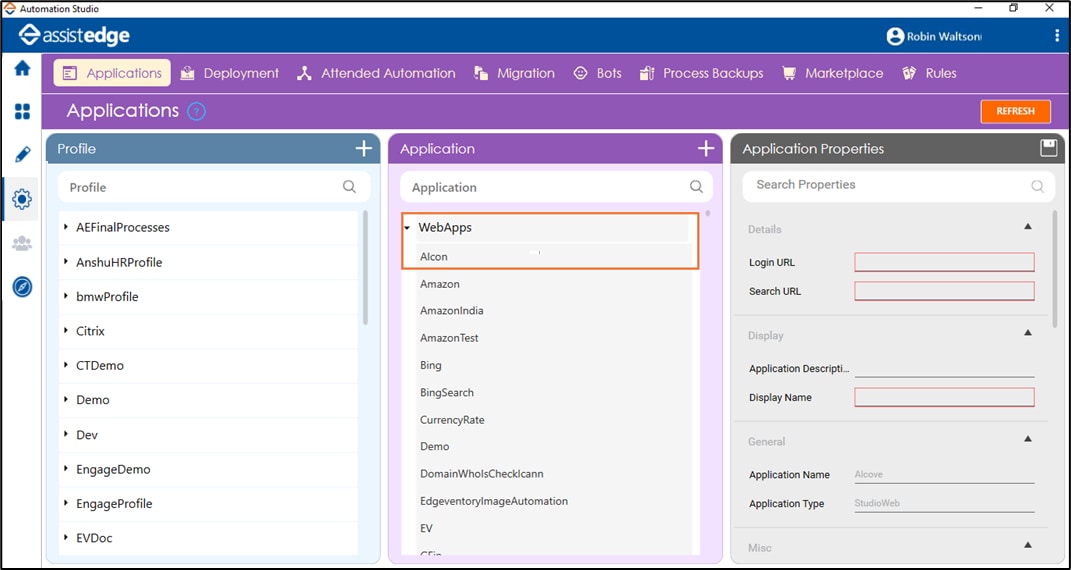
- In the Search Properties panel:
- In the Login URL field, enter the login URL of the LinkedIn page.
- In the Search URL field, enter the same URL the appears post sign in to the LinkedIn page.
- In the Display Name, enter a desired name of the LinkedIn application being configured.
- Click the
 (Save Properties) icon to save the application.
The LinkedIn application is configured.
To create a sign in process:
- In the Tool bar, click Create and then click Sign In Process. The Flowchart designer opens.
- In the Studio menu, from the Canvas Tools pane, drag Application activity and drop on to the Flowchart designer, below the Start element. The LoginId and Password attribute gets automatically created for a Sign In Process.
- In the Application Type list, select WebApps.
- In the Select an Application list, select LinkedIn. Alternatively, you can add a new application at this level.
- Click the (Settings) icon to open the Multimodal interface.
The LinkedIn Login, Sign in page and the WEB MODE of the Multimodal interfaces opens.

- Click the Play button of the WEB MODE to capture the user id field of the login page.
- Hover over the Email or Phone text box. Click the field when it gets highlighted with red box.

The Field Properties panel of the Web Mode appears.
- In the Action list, select Set Attribute.
- In the Input Source list, select LoginId. By default, the LoginId attribute gets created for a SignIn process.
- In the Display Name field, enter a desired name of the user Id field captured.
- Click the (Save) icon, to save the details of the user id field captured. It starts appearing in the Saved pane of the Field Properties panel at the bottom.
- Click the Play button to capture the password field of the login page.
- Hover over the Password text box. Click the field when it gets highlighted with red box.
The Field Properties panel of the Web Mode appears. - In the Action list, select Set Attribute.
- In the Input Source list, select Password. By default, the Password attribute gets created for a SignIn process.
- In the Display Name field, enter a user defined name of the password field captured.
- Click the (Save) icon, to save the details of the password field captured. It starts appearing in the Saved pane of the Field Properties panel in the bottom.
- Click the Play button to capture click on the Sign in button to login to the sign in page.
- Hover mouse over the Sign in button and then click once it gets highlighted with red box.
The Field Properties panel of the Web Mode appears. - In the Action list, select Click.
- In the Display Name field, enter a user defined name of the Sign in button available on the web page.
- Click the (Save) icon, to save the details of user id field captured. It starts appearing in the Saved pane of the Field Properties panel.
- Repeat step 19-step 20 and capture all the details to form an end-to end process.
- Click the
 (Save configured fields and return to Studio) icon to save the field details and return to the Studio menu.
 - Click Save to save the process.
The Sign In Process is created and saved with the name of the application. You can view the saved process in Home menu. To know how to use a SignIn Process, see Using SignIn Process section.
|
NOTE: |
You cannot perform test run for a Sign In Process in Automation Studio. |
What's Next
Once the process is created, you can setup the environment to set the user ID and password. See Setup Environment to know how to setup the environment for process execution in Automation Studio.