Apply Patch to Automation Studio
To apply a patch to the Automation Studio:
1. Launch
Automation Studio. The Patch Notification window is displayed.
The message appears as New Patches
are available. Would you like to download.
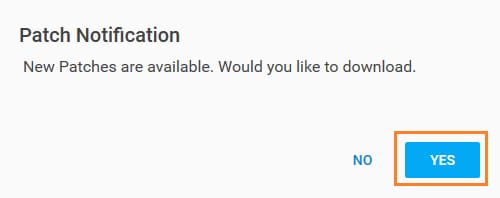
2. Click Yes to download the new patches. Again, the Patch Notification window is displayed. The message appears as Would you like to Update Automation Studio?
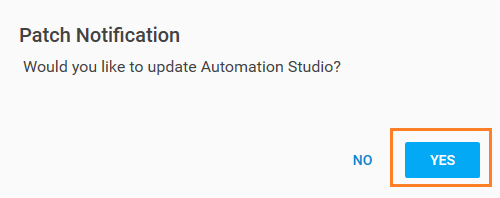
3. Then, do one of the following:
· Click YES to apply the uploaded patches.
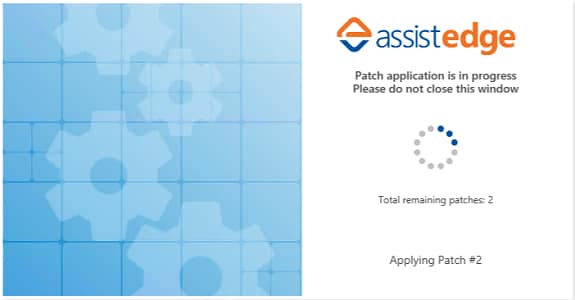
The component is stopped and the Patch Application window is displayed as shown in the above image. It also displays the total number of patches to be applied.
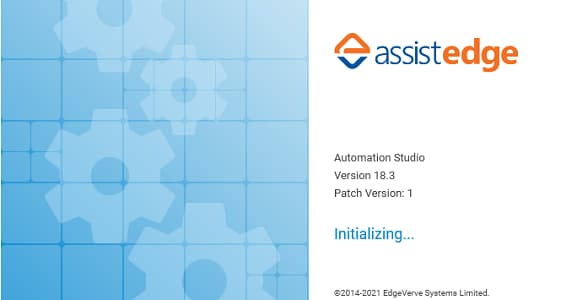
Once all the patches are applied, a window with details of the application and the version of the patch applied is displayed as shown in the above image.
· Click NO to apply the uploaded patches at a later time. Following are the instructions to apply the patches.
In the menu bar, click  (Vertical
Ellipse) and then, click Check for Update.
(Vertical
Ellipse) and then, click Check for Update.
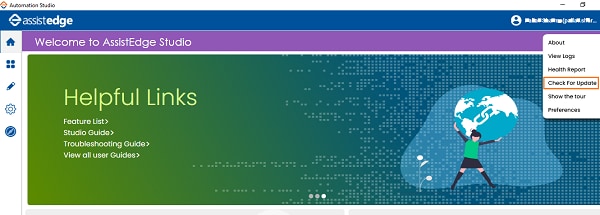
If there is any patch available, the Patch Notification message is displayed.
Click YES to apply the uploaded patches. Once all the patches are applied, a window with details of the application and the version of the patch applied is displayed.
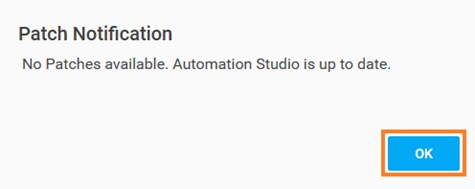
If no patch is available, below message is displayed:
To verify the version of the Automation Studio:
1. In
the menu bar, click  and then,
click About.
and then,
click About.
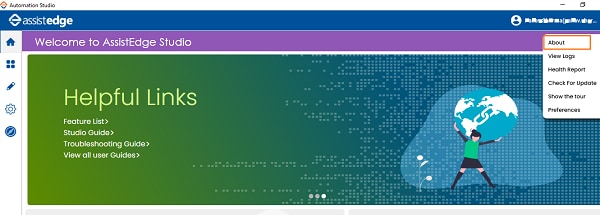

The current patch version is displayed.
2. Click OK to close the window. The patches are successfully applied.
NOTE: |
Patches once applied on Automation Studio cannot be rolled back from the user interface. If you want to roll back the patch applied, you need to manually restore the component files from PatchesBackup folder. |
Related Topics