Microbot
It allows you to create an automation process workflow using microbots that are already available in Automation Studio. A microbot is a piece of code built to do specific tasks that can not be performed using predefined activities of automation Studio.
Prerequisite
Using Microbot Activity
1. In the Canvas Tools pane, click Process Components to expand the tool and view the associated activities.
2. Drag the Microbot activity and drop on to the Flowchart designer on the Canvas.
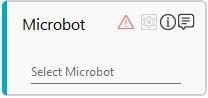
3. Click Select Microbot field. The Select Microbot dialog box appears.
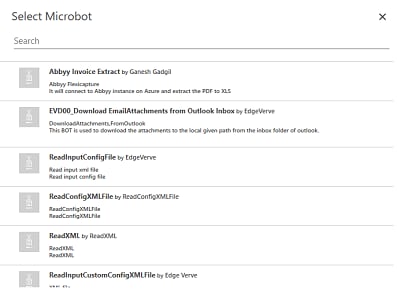
4. Select the required microbot from the available list. The display name of the Microbot activity changes to the name of the microbot selected.
5. Click
the  (Settings)
icon, to set the input and output parameters. The input parameter
is used to map the values with the corresponding input parameter
defined in the DLL file while the output parameter is used to
store the result of the operation performed by the microbot, as
per the code designed.
(Settings)
icon, to set the input and output parameters. The input parameter
is used to map the values with the corresponding input parameter
defined in the DLL file while the output parameter is used to
store the result of the operation performed by the microbot, as
per the code designed.
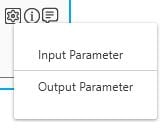
· Click Input Parameter. The Microbot Mappings dialog box appears. It displays the list of input parameters defined in the DLL file.
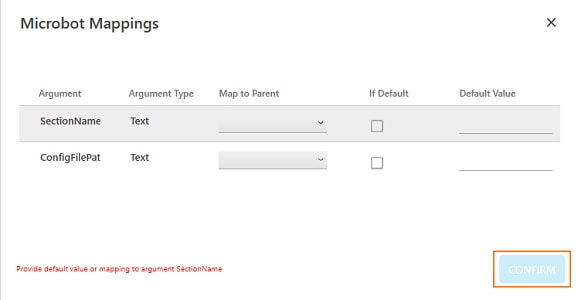
The Argument and the Argument Type columns display the input parameter and the type of the parameter respectively. The value of these parameters can either be defined now or in the microbot itself.
a. In the Map to Parent drop down list, select the parameter you want to map. You must define the parameter in the Parameter bar with input values for mapping. Alternatively, in the Default Value field, provide the input value and check If Default checkbox to set the value as default input value.
b. Repeat step a for each input parameter.
c. Click CONFIRM. The input parameters are set
· Click
the (Settings)
icon, and then click Output Parameter.
The Microbot Mappings
dialog box appears. It displays the list of output parameters
defined in the DLL file.
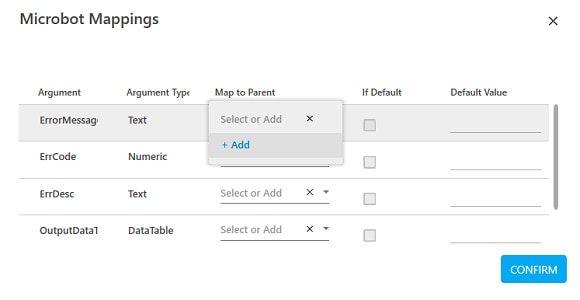
The Argument column displays the output parameters and the Argument Type column displays the type of the each parameters defined in the microbot.
a. In the Map to Parent drop down list, select the parameter you want to map with the corresponding output parameter defined in the microbot. To use this option, the parameter must be pre-defined in the Parameter bar with the input values for mapping. Alternatively, in the Default Value field, provide the input value and check If Default checkbox to set the value as default input value. You can also add a parameter at this point of time. Follow the mentioned to steps to add the parameter:
i. Click Select or Add and then click Add. The Add new Argument dialog box appears.
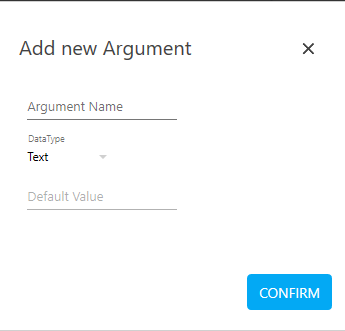
ii. In the Argument Name field, enter a desired name.
iii. In the DataType list select the type of parameter you want to create. Available options are - Text, Numeric, Decimal, Boolean and DateTime. As this parameter stores the output value, providing default value is not enabled.
iv. Click DELETE if you do not want to save the provided details or skip to step v.
v. Click CONFIRM to save the mapping.
b. Repeat step a for each input parameter.
c. Click CONFIRM. The output parameters are set
The Microbot activity is created.
Microbot Activity Properties
The properties of a Microbot activity are listed in the following table and can be edited in the Properties grid on the right panel.
Property Name |
Usage |
Control Execution |
|
Ignore Error |
When this option is set to Yes, the application ignores any error while executing the activity. If set to NA, it bypasses the exception (if any) to let the automation flow continue; however, it marks the automation status as failure, in case of an exception. By default, this option is set to No. |
Delay |
|
Wait After |
Specify the time delay that must occur after the activity is executed. The value must be in milliseconds. |
Wait Before |
Specify the time delay that must occur before the activity is executed. The value must be in milliseconds. |
Misc |
|
Breakpoint |
Select this option to mark this activity as the pause point while debugging the process. At this point, the process freezes during execution allowing you to examine if the process is functioning as expected. In large or complex processes, breakpoints help in identifying the error, if any. |
Commented |
Select this option to mark this activity as inactive in the entire process. When an activity is commented, it is ignored during the process execution. |
DisplayName |
The display name of the activity in the flowchart designer. By default, the name is set as Microbot. You can change the name as required. |
Related Topics