Import and Configure Discover Processes
You can use this feature to access the imported processes from Discover and configure them as per your requirement. There are two steps mainly required to perform Auto-Automation in Discover Tab, which includes:
Access the imported task map in studio
Before starting with Auto Automation, ensure that you have the following details:
- API URL updated in the Discover Connection Settings menu available under the Configuration menu of the Admin module to log in to AssistEdge Discover Login page
- Valid login credentials of Discover
- Once the variant is exported from AssistEdge Discover, the processes visible to you in studio depends on the workgroup you are mapped to in the Discover application.
To access the imported task map in studio:
- Open the Automation Studio.
- Click the
 (Discover) icon.
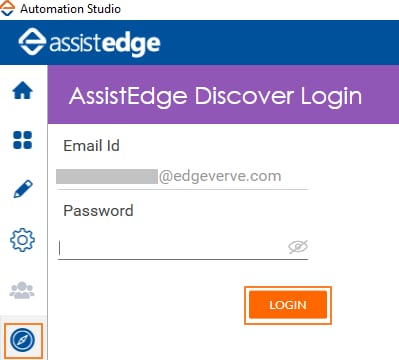
- In the API Path field, enter the AssistEdge Discover API path. You can get the API path from Discover product admin
- The Email Id field is auto-populated based on the user's details in AssistEdge RPA.
- In the Password field, enter the AssistEdge Discover password.
- Click Login.
The Import from AssistEdge Discover page is displayed.
|
NOTE: |
In case the application is in-active state for more than 15 minutes, the session is logged out and you must log in again. |
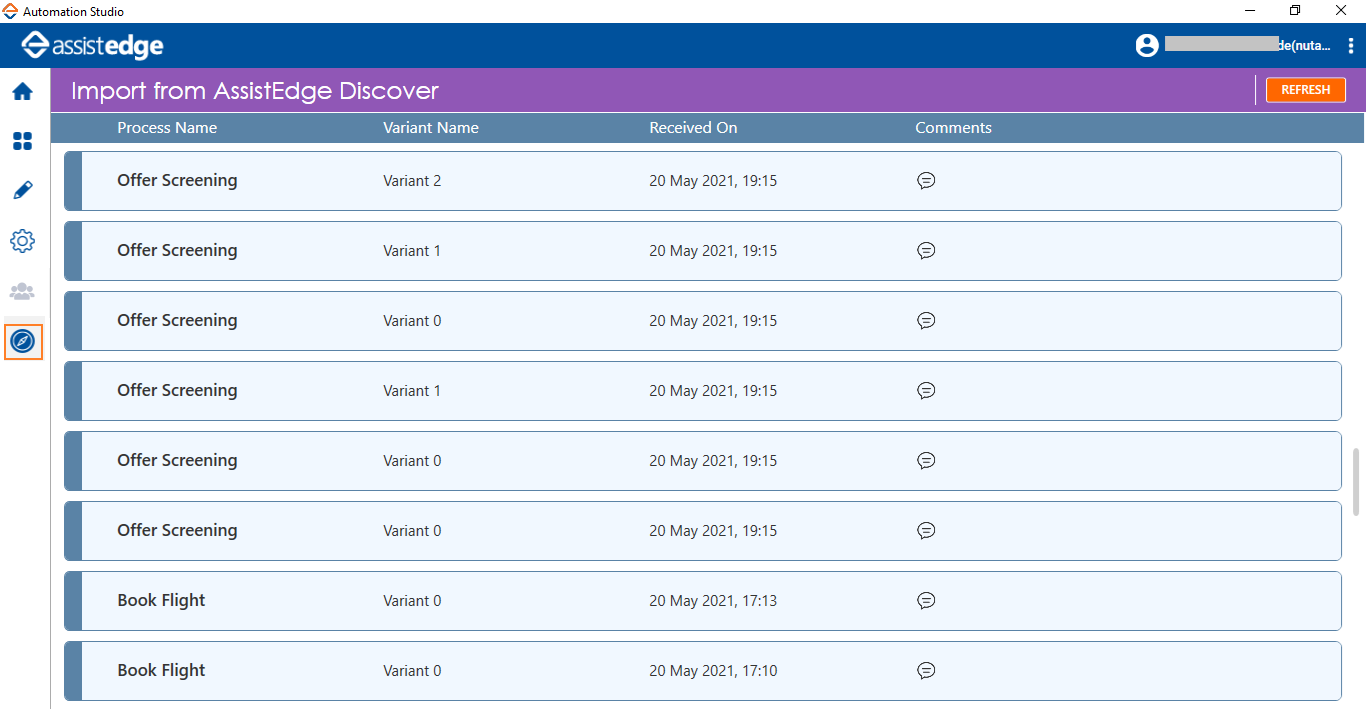
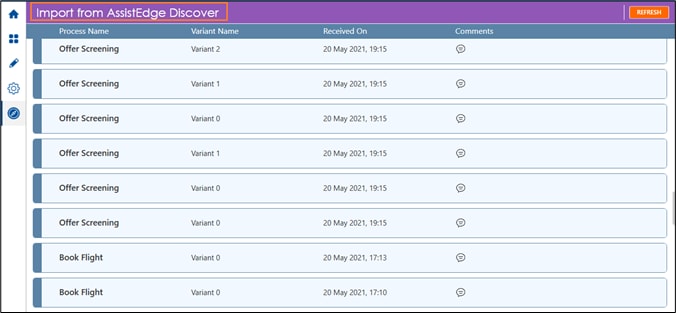
All the variants exported from AssistEdge Discover are added to the Discover tab, along with the timestamp. In the Import from AssistEdge Discover page, double-click the process which you want to import to studio.
|
NOTE: |
In case you want to add comments for other users for a process, click the |
 (Comments) icon corresponding to the process name, enter the comments, and click Save. For example, if you are importing a variant for editing in the studio, you can enter a comment as testing started.
A message appears as Please wait, process is getting exported.
Following is the field description in the Import from AssistEdge Discover page:
|
Name |
Description |
|
Process Name |
Indicates the imported process from the AssistEdge Discover |
|
Variant Name |
Indicates the name of variant which is imported from the AssistEdge Discover |
|
Received on |
Indicates the date and time at which the variant was imported from the AssistEdge Discover. |
|
Comments |
Indicates the comment added against particular variant, if any. |
- Selected process opens in the Automation Studio.
Configure, Edit, Save or Deploy the process
Before starting with editing the process, ensure that you have configured the application or activity as per the process requirements. For more information about parameter configuration, see Configuration required in Automation Studio.
To configure the process in studio:
- In the Auto Automation tab, double-click the process.
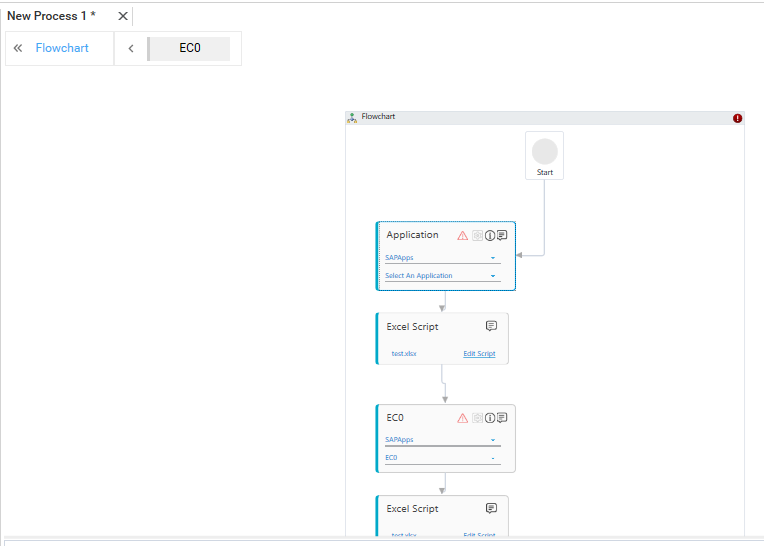
- The selected process opens in the Flowchart designer area of studio. The parameters for the process are auto-populated.
- If you have used any Windows or SAP application which is not configured in studio before importing the process, a Writeline activity block appears notifying as User action required in <<app>>. For such a process, you can create the required application in the studio using PDD, and then import the process again. Once the application is created, the process is directly mapped to the newly created application. For more information about parameter configuration, see Configuration required in Automation Studio.
- Verify and debug the steps involved in the process and make the required changes. For more information on configuring processes using the canvas tool, see Configure Automation Processes.
|
NOTE: |
If you come across any issue within any process, see RPA Troubleshooting for the resolution. |
- Once you save the process, it starts appearing in the My Processes tab.
- Perform a test run to view the output. Publish and deploy the selected process to assign it to the robot in the control tower. For more information about executing the process, see the Robot View section in the AE-RPA-Control Tower.