Hierarchy Configuration
A hierarchy is an organizational structure which determines following:
- How an organization operates and
- How decisions are made and distributed throughout the organization.
The defined structure helps the delegate tasks and ensures that these tasks is completed by authorized personnel.
Hierarchy Configuration
Hierarchy Configuration is the first step involved to create Hierarchy in the system. This page is used to create entities defining a user’s work area. A table with all the entities available in the system is displayed.
- Each entity has a level associated with it.
- When a new entity is added using the Add Entity button, its level is one level more than the last entity.
- There are action links to Edit and Delete an entity.
Accessing Hierarchy Configuration
When you log into the Admin module for the first time, you will not find any hierarchy level set. Using Hierarchy configuration, you can configure the hierarchy in the system.
To access the hierarchy configuration:
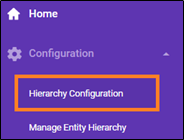
Go to Configuration > Hierarchy Configuration.
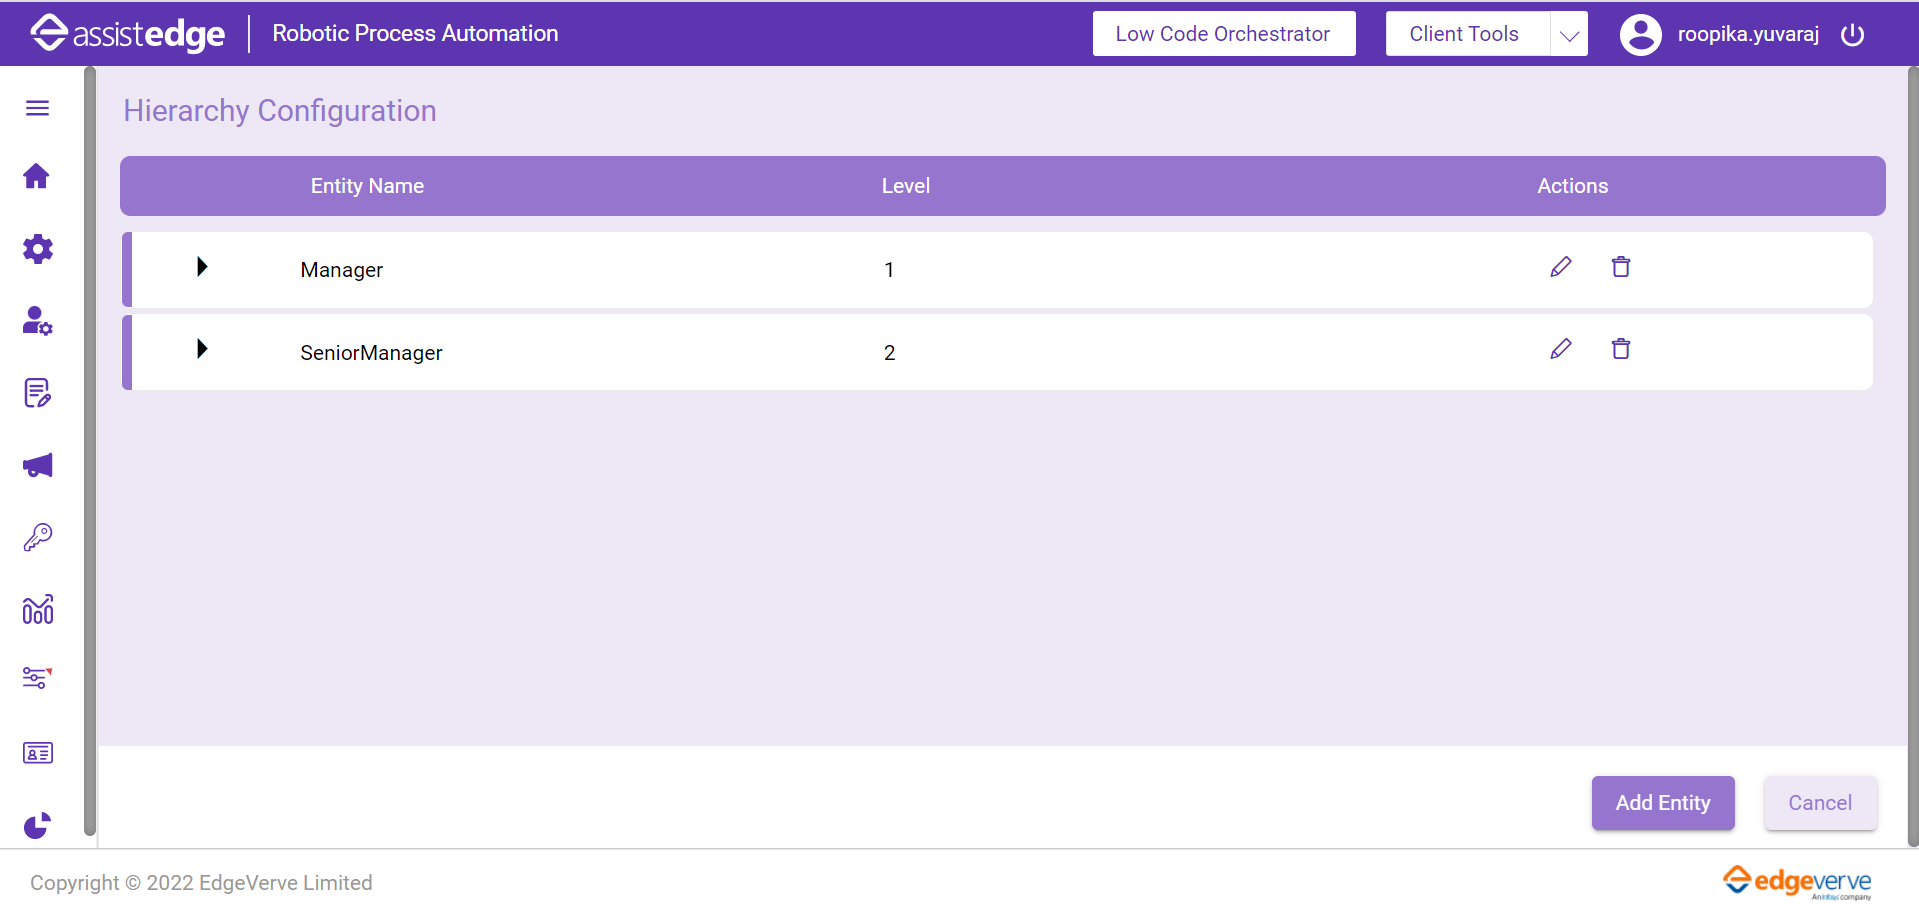
The following information is available on the Hierarchy Configuration page.
- Name of the entity
- Level of the entity
- Add and Delete entities
Adding Entity
To add an entity:
- On the Hierarchy Configuration page, click Add Entity.
- In the Entity Name field, enter the desired entity name.
- Click Add Properties to add new entity. A new row in the bottom of the Property table is added.
- Specify all the appropriate values of the property.
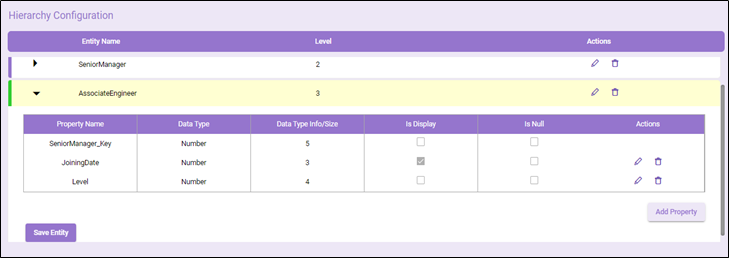
- Click the
 (Update) icon to confirm the changes.
 - Click Save Entity.
A success message as Entity updated successfully is displayed.
Following table shows the column specifications in the property.
| Property Name | Description |
| Property Name | Enter the name of the property of a specific entity. While creating an entity name, Special Characters, Space, and Numbers are not allowed. |
| Data Type | Select the type of data from the drop-down list. The available options are: Number: Add values up to 8 characters. Maximum value allowed is 8. Varchar2: Enter String/Text. Accepts values from 1 to 200 characters. Maximum value allowed is 200. List_SingleSelect: Select an option out of the list of choices, must have comma separated values. List_MultiSelect: Select multiple options from the list of choices, must have comma separated values. |
| Is Display | Select this option if you want to specify this as the primary key of the Database table. For an entity, only one property can be marked as Is Display. One property with Is Display flag is mandatory. Fields that are marked isDisplay as true are visible in the Hierarchy View. |
| Is Null | Select this option if it is not necessary to specify the details of the property while adding a data value for the entity. Entity data value can be considered as complete value even if the value property is not added. Is Display property cannot be marked as Is Null. |
| Actions |
Select the appropriate actions:
|
Deleting Entity
To delete an entity:
- Click on the Delete action icon to delete an entity. A confirmation box pops up indicating the information about entity dependencies (if any).
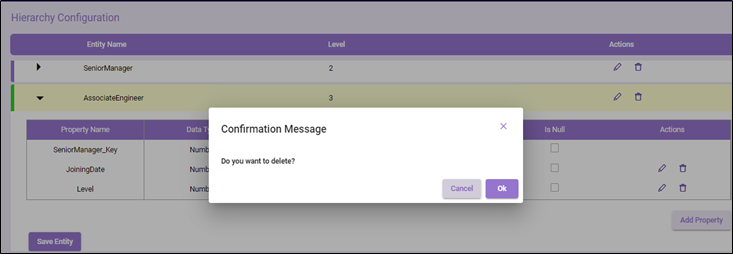
- Click Ok to delete the entity along with all its dependencies.
- Click Cancel on the confirmation popup window, to cancel the delete operation. On successfully performing a Hierarchy configuration, you can start the managing entity hierarchy.
What's Next?