Reset Process
The Reset Process helps you to change the current state of the application involved in your process to the configured state.
Prerequisite
Configure the application in Automation Studio that you want to automate for reset.
To create a reset process:
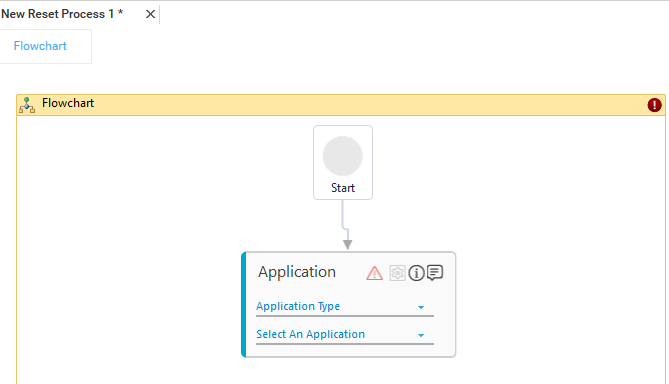
- In the Tool bar, click Create and then click Reset Process. The Flowchart designer opens.

- In the Studio menu, from the Canvas Tools pane, drag Application activity and drop on to the Flowchart designer, below the Start element.
- In the Application Type list, select the type of application you want to reset.
- In the Select an Application list, select the configured application. Alternatively, you can add a new application at this level.
|
NOTE: |
An Application activity must be added and the relevant application is selected; else, the system displays a validation error and the process does not get saved. |
- Click the
 (Settings) icon to open the Multimodal interface. The application opens and the respective Multimodal interface appears.
 - Configure the reset state of the application in the same way you capture any other automation action.
- Click Save to save the Reset Process.
The Reset Process is created with the name of the application.
If the required application is selected as mentioned in step 4, any validation errors are ignored while saving the process, however the Reset Process cannot be published until the errors are fixed. You can view the saved process in Homepage. To know how to use a Reset Process, see Using Reset Process section.
|
NOTE: |
If you want to enable-disable the auto-save option or change its duration see the section Auto-Save Process Workflow. |