Profile
Profile allows you to store similar processes under one category for ease of identification and access.
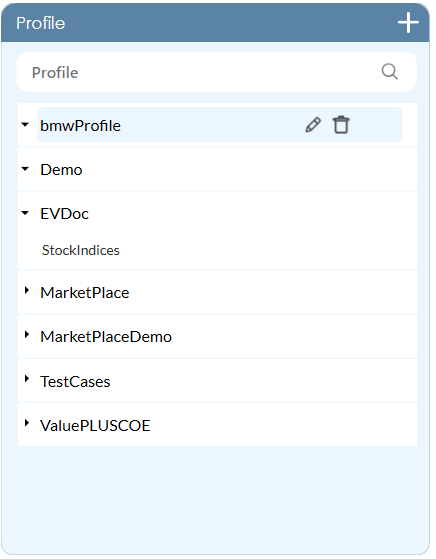
Once a profile is added, you can expand the profile to view the list of associated applications under respective profiles. Additionally, you can rename and delete the added profile in this pane itself.
Rename and Delete a Profile
Select the profile you want to rename or delete. Use the ![]() (Rename Profile) icon to rename and
(Rename Profile) icon to rename and ![]() (Delete Profile) icon to delete the added profile.
(Delete Profile) icon to delete the added profile.
|
NOTE: |
Profiles that are assigned to any of the process can not be renamed or deleted. |
Types of profiles that can be added are:
- Automation Processes
- Load Generator Processes
|
NOTE: |
It is advised to create profiles in the Admin Module as profiles created in Automation Studio remain in the Orphan state in the Admin Module. It must be mapped with the User in Admin Module for other users to use the profile. |
Add Profile
You must add a profile which is assigned to a process in Automation Studio to publish the process. When a process is published, the applications start appearing in the Profile section. See Publish Process to know how to publish a process.
|
NOTE: |
Drag and drop an application from the Application section to the Profile section to add the application without publishing any process. |
- In the Admin menu, click the
 (Add Profile) icon to create a profile. The Create Profile dialog box appears.
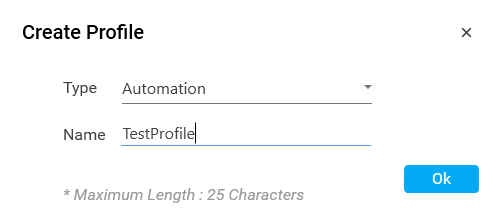
- In the Type list, select the type of profile you want to create. Available options are Automation and Load Generator.
- In the Name field, enter a desired name of the profile.
- Click OK.
The profile is created and is available under the Profile section.