Complex Iterators - Advanced Loop
It helps you to automate the task of looping over files such as Excel , CSV/Text and data table. It is a powerful automation tool that enables you to loop through numerous records saved in the file in just a few steps. Looping of a source file is typically required to execute a condition or a statement upto a desired number of times. This helps in executing actions like fetching data and updating records.
Prerequisite
Microsoft Access Database Engine (V 2010 and above) must be installed on the system. It is a free software and can be downloaded from the Microsoft website.
Using Advanced Loop
1. In the Canvas Tools pane, click Complex Iterators to expand the tool and view the associated activities.
2. Drag the Advanced Loop activity and drop on to the Flowchart designer on the Canvas.
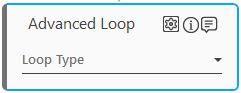
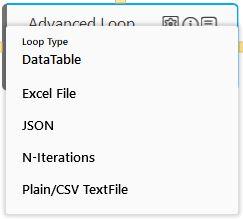
3. In the Loop Type list, select the type of source to loop over. Available options are - DataTable, Excel File, JSON, N-Iterations, and Plain/CSV TextFile.
You can perform the following set ups to successfully configure the looping operation:
Source Configuration
This lets you configure the input and output data as per the selected Loop Type.
Click the  (Settings)
icon to specify configurations related to the source file. The
Source Configuration dialog
box appears. Click any of the links below to know the detailed
steps regarding each source type.
(Settings)
icon to specify configurations related to the source file. The
Source Configuration dialog
box appears. Click any of the links below to know the detailed
steps regarding each source type.
· DataTable - This option is used to read a data table and loop over its data. The Preview pane remains empty for a DataTable loop type whose data is available only at the runtime and not at design time.
· Excel File - This option is used to read an excel file and loop over its data.
· JSON - This option is used to loop over JSON file and iterate over JSON array and object.
· N-Iterations - This option is used to set the loop for a fixed number of times.
· Plain/CSV TextFile - This option is used to read text or CSV file and loop over its data.
DataTable
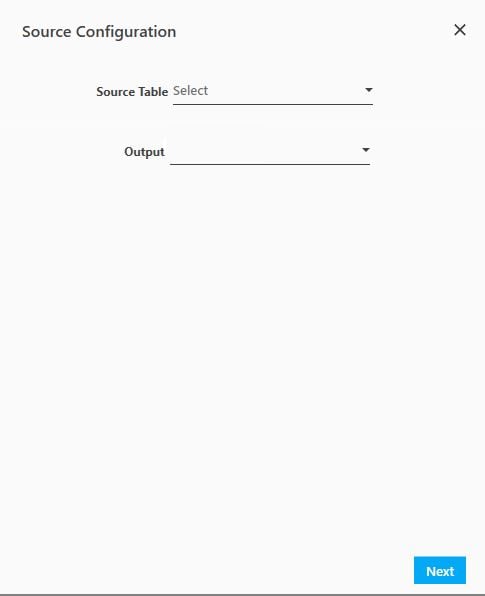
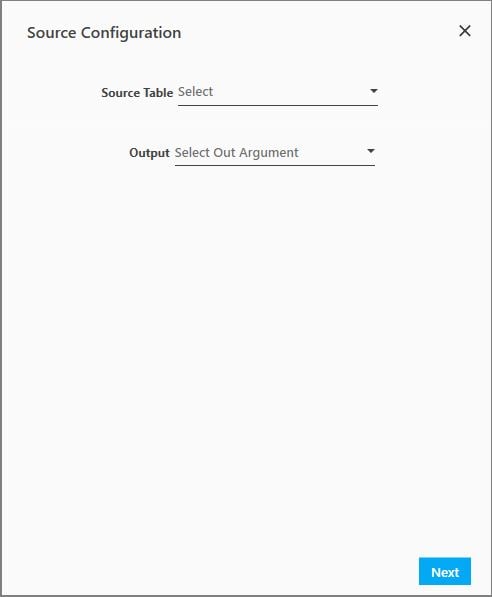
1. In the Source Table list, select the parameter holding the required data table. It can also be an output of another activity or process workflow which provides data table object like Outlook Search E-Mail activity. You must define the parameter in the Parameter bar to use this option.
2. In the Output list, select an Out parameter of type System.Data.DataRowView. It is used to access the data at run time. You must define the parameter in the Parameter bar to use this option.
3. Click Next. The Column Mapping dialog box appears.
Excel File
1. In the Source Filepath list, select the parameter holding the excel file path along with the file name and file extension. For example, D:\Demo\Advancedloop.xlsx . You must define the parameter in the Parameter bar to make it available for the selection.
2. Select the Has Header check box to indicate if the first row of the excel file is the header.
3. In the Output list, select an Out parameter of type System.Data.DataRowView. It is used to access the data at run time. You must define the parameter in the Parameter bar to use this option.
4. Click Next. The Column Mapping dialog box appears.
JSON
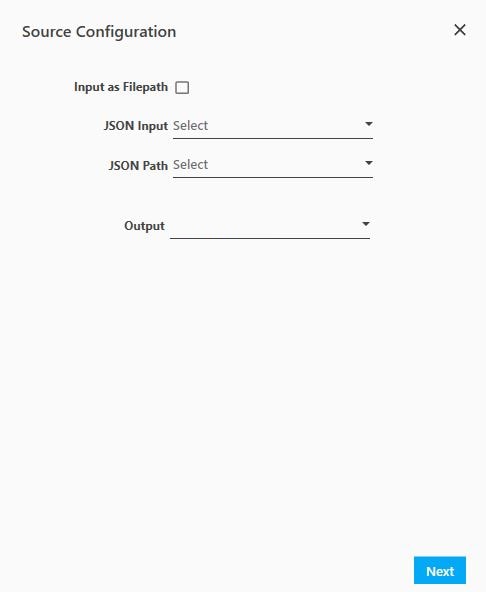
1. Select the Input as Filepath check box, if you want provide a JSON file to loop over.
2. In the JSON Input list, select the parameter holding the file path along with the file name and file extension of the JSON file if the Input as Filepath check box is selected, else, enter the JSON string. Example of JSON filepath is D:\Demo\Advancedloop.json, while a JSON string contains an array of values or an object. You must define the parameter in the Parameter bar to make the file path available for the selection.
3. In the JSON Path list, select the parameter holding the JSONPath (the query language for JSON structure) on which iteration needs to be done. You must define the parameter in the Parameter bar to make it available for the selection.
4. In the Output list, select an Out parameter of type System.Data.DataRowView. It is used to access the data at run time. You must define the parameter in the Parameter bar to use this option.
5. Click Next. The Column Mapping dialog box appears.
N-Iterations
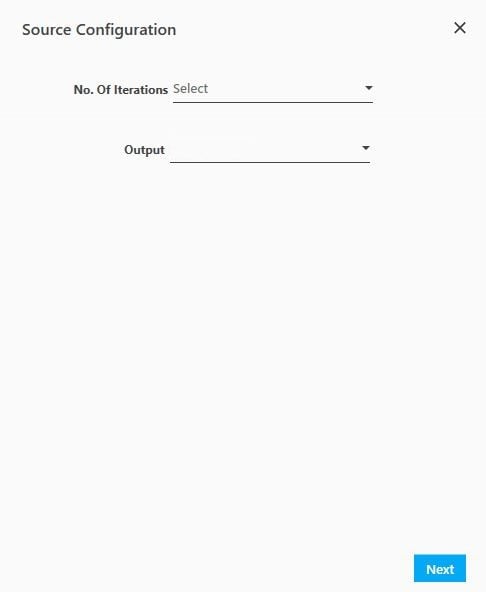
1. In the No. of Iterations list, select the parameter holding the value of the number of times the loop must be execute. You must define the parameter in the Parameter bar to use this option.
2. In the Output list, select an Out parameter of type System.Data.DataRowView. It is used to access the data at run time. You must define the parameter in the Parameter bar to use this option.
3. Click Next. The Column Mapping dialog box appears.
Plain/CSV TextFile
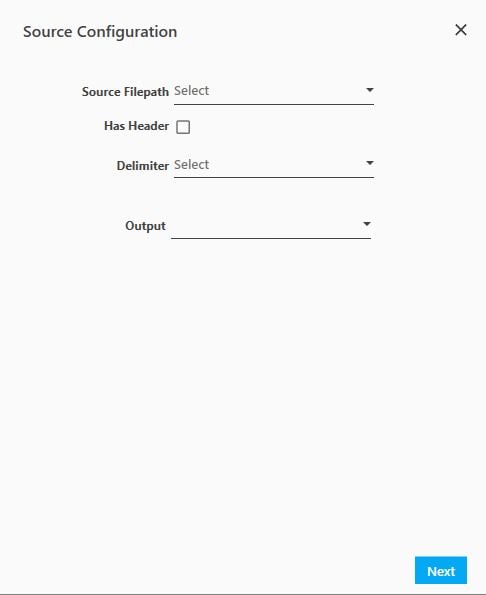
1. In the Source Filepath list, select the parameter holding the CSV file path along with the file name and file extension. For example, D:\Demo\Advancedloop.csv. You must define the parameter in the Parameter bar to make it available for the selection.
2. Select the Has Header check box to indicate if the first row of the CSV file is the header.
3. In the Delimiter list, select the type of field separator used in the CSV file. Available options are - Comma, Tab, Semicolon, Colon, and SingleSpace.
4. In the Output list, select an Out parameter of type System.Data.DataRowView. It is used to access the data at run time. You must define the parameter in the Parameter bar to use this option.
5. Click Next. The Column Mapping dialog box appears.
Column Mapping
This lets you align the data of the source file with its correct data type by loading its schema. In the Column Mapping dialog box perform the following mapping:

1. In
the Select Table list,
select the required table. The table schema appears and the column
data gets mapped with its data type. You can click the  (Reload Schema) icon
to reload or reset the column mapping.
(Reload Schema) icon
to reload or reset the column mapping.
2. Click the ArgumentType column of the respective data to realign the required data type if the fetched data type is not correct.
3. Click Next. The Preview & Filter dialog box appears.
4. Click Previous to return to the Column Mapping dialog box.
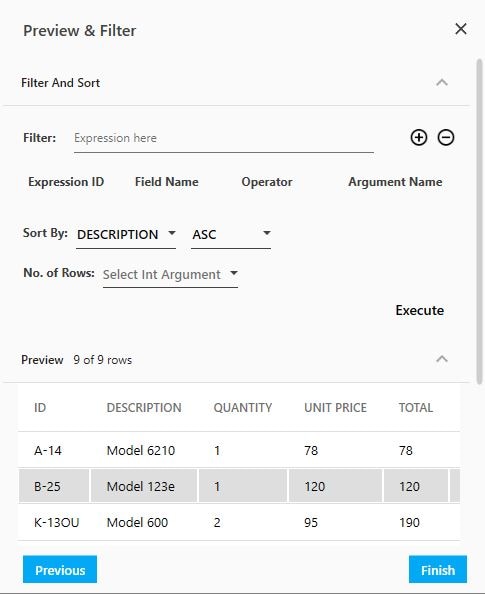
Preview & Filter
It displays the preview of the data of the source file. You can apply filters and define the sorting criteria over the source data for faster processing.
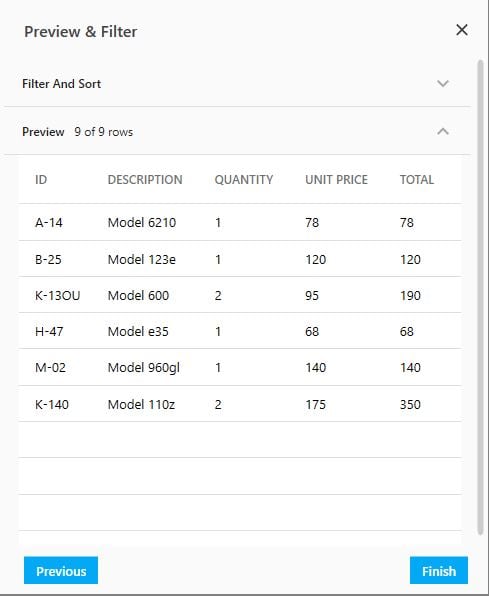
Preview Pane
You can view the total number of rows and the data available in the source file in the Preview pane. This is the data over which filter and sorting can be applied. A maximum of 100 rows can be viewed in the Preview pane.
Select any cell and use the arrow keys to navigate up, down,
left or right n the preview table. Use the  (Collapse) and
  (Expand) icon to hide or view the pane.
Filter & Sort
To filter and sort the data for desired output and for faster processing, you can define filter that is applied to the data before looping it.
1. In
the Filter and Sort pane,
click the (Expand) icon
to expand the pane.
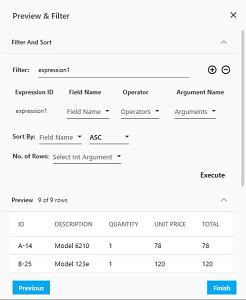
2. Click
the  (Add
Filter Expression) icon to auto generate an Expression ID used to form the
query expression for applying the filter. You can use the OR and
the AND Boolean operators along with parenthesis to form complex
queries. Only OR and AND operators are supported . By default,
the AND operator is added with the expression Id. For the
respective added expression:
(Add
Filter Expression) icon to auto generate an Expression ID used to form the
query expression for applying the filter. You can use the OR and
the AND Boolean operators along with parenthesis to form complex
queries. Only OR and AND operators are supported . By default,
the AND operator is added with the expression Id. For the
respective added expression:
a. In the Field Name column, select the column name that you want to include in the expression Id. If the source data has a header, the header name is displayed; else, F1-Fn field names are available for selection.
b. In the Operator column, select the criteria to match data based on the expression id applied. Available options are - Equal, Not Equal, Like, =, !=, >, >=, < and ,<=. See Expression Forming Tips to know more about forming the expression query.
c. In the Argument Name column, select the parameter holding the value to map with the selected Field Name. The argument type of the ArgumentName parameter and the Field Name parameter must be same. You must define the parameter and its value in the Parameter bar to use this option.
d. Repeat step b through step iii to add more filter expression to form complex queries.
e. In the Sort By list, select the column name to sort the data either in ascending or descending order. Available options are - ASC and DSC.
f. In the No. of Rows list, select the parameter holding the value of the number of rows of Int32 type to limit the number of rows of the source data to be looped over.
g. Click Execute to view the short listed data as per the filter expression set.
h. Click Finish to apply the configured filter and sorting criteria. You are taken back to the Studio menu.
The Advanced Loop activity is created with a default display name.
Expression Forming Tips
Wildcard Characters:
· Use * or % wildcard at the beginning or at the end of the value set in the parameter defined for selection in the ArgumentName option. For example - *value, value* or *value*. You can not use the wildcard in the middle of the value. For example, va*lue is not supported.
Operator:
· For String type FieldName, you can use wildcards with the Like operator. Like operator can be used to include only values that match a pattern with wildcards.
Examples of the wildcard expression used with the value:
· j* - the values starting with j.
· %jo% - the values that contain jo.
· “j*” // values that don’t start with “j”
· If the value for a Like operator contains any of these special characters such as *, %, [, or ], the characters must be placed within parenthesis. For example, [*], [%], [[] or []].
· [*]* - the values starting with *.
· [[]* - the values starting with [.
Advanced Loop Properties
The properties of an Advanced Loop activity are listed in the following table and can be edited in the Property grid on the right panel.
Property Name |
Usage |
Control Execution |
|
Ignore Error |
When this option is set to Yes, the application ignores any error while executing the activity. If set to NA, it bypasses the exception (if any) to let the automation flow continue; however, it marks the automation status as failure, in case of an exception. By default, this option is set to No. |
Delay |
|
Wait After |
Specify the time delay that must occur after the activity is executed. The value must be in milliseconds. |
Wait Before |
Specify the time delay that must occur before the activity is executed. The value must be in milliseconds. |
Misc |
|
Breakpoint |
Select this option to mark this activity as the pause point while debugging the process. At this point, the process freezes during execution allowing you to examine if the process is functioning as expected. In large or complex processes, breakpoints help in identifying the error, if any. |
Commented |
Select this option to mark this activity as inactive in the entire process. When an activity is commented, it is ignored during the process execution. |
DisplayName |
The display name of the activity in the flowchart designer. By default, the name is set as Advanced Loop. You can change the name as required. |
On This Page Hide
Related Topics