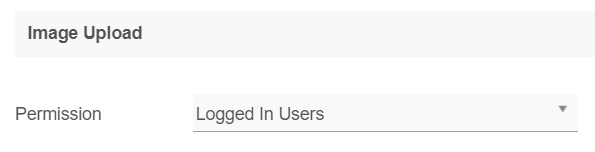
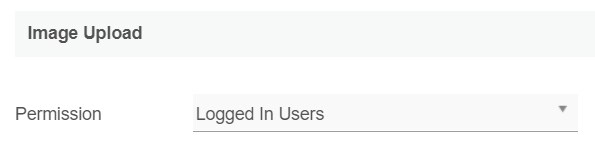
This feature is enhanced in Joget DX to manage permission who can access any uploaded files
Introduction
Rich Text Editor offers the interface for editing the rich text within web browsers, which presents the user with a "what-you-see-is-what-you-get" (WYSIWYG) editing area.
The Rich Text Editor is only available on Professional and Enterprise Edition.
Get Started
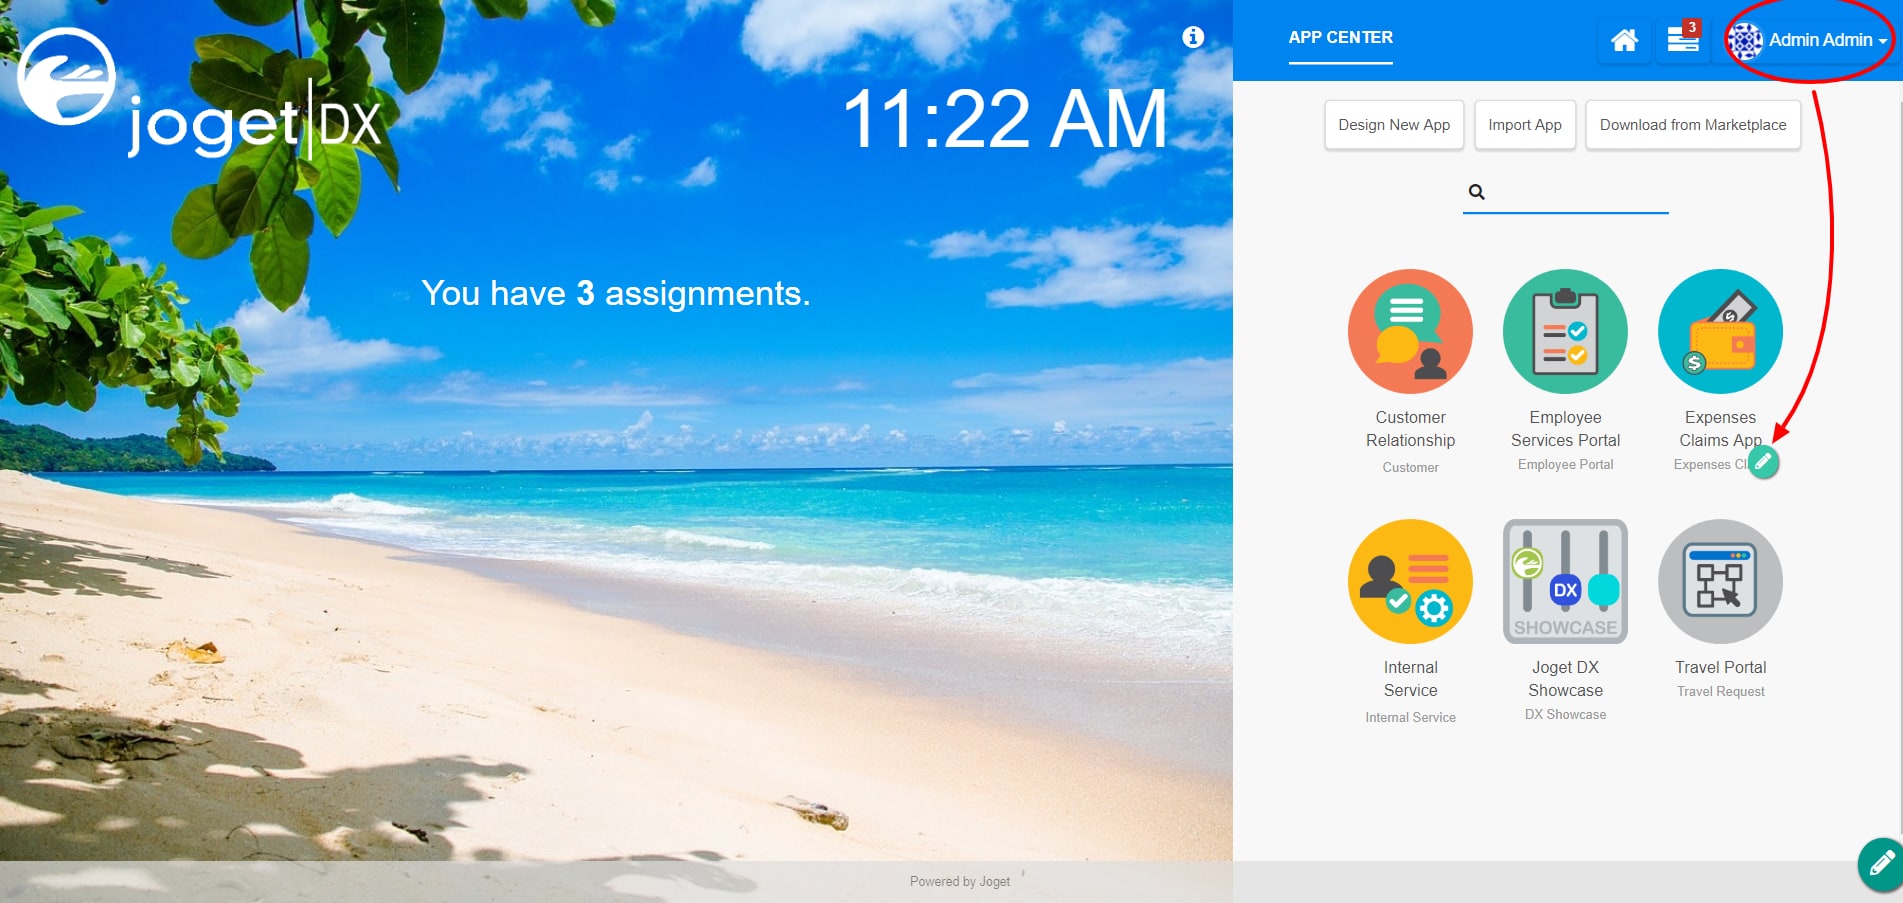
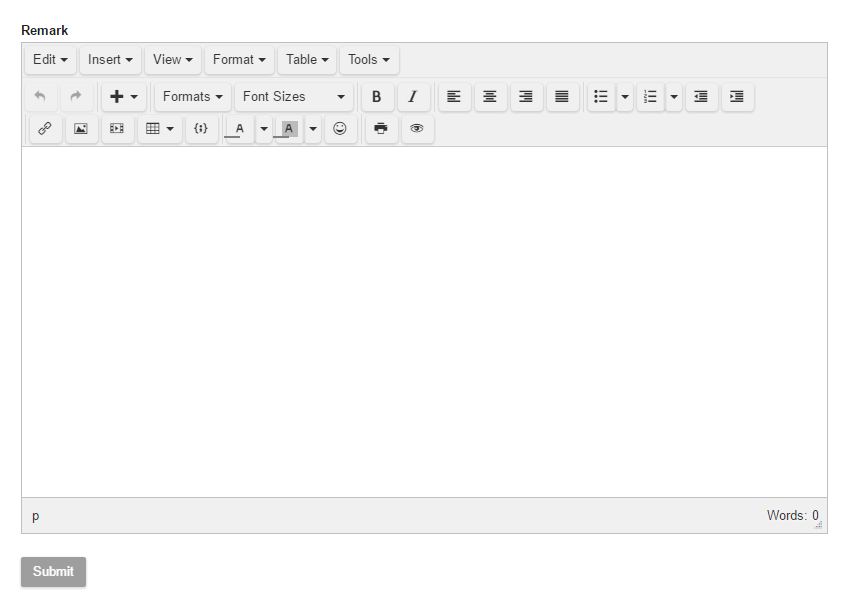
The easiest way to see how the Rich Text Editor works are to use the existing built-in App Expenses Claims. Here are the steps:
| Steps | Screens (Click to view) |
|---|---|
|
Figure 1
Figure 2
Figure 3 |

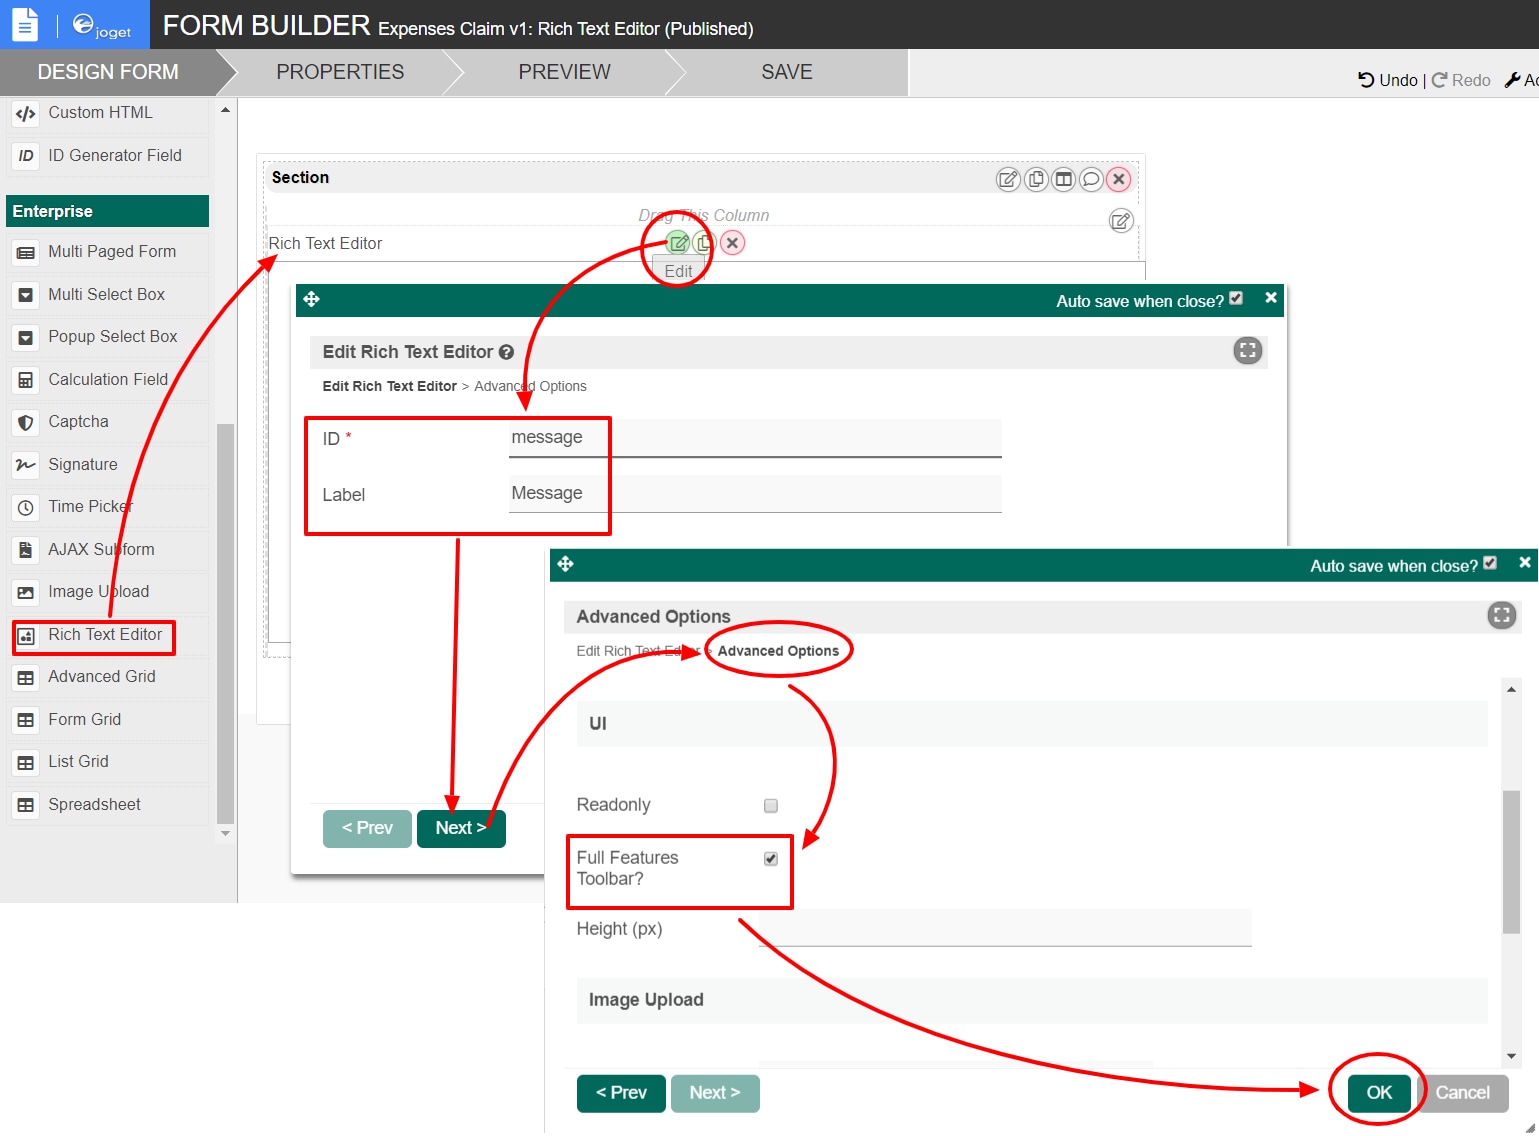
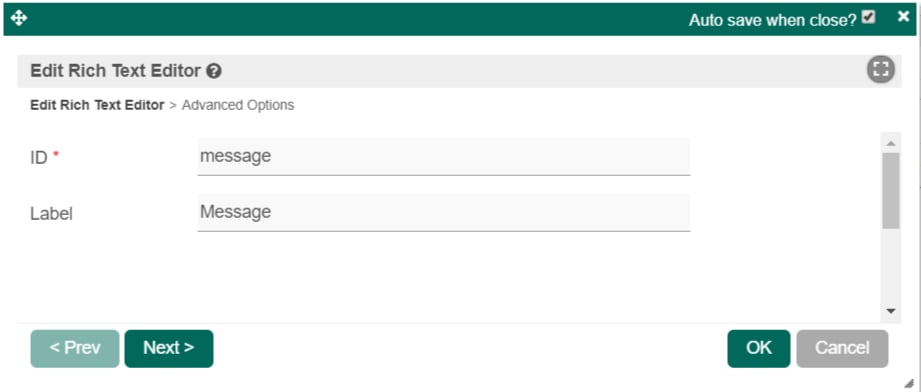
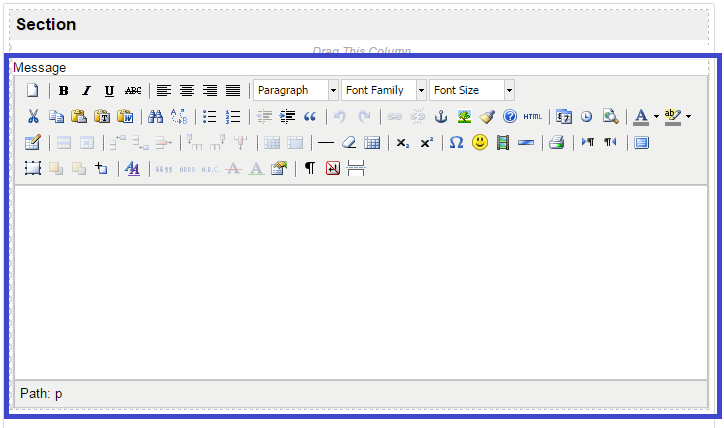
Rich Text Editor Properties
Edit Rich Text Editor
| Name | Description | Screen (Click to view) |
|---|---|---|
| ID | Element ID (By declaring as "message", a corresponding database table column "c_message" will be created) Please see Form Element for more information about defining the ID and list of reserved IDs. |
|
| Label | Element Label to be displayed to the end-user. |
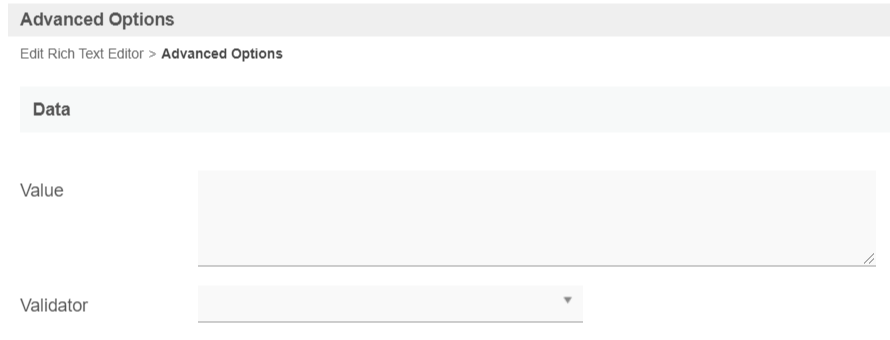
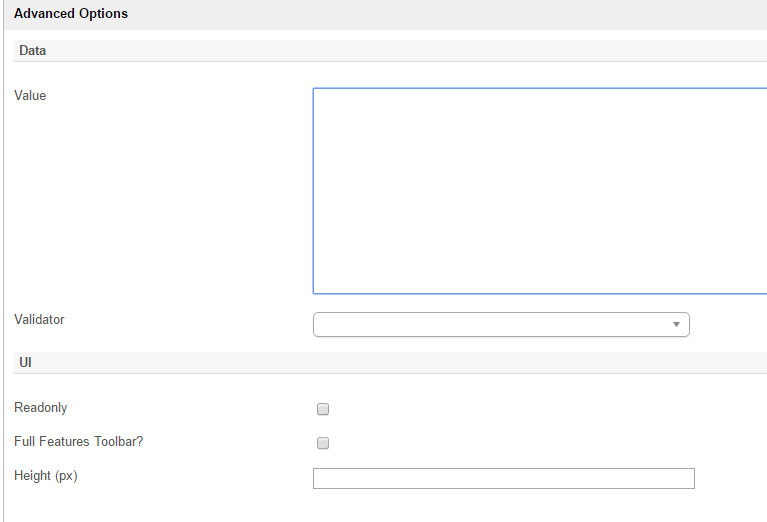
Advanced Options
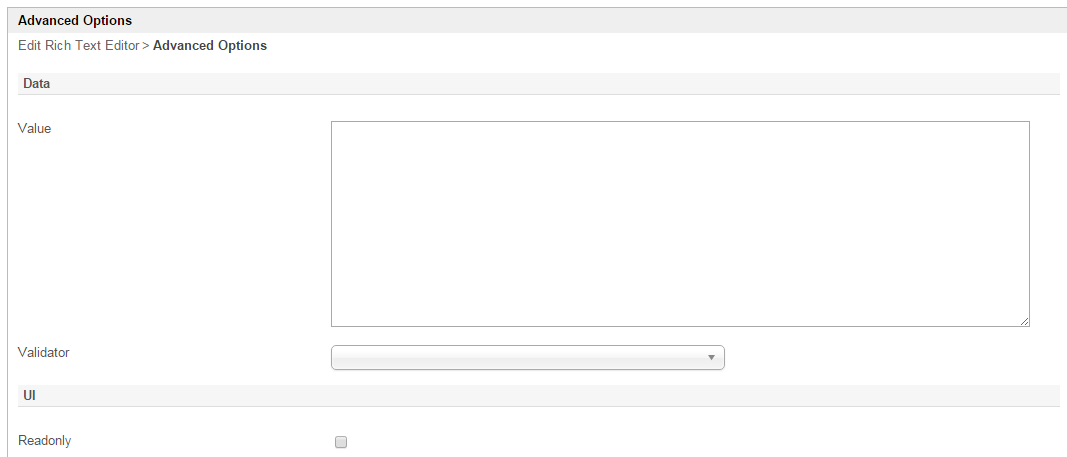
Data
| Name | Description | Screen (Click to view) |
|---|---|---|
| Value | Default Value |
|
| Validator | Attach a Validator plugin to validate the input value. When will validation takes place? Validation will take place whenever a form is submitted except when it is submitted as "Save as Draft". |
UI
| Name | Description | Screen (Click to view) |
|---|---|---|
| Readonly | Determines if the element is editable. |
|
| Full Features Toolbar? | Show full features toolbar when checked. | |
| Height (px) | Defines the height of the rich text editor. |
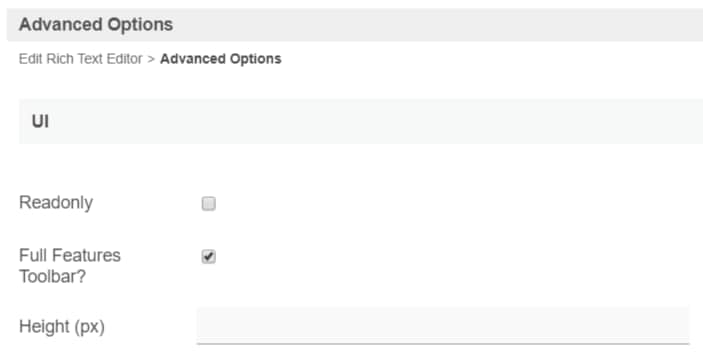
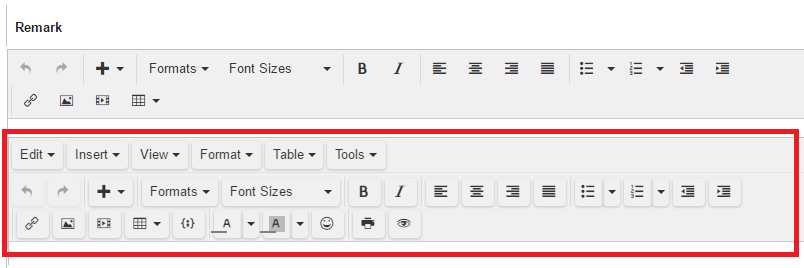
Image Upload
| Name | Description | Screen (Click to view) |
|---|---|---|
| Permission | Manage on who is able to access the file uploaded. Read more at Permission Control. New Feature Newly introduced in Joget DX |
|