Client-Side Verification
This section verifies the successful installation of all the client-side components.
Automation Studio
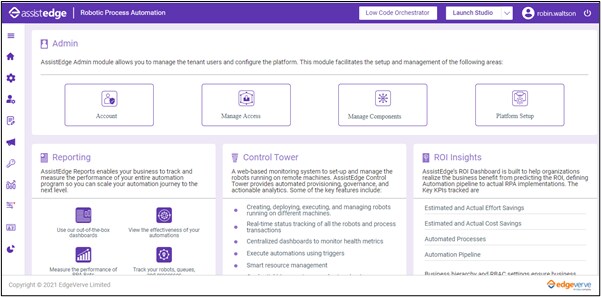
Use the Launch Studio link in the Admin module, to download or launch the Automation Studio application on your system. Launch Studio link enables you to install a compressed automation studio file from web browser directly.
- To launch Automation Studio on existing machine, you can either click Launch Studio or select Existing Machine option from the drop-down list. This option is not applicable for fresh installation.
- To launch Automation Studio on new machine, select New Machine option from the drop-down list.
|
NOTE: |
To work on Automation Studio, you must be added as a valid user in the Admin Portal. |
To verify Automation Studio:
- Access Admin Portal and Login.
- Click the
 (Launch Studio) icon, and then select New Machine.
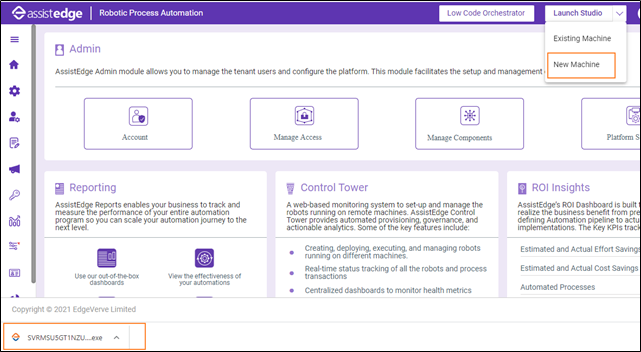
The <studiolink>....exe is downloaded on your system.
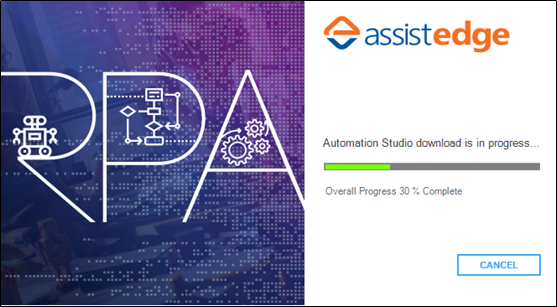
- Click the exe file to start the studio downloading process. This window shows the download progress details.
|
NOTE: |
|
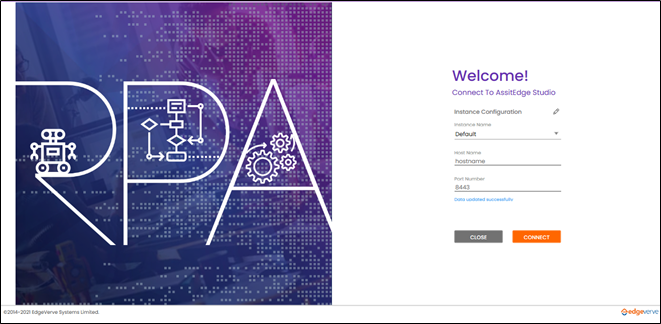
The Instance Configuration dialog box appears. Do one of the following:
- Click CONNECT to go ahead with the default settings.
OR
• Click  icon to edit the default setting. Use this option to edit the existing instance/ environment where you wish to point to different web service. Contact your administrator to get the required details.
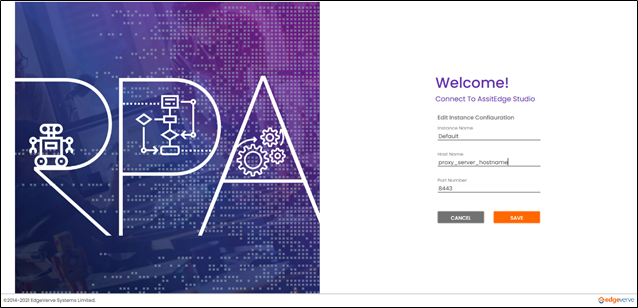
The Edit Instance Configuration dialog box appears.
a. Enter Instance Name, Host Name and Port Number of your AE server
b. Click SAVE to save the setting.
- Click CONNECT. The login dialog box appears. Automation Studio uses the Windows NT LAN Manager (NTLM) authentication on the active directory domain to authenticate the user and login.
NOTE:
Authentication schemes such as custom authentication, SAML/OIDC are available. To login, enter your system User Name - Password and then click Login. Automation Studio directly connects you to the Welcome page once you click CONNECT.
- Click Close to go to the Welcome screen.
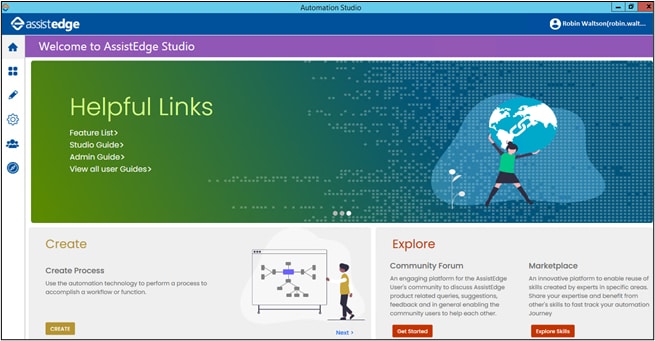
The successful verification of Automation Studio is done.
|
NOTE: |
Refer AE-RPA-Engage-AutomationStudio-UserManual.pdf to know how to use Automation Studio application. |
EnterprisePersonalAssistant
To verify Enterprise Personal Assistant:
|
NOTE: |
|
- Access client-tools > AutomationRuntime > EnterprisePersonalAssistant
- Find EnterprisePersonalAssistant.exe file, double click to launch the application.
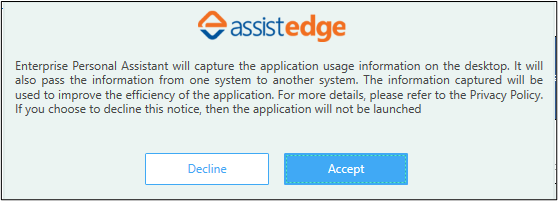
The Data Privacy window appears.
- Click Accept.
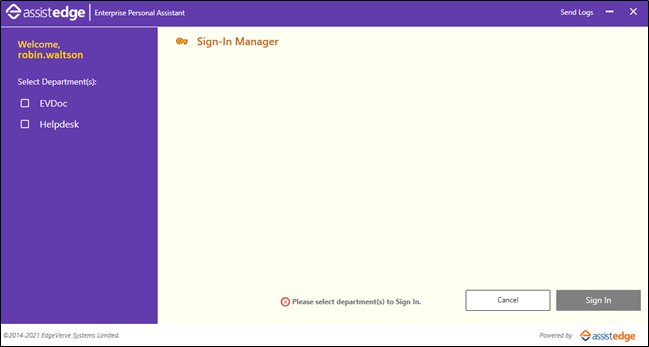
The Sign-In Manager screen appears.
- Select profile and application, and then click Sign In. The EnterprisePersonalAssistant launches and is available in the taskbar notification area. The associated applications also get launched.
The successful verification of Enterprise Personal Assistant is done.
|
NOTE: |
Refer AE-EnterprisePersonalAssistant-User Manual.pdf to know how to use Automation Studio application. |
Engage
To verify Engage:
|
NOTE: |
|
- Access client-tools > AutomationRuntime > Engage.
- Find Engage.exe file, double click to launch the application.
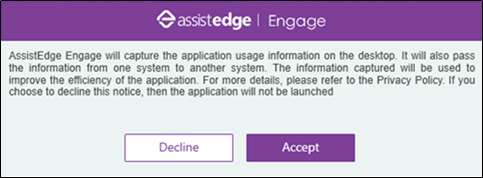
The Data Privacy window appears.
- Click Accept.
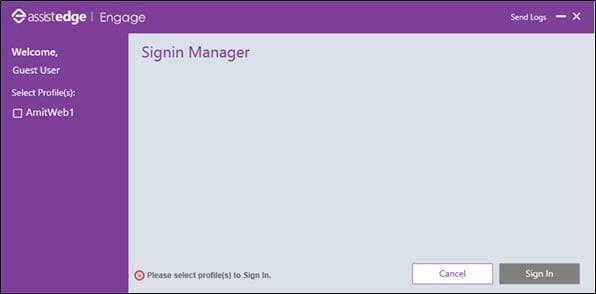
The Sign-In Manager screen appears.
- Select profile and applications, click Sign In.
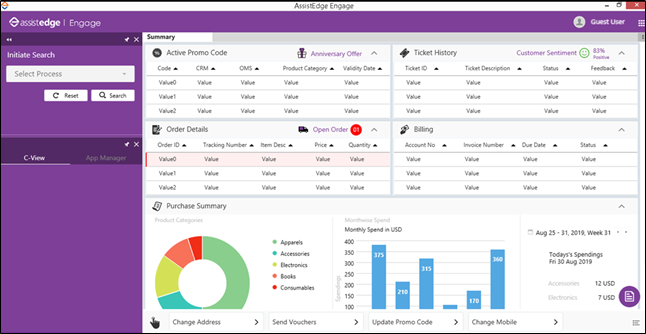
The successful verification of Engage is done.
|
NOTE: |
Refer AE-Engage-User Guide.pdf to know how to use Automation Studio application. |
Proctor
To verify Proctor:
- In the Start menu, enter Run, and then click the displayed app. The Run window opens.
- Enter services.msc and then click OK.
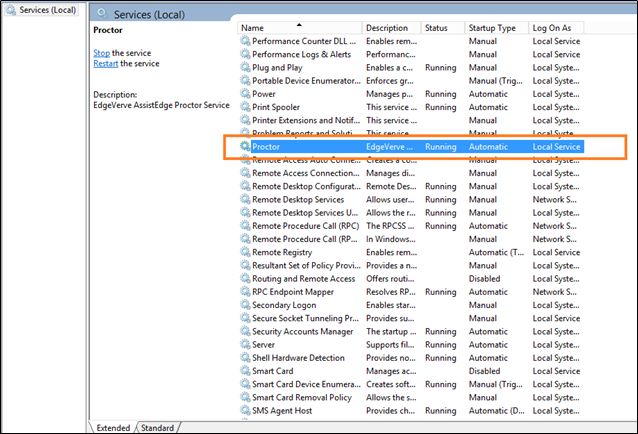
The Services window opens.
- Locate Proctor and check the Status of it. By default, after installation, Proctor remains in the Running status.
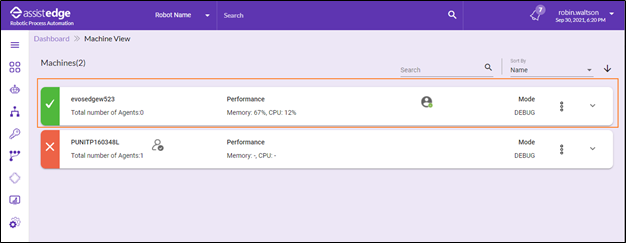
- Visit the URL of the Control Tower. The Admin page opens.
- Expand the left navigation pane and access Control Tower.
- Click Machines.
The Control Tower page opens. It reflects the name of the machine where proctor is installed.
- Click name of the machine to expand and view the details of the Robot Agent created via Proctor.
The successful verification of Proctor is done.
|
NOTE: |
Refer the AE-RPA-Control Tower Guide.pdf file to know the details. |
Robot Agent
To verify RobotAgent:
- Access client-tools > AutomationRuntime > Robot > RobotAgent.
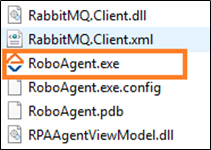
- Find RoboAgent.exe file, double click to launch the application.
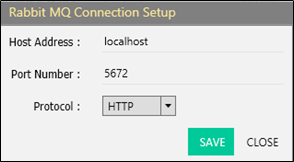
The Rabbit MQ Connection Setup dialog box opens.
- In the Host Address field, enter the hostname of the machine where the installation was done.
- In the Protocol list, select HTTP or HTTPS depending on the type protocol used for the installation.
- Click Save. The Robot Agent – AssistEdge window opens.
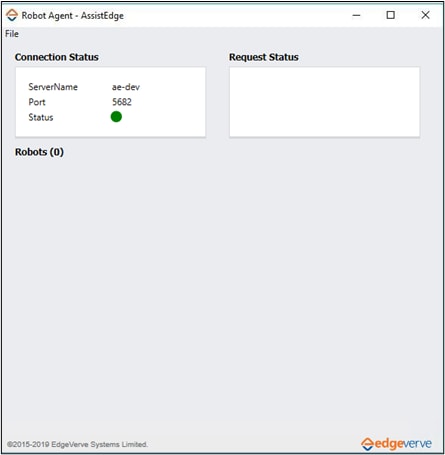
The successful verification of Robot Agent is done.