Creating Triggers
- Click the
 (Trigger Managers) icon or click Trigger Managers to view the list of existing triggers.
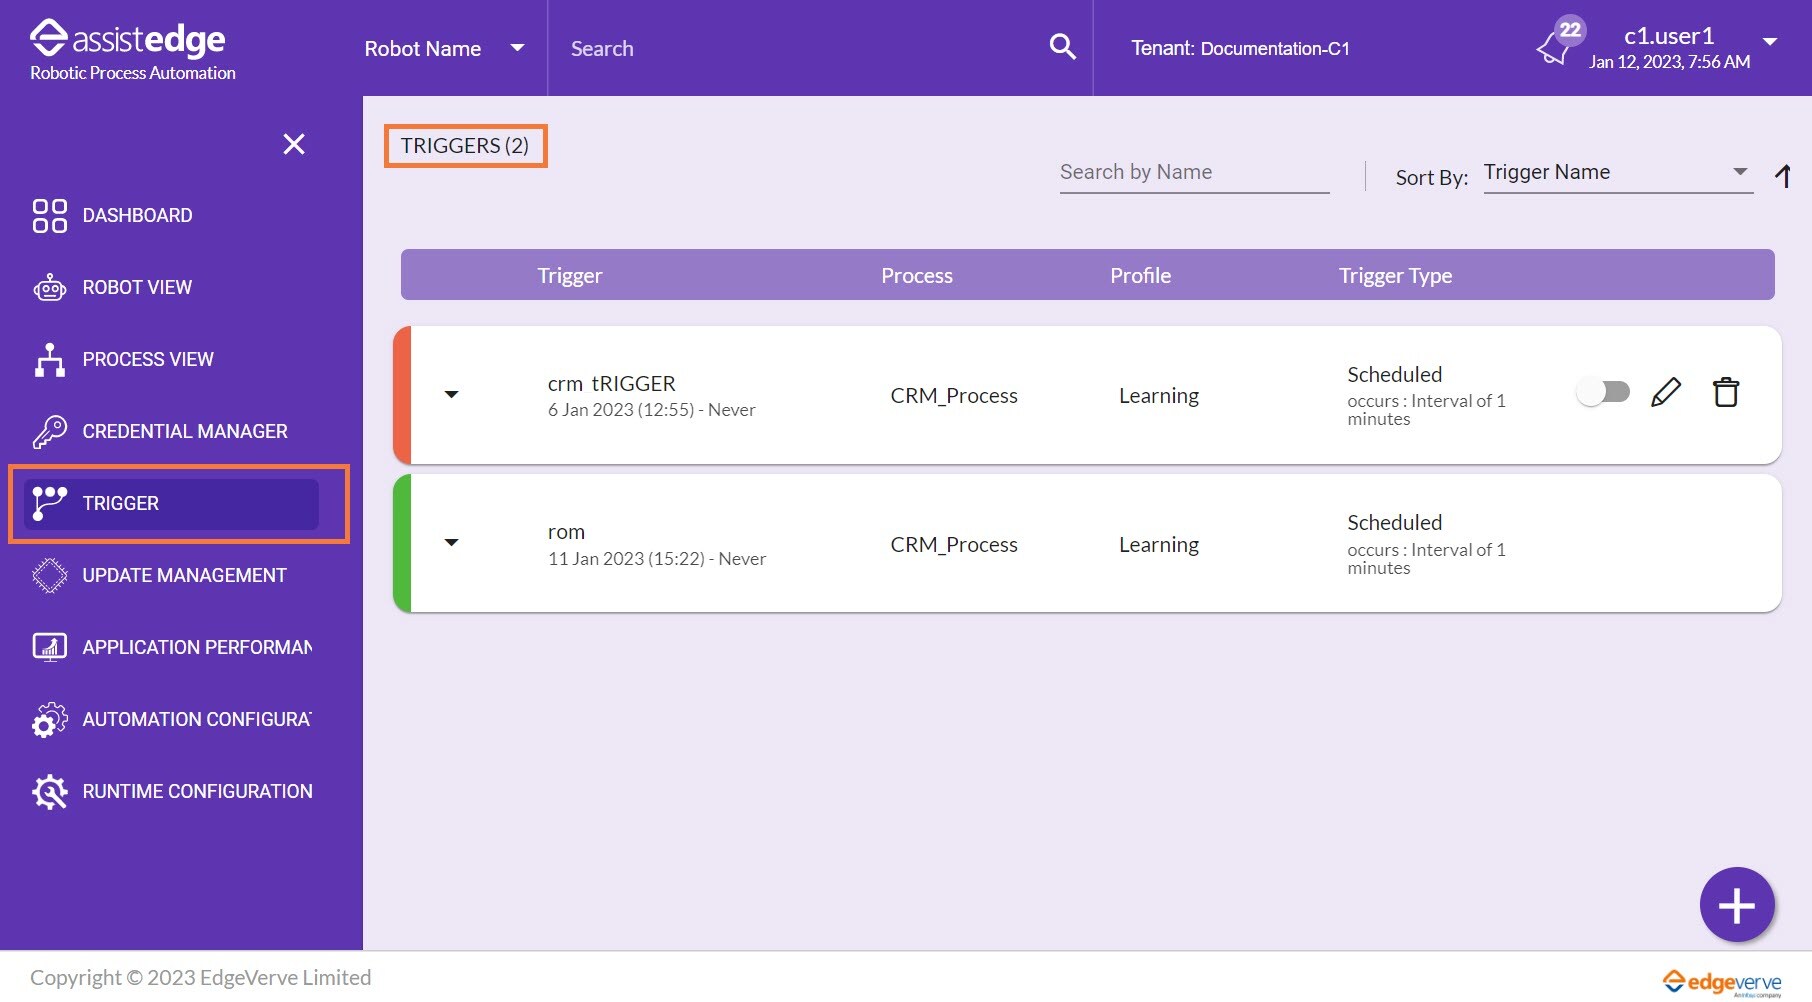
Following table contains the field description of triggers:
Triggers details
Description

Click the
(arrow) icon to view more information about the trigger requests. For more information about the request details, see Trigger Request Information.Trigger
Displays the name, start date and end date for the trigger.
Process
Displays the name of process for which the trigger is created.
Profile
Displays the name of profile for which trigger is created.
Trigger Type
Displays the type of trigger whether it is schedule based or continuous monitoring.
You can also do following:

- Using the Search Name, you can search for the available triggers, process, profile and trigger type. For more information about Search, see Field description of Triggers.
- In the Sort By list, select the preferred option to view the trigger list accordingly. You can sort the available list as per the available sorting criteria, which includes:
- Trigger Name
- Process
- Profile
- Trigger Type
- Request Status
 (Ascending) or
  (Descending) order: Click the or icon to arrange the triggers in a order which it is created.
- Click the
 (Add Trigger) icon to create a new trigger.
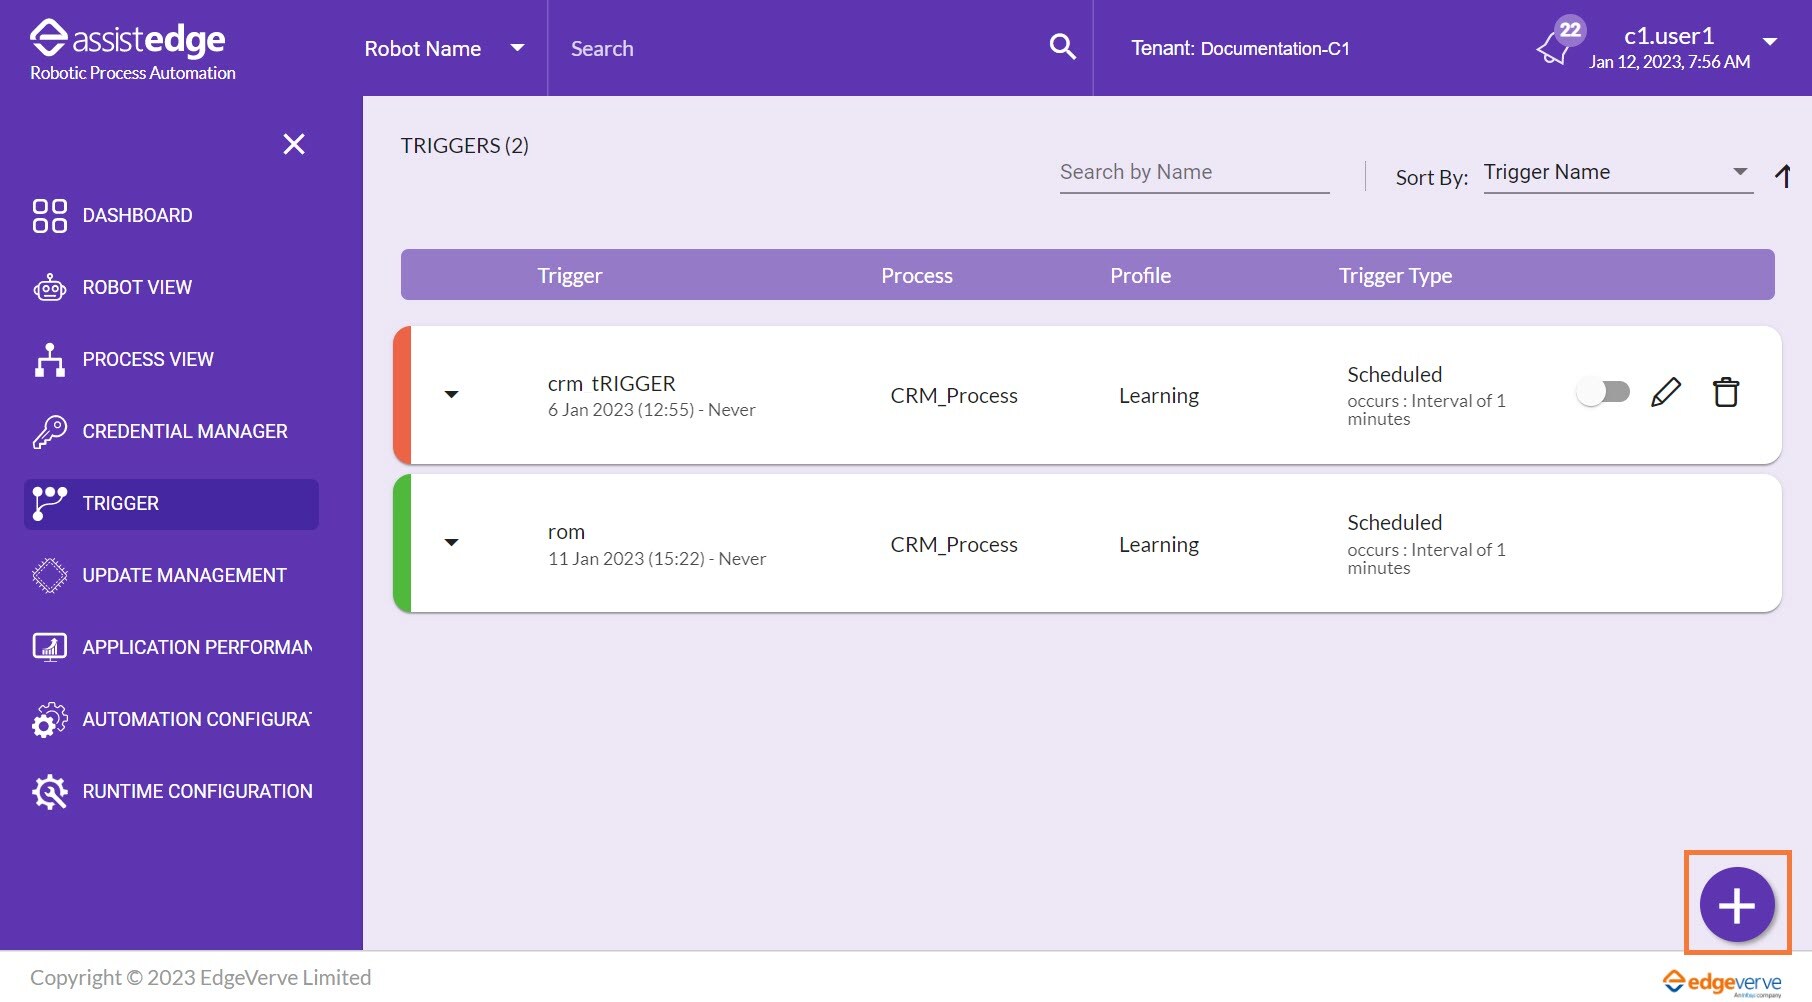
The CREATE TRIGGER page is displayed.
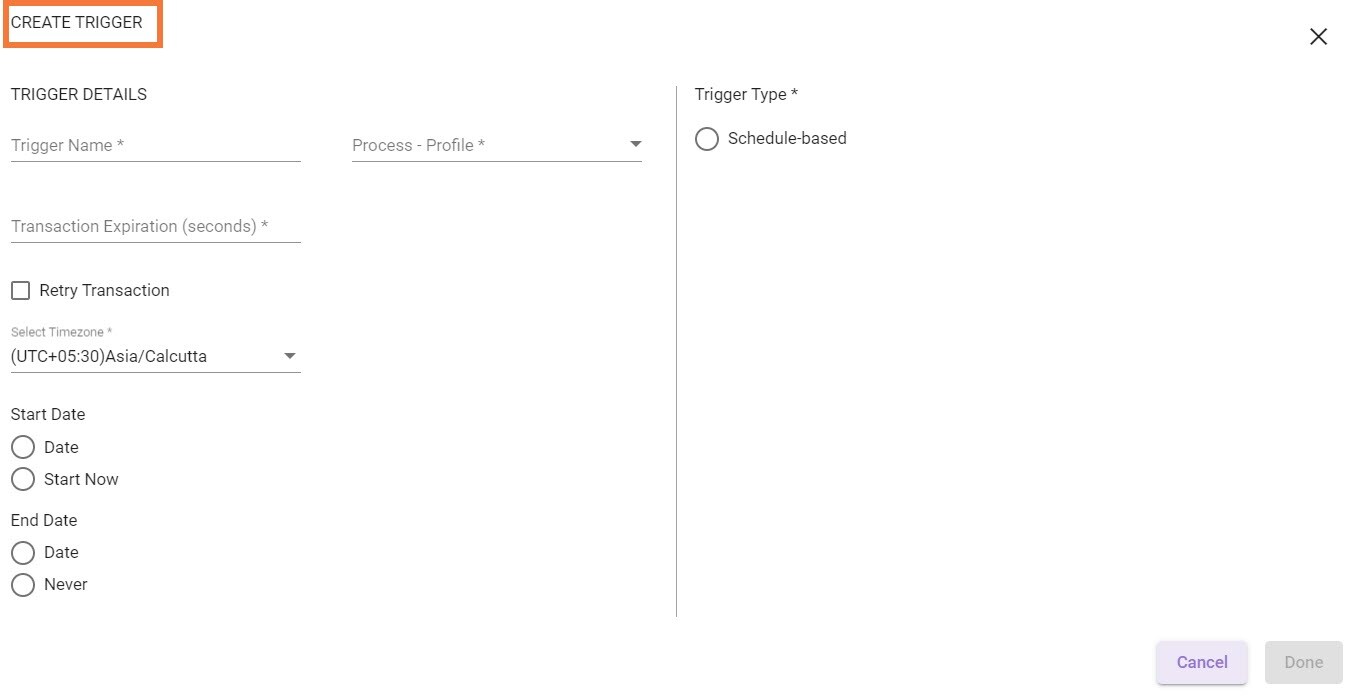
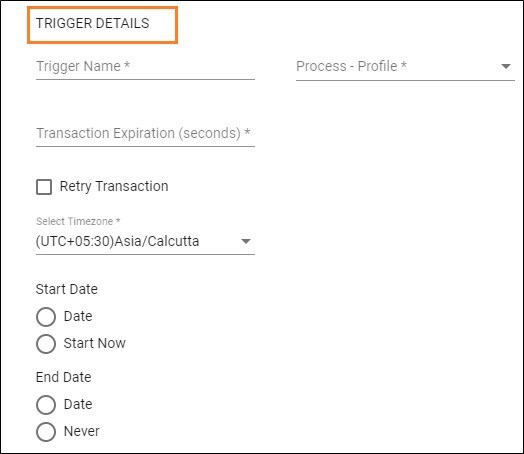
- In the TRIGGER DETAILS, enter the following details:
- In the Trigger Name field, enter unique name to identify a trigger.
- In the Process-Profile list, select the unique process-profile combination for which the request is triggered. Additionally, you can search the process from the available process list that is sorted alphabetically.
- In the Transaction Expiration (seconds) field, enter the transaction expiration seconds. The maximum value allowed is 999999 seconds.
- Select Retry Transaction check box to enable the retry capability for the request in case it gets timed out, or process execution gets an exception in a certain step while executing.
- In the Number of Retries field, enter the number of times the request is retried.
- In the Retry Interval field, enter the cool-off interval after which the request is retried.
- In the Select Time-zone, select the time zone according to which the trigger request is created and sent to RPA-Listener. Triggers can be adjusted as per preferred time zone.
- From the Start Date, select the preferred option:
- Select the Date and Time from which the request should be executed.
- Select the Start Now option, if you want to start executing the request immediately.
- From the End Date, select the preferred option:
- Select the Date and Time when the request should be stopped.
- Select the Never option, to configure to stop the monitoring until the end or for a specific time of a specific day.
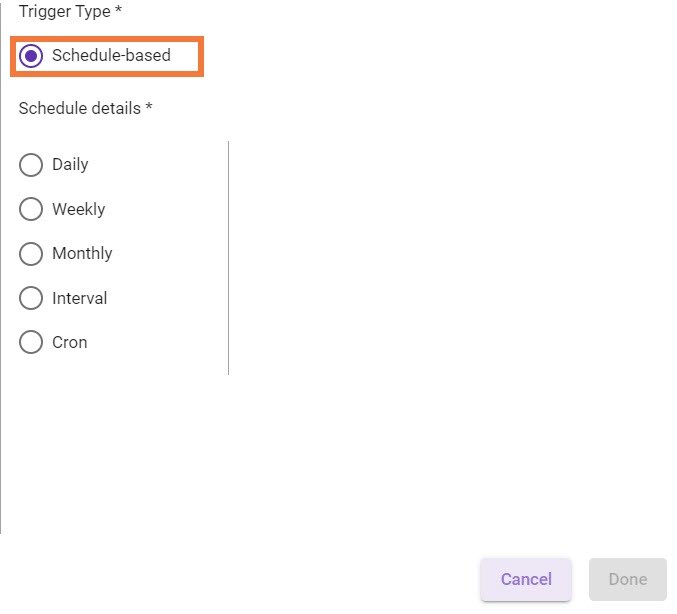
- From the TRIGGER TYPE, select thSchedule-based triggerse for configuring the further fields.
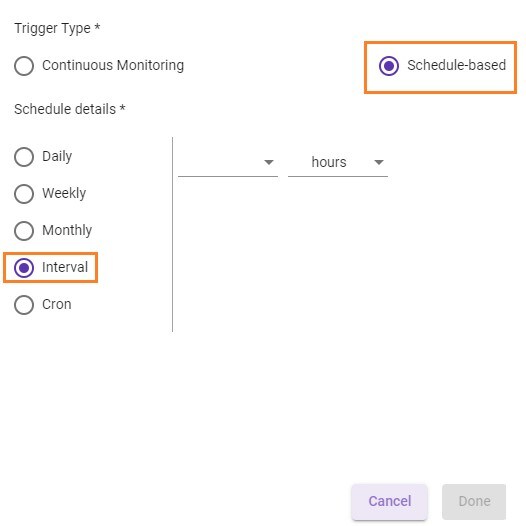
- Schedule-based: Schedule-based triggers allows you to choose the process that has to be executed in regular intervals basis. select the preferred schedule details from the available options, such as:
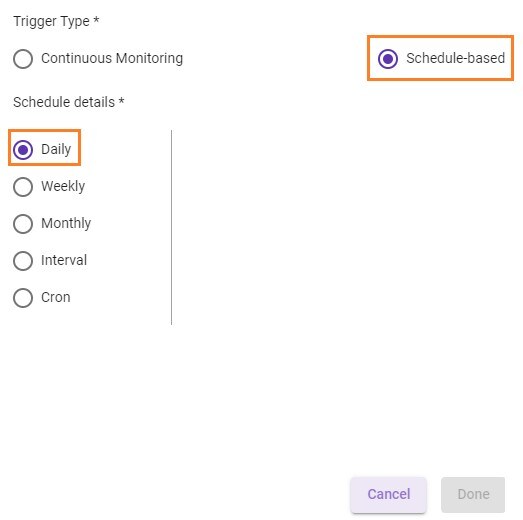
- Daily Trigger:This trigger request is triggered at Start Time every day till the End By date.
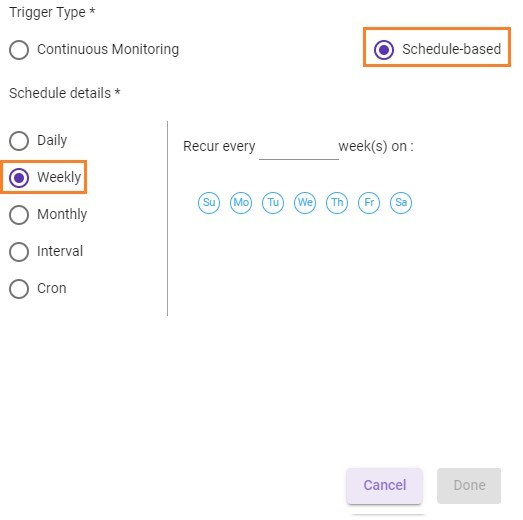
- Weekly Trigger: This trigger updates the trigger with specific days of the week along with the recurrence period.
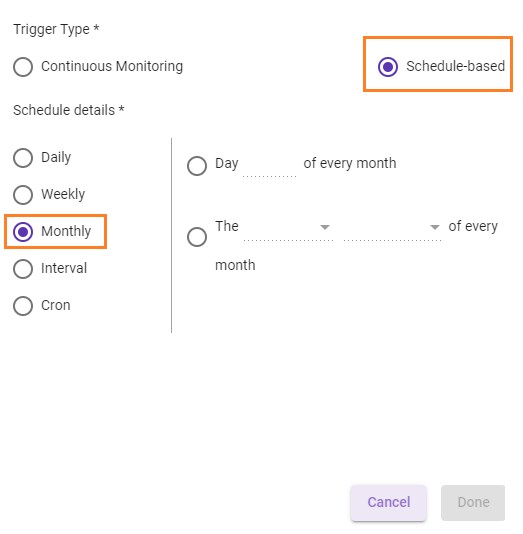
- Monthly Trigger: Triggers a request on a specific day of every month or a specific day of a specific week in every month before the configured End Date.
- Interval-based Trigger: This trigger enables you to update the trigger with Value of time and Unit of time (hours and minutes).
- Cron Trigger: Cron Trigger is a utility which enables you to schedule the time-based triggers that run automatically at a set time, date or after a specific interval. The field represents Minute, Hour, Day-of-Month, Month, and Day-of-Week. Click Show Definition to expand and understand the definition of the parameters to schedule the cron trigger successfully. Similarly, you can click Hide Definition to hide the details about the parameters.
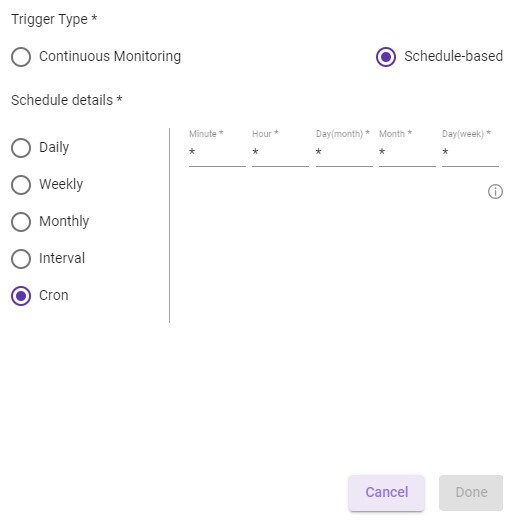
Following is the field description of Cron trigger:
Name Description Minute Specifies the allowed values in the minute field (0 to 59) when the scheduled task will run. Hour Specifies the allowed values in the hours field (0 to 23) when the scheduled task will run. Day (Month) Specifies the allowed values in the Day (Month) field (1 to 31) for which the schedule task will run. Also, be careful about how many days there are in the particular month for which you are scheduling trigger. Month Specifies the allowed values in the Month field (1 to 12) for which the scheduled task will run. Day (Week) Specifies the allowed values in the Day (Week) field (0 to 6 (Saturday-Sunday) for which the scheduled task will run.
Following is the description of special characters which can be used to schedule the cron trigger:
Special Characters Description * Enables you to enter any value. "*" In this (Wild-cards) character field, you can enter every possible value. , Enables you to separate the list of value. - Indicates the range of values. / Indicates the increment to values. For example, if you put "0/20" in the Minutes field, it means "every 20 minutes, starting at minute zero" the trigger will run.
NOTE:
In-case, invalid syntax for Cron trigger is entered then, a message appears as Invalid Cron format.
- Schedule-based: Schedule-based triggers allows you to choose the process that has to be executed in regular intervals basis. select the preferred schedule details from the available options, such as:
- Click DONE.

The trigger is created successfully.
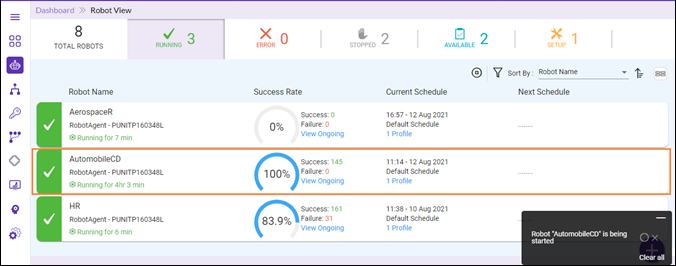
Additionally, the Robots will start executing the process as per the schedule type.
Deleting Existing Triggers
To delete the existing triggers:
- Select the
 (Delete) icon corresponding to existing trigger.
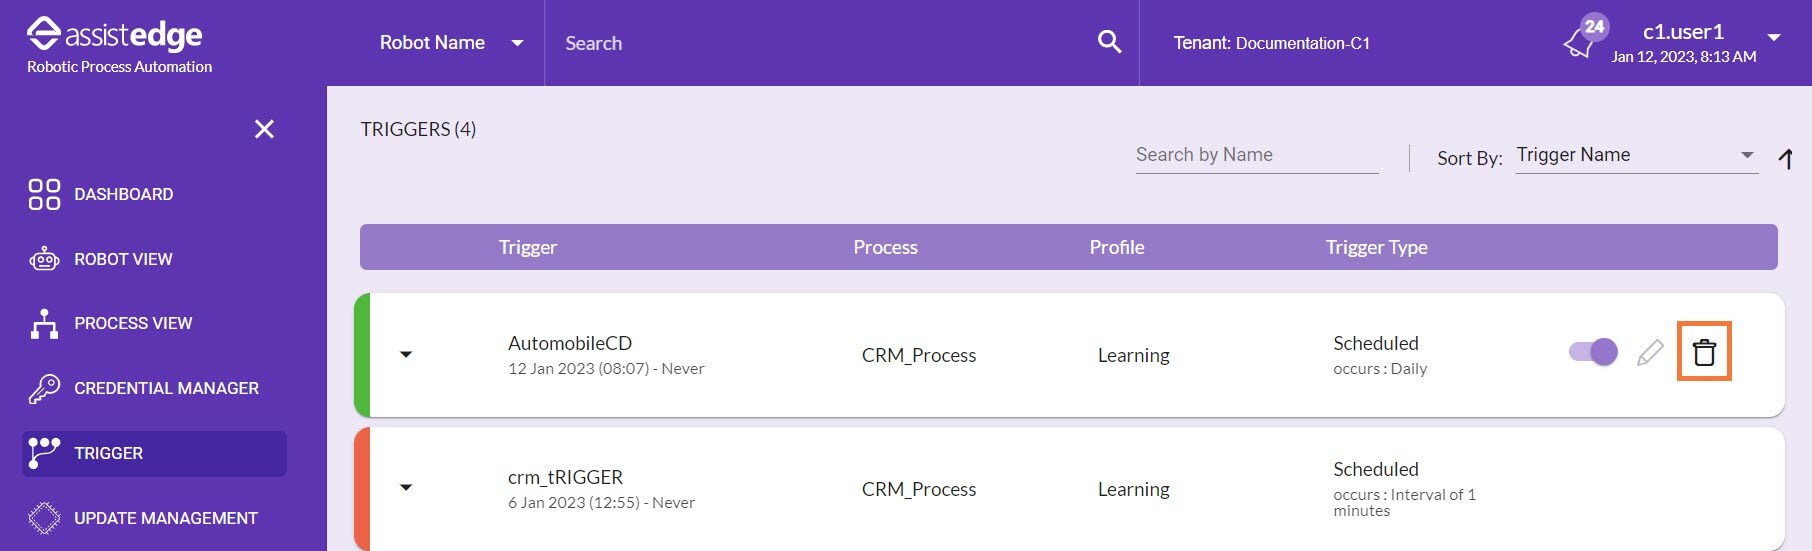
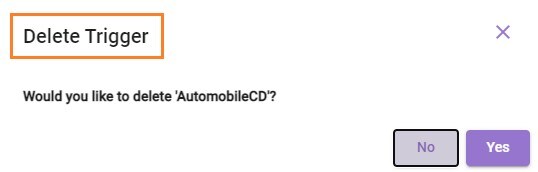
The delete trigger message appears on the page as Would you like to delete EmailTrigger For more information about search or sort by, see trigger details field description. - Click YES to delete the trigger, else click NO to cancel the trigger deletion.
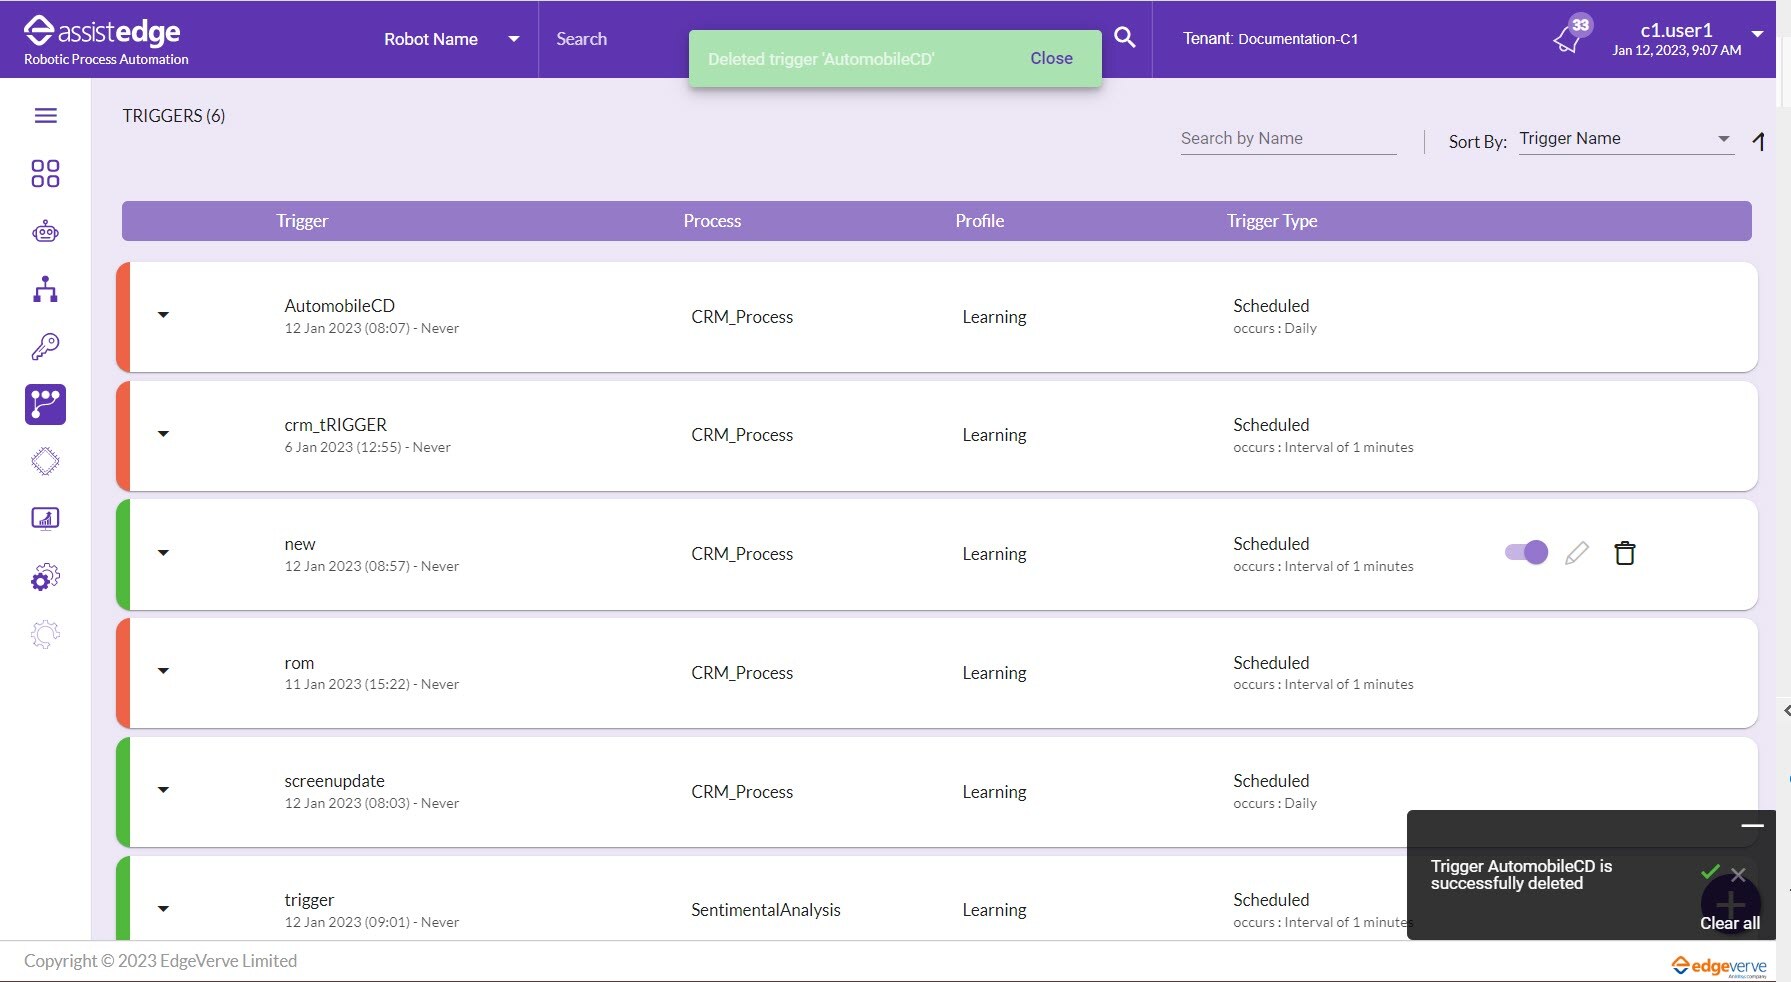
- Once the trigger is deleted, a message appears as Deleted Trigger/Trigger Name on the page.
Enabling or Disabling Existing Triggers
![]() To enable or disable the existing triggers:
To enable or disable the existing triggers:
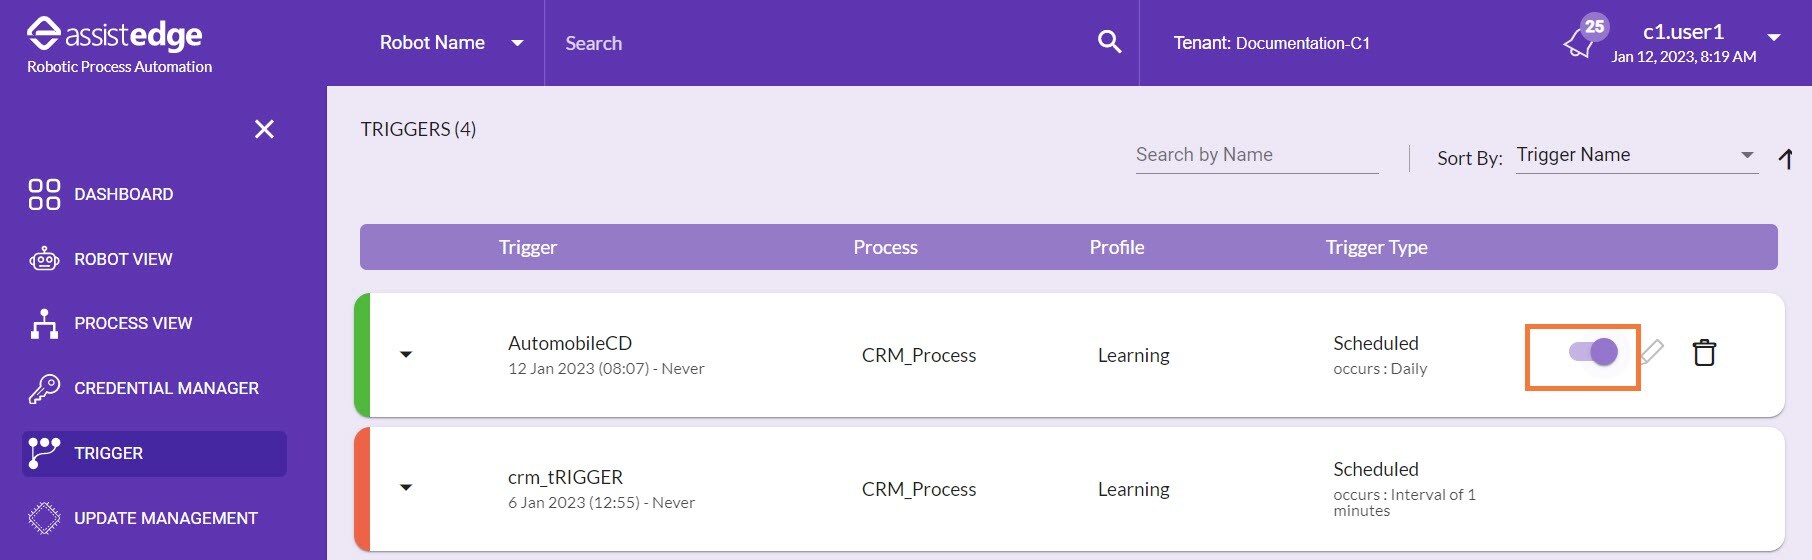
- Click the Enable/Disable Toggle button to enable or disable an existing trigger.
The Update Trigger pop-up appears with a message as Would you like to Disable ExcelTrigger.
For more information about search or sort by, see trigger details field description.
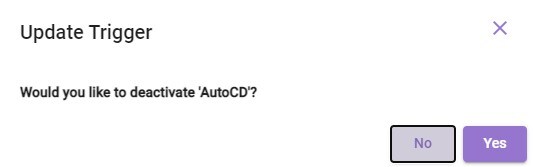
- Click YES to disable the trigger or else click NO to cancel the action.
|
NOTE: |
|
- Once the trigger is disabled, a message appears as Disabled Trigger/Trigger Name on the page.
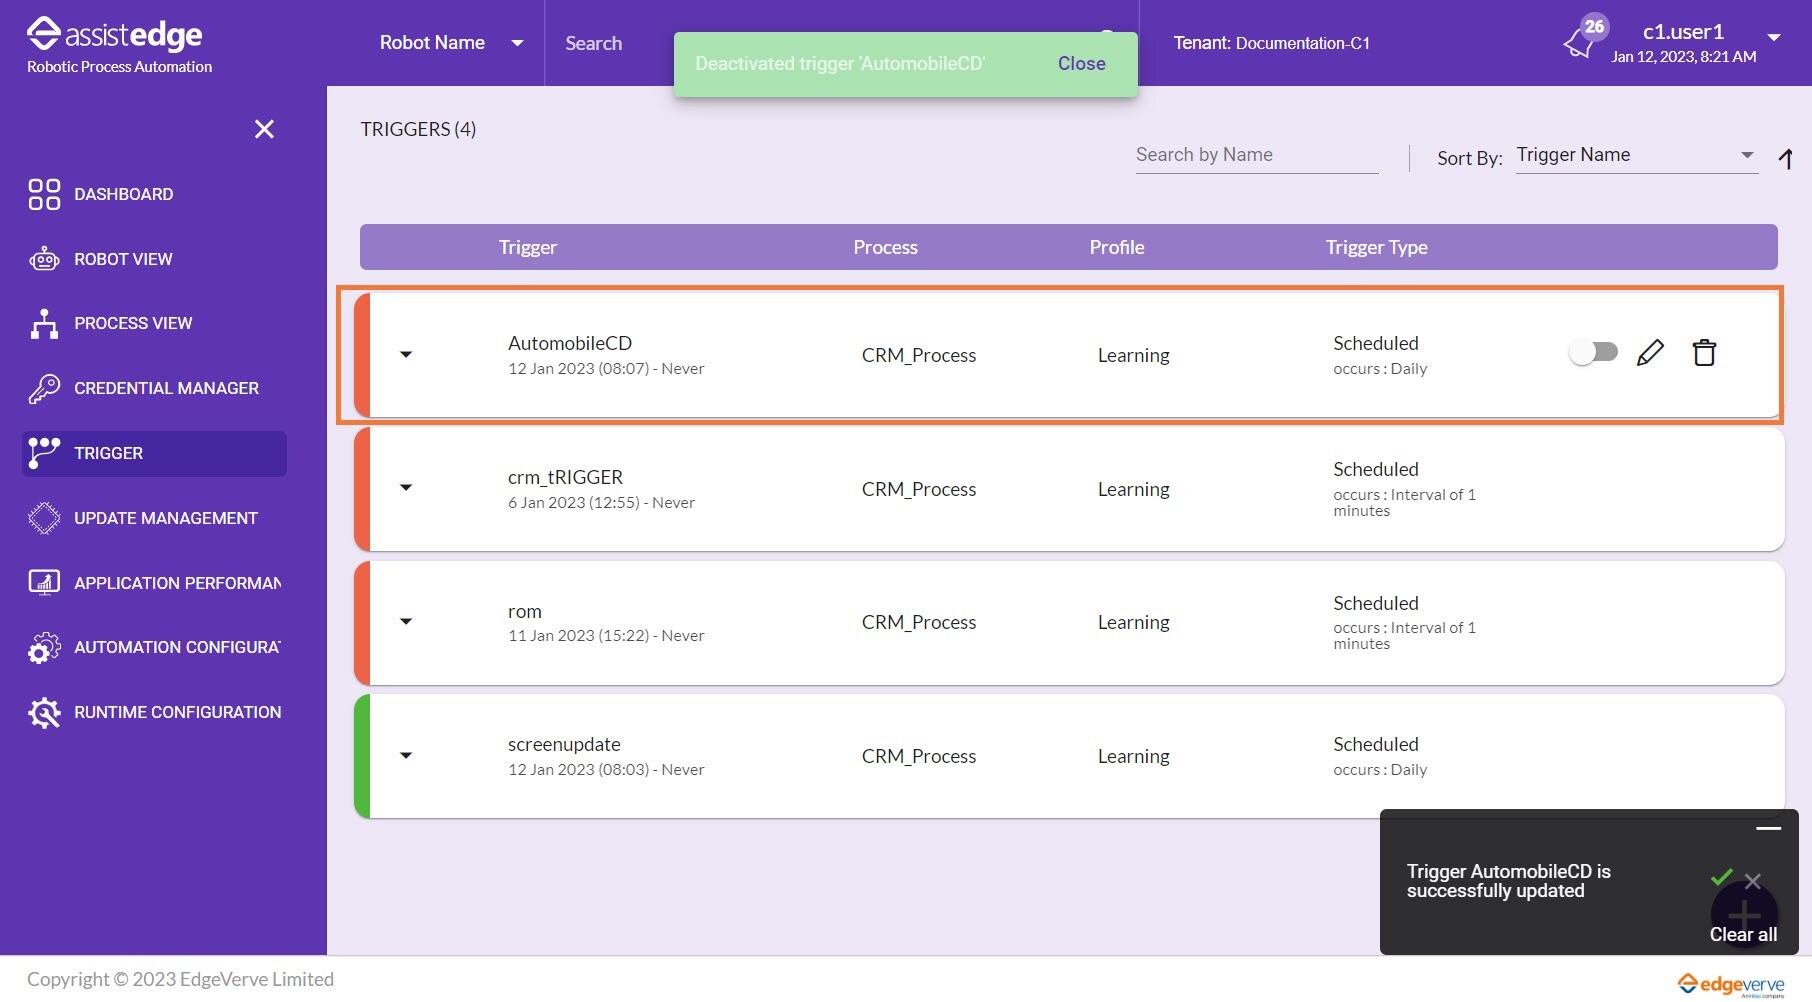
Editing Triggers
You can edit the triggers only after the trigger is disabled.
![]() To edit the disabled triggers:
To edit the disabled triggers:
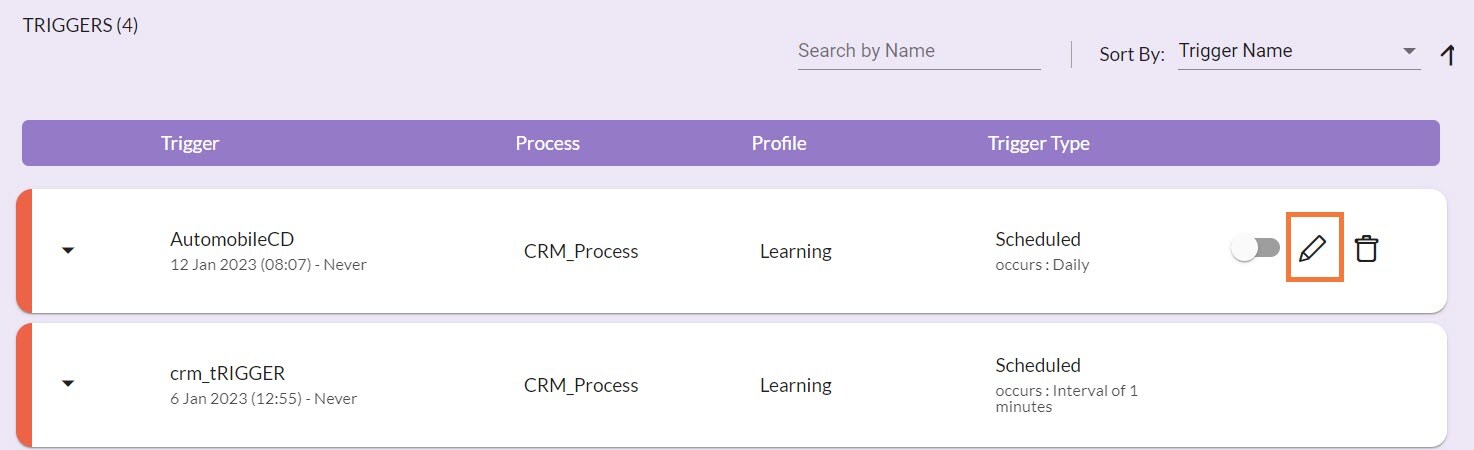
- Click the
 (Edit) icon to edit the disable triggers.
NOTE:
The edit option is enabled only for the disabled triggers.
For more information about search or sort by, see trigger details field description.
The EDIT TRIGGER window appears.
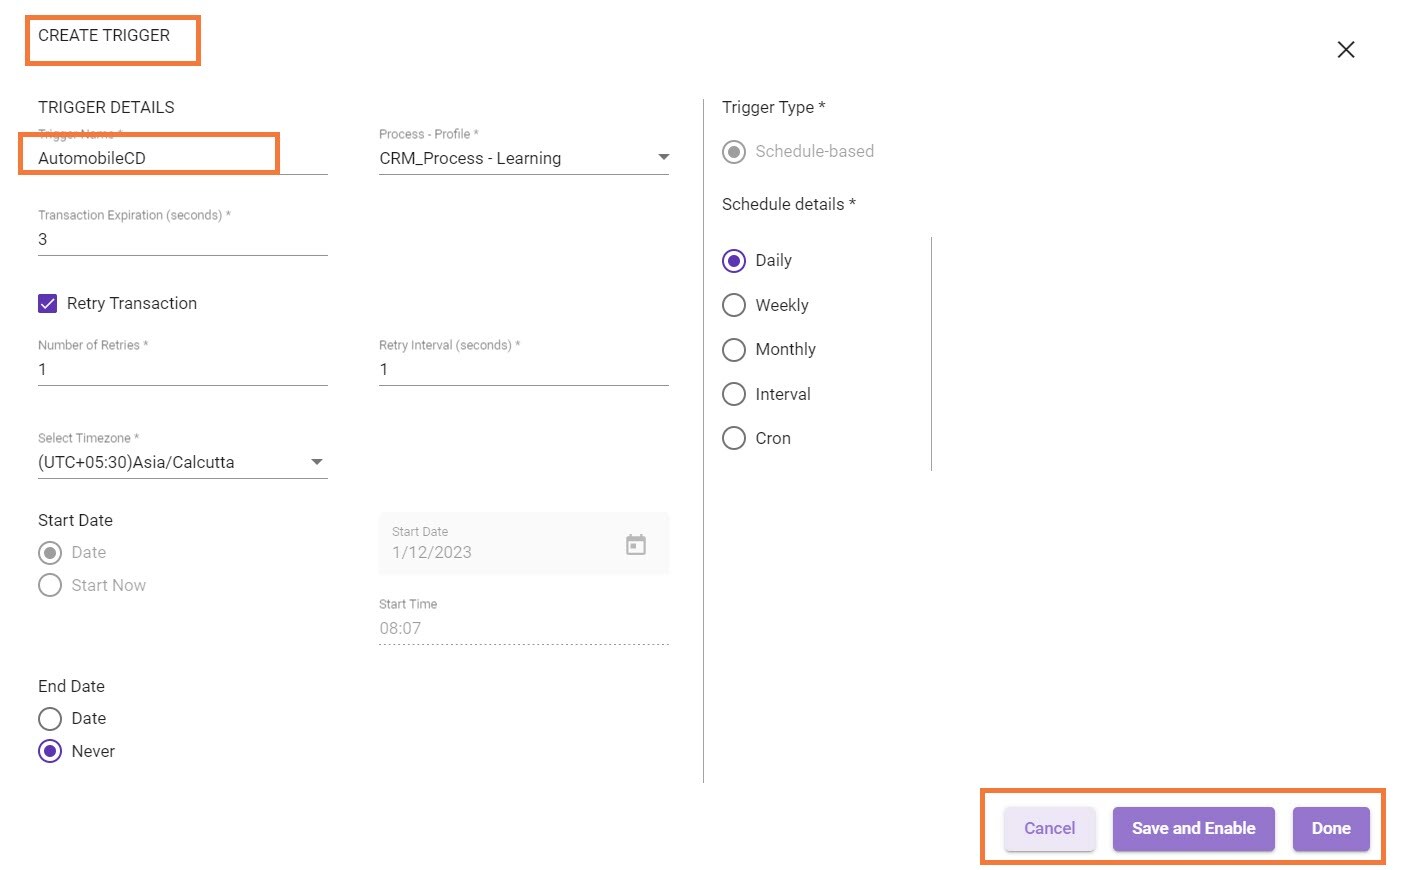
- You can edit all the fields before the configured start time. You cannot edit all the fields, post the start time of trigger has passed. You can edit only Trigger Name, End by time, Transaction Expirations, Retry Trigger, Select Time-Zone, and Trigger Type.
- Once done, if you click SAVE AND ENABLE, then all the changes done will be saved and trigger will be enabled. Whereas, if you click DONE, the changes will be saved but the trigger state will be still in the existing state i.e., disabled state.
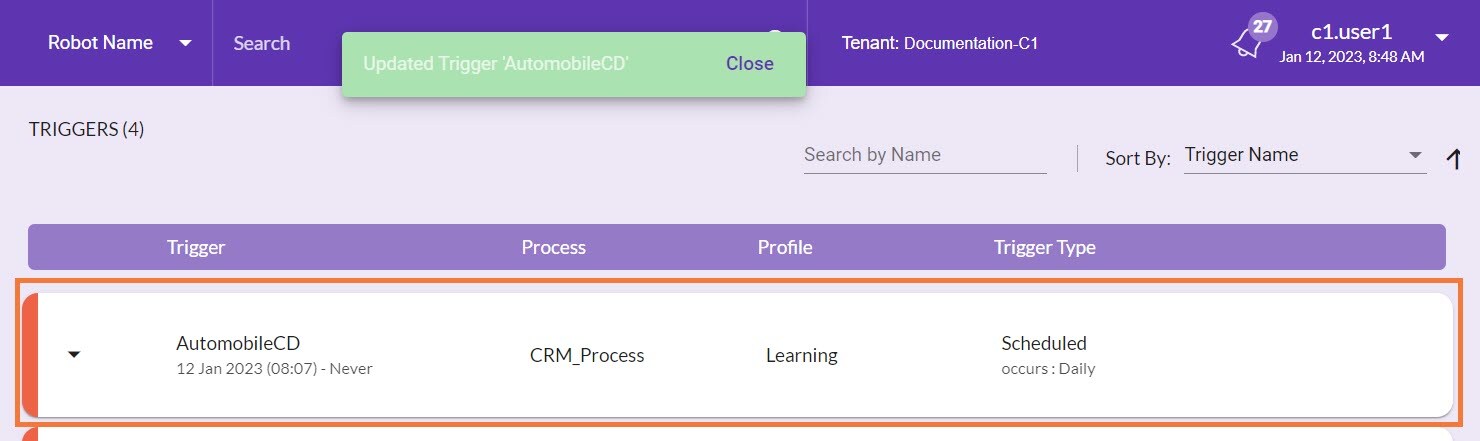
A message appears as Enabled or Updated Trigger/Trigger Name on the page.
Filtering Triggers
You can filter the triggers according to process, profile, and trigger type as per your preference.
|
NOTE: |
Filter icon is enabled only after hovering the mouse over the column. This option is applicable for Process, Profile and Trigger type column. |
![]() To filter the triggers:
To filter the triggers:
- As per preference, hover the mouse next to field for which you want to apply filter. The filter icon appears next to column.
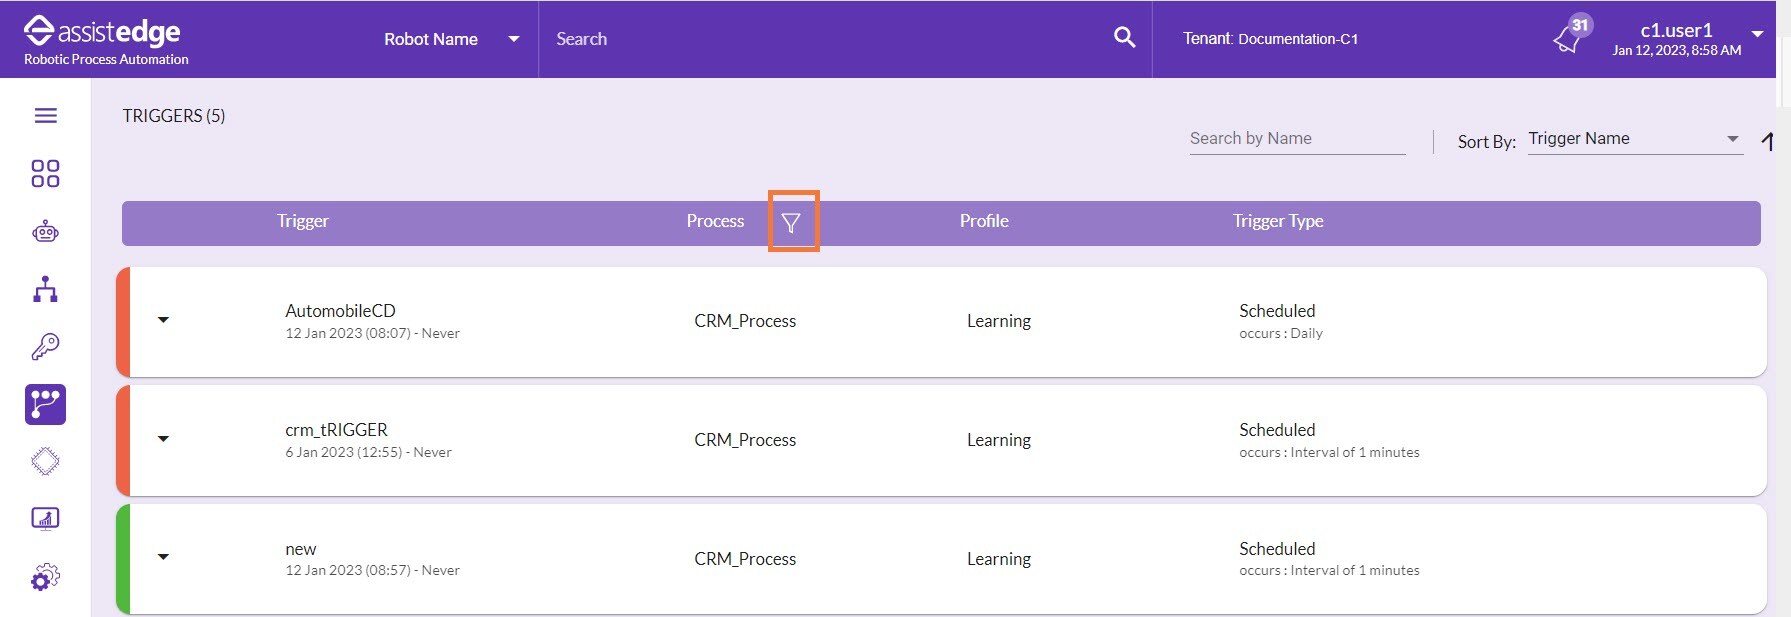
- Click the
 (Filter) icon and then, the list of all the process used in the triggers appears.
 - Specify the name of process or select the check box corresponding to preferred process.
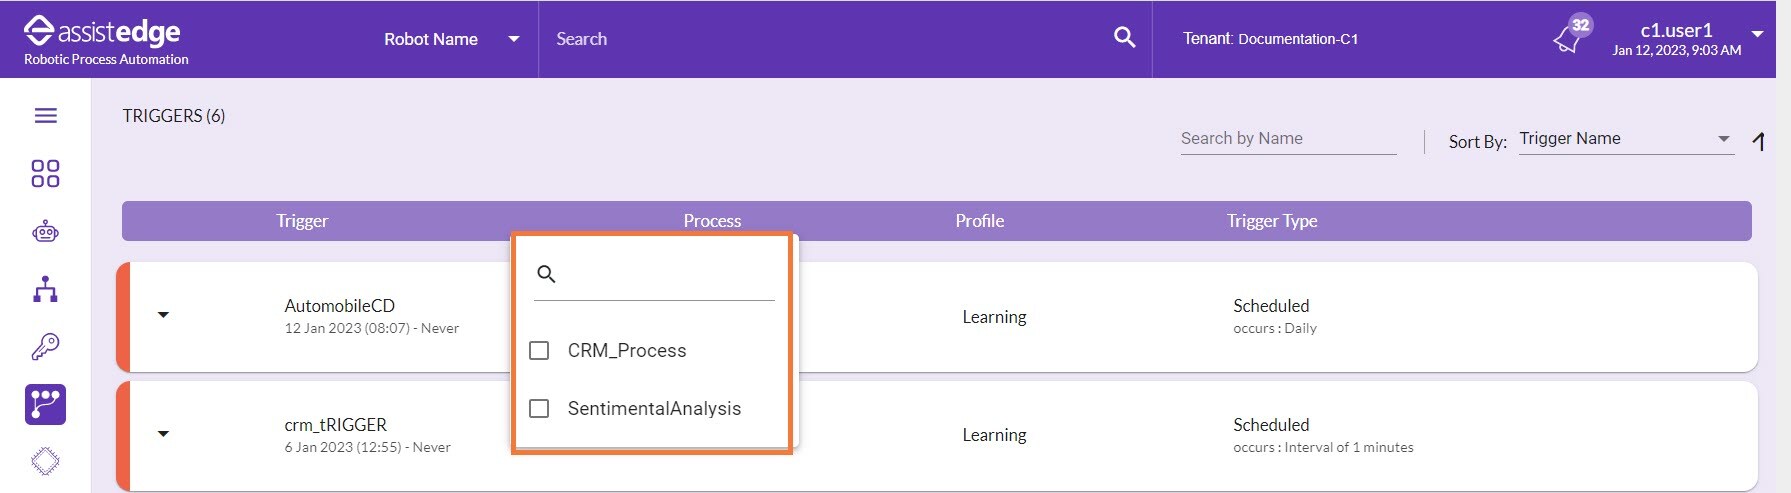
Then, the selected process is filtered from the list of process and shown on the page.
