Manage Users
User management enables you to assign role-based access control to users and the tasks that they can perform on Admin module and Automation Studio. Each user's login account is uniquely identified with a username, password, and profile.
Managing user allows you to do following:
Accessing Manage Users
To access the manage users:
Go to User Management > Manage Users
Adding User
You can add user in two ways:
Adding Single User
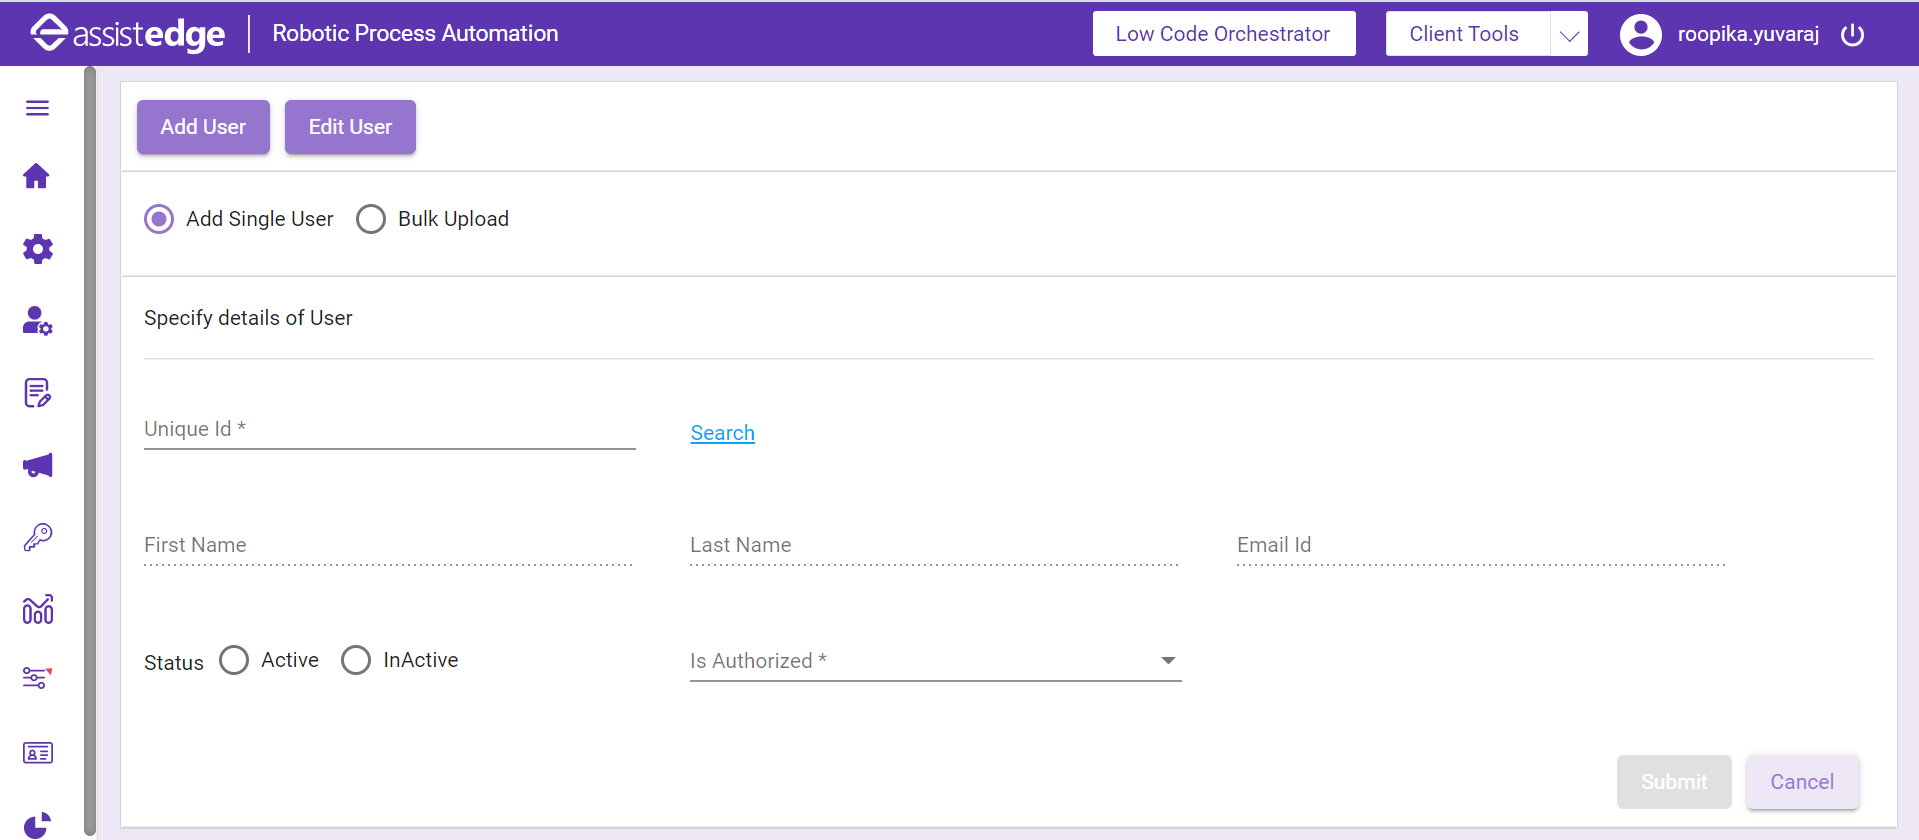
To add a single user:
- Click Add User and then select the Add Single User option.
- In the Unique Id field, enter the user's username and then click the Search link.

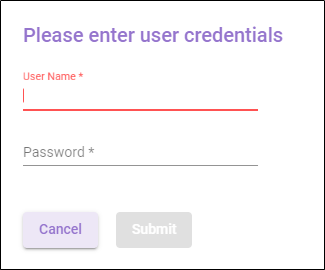
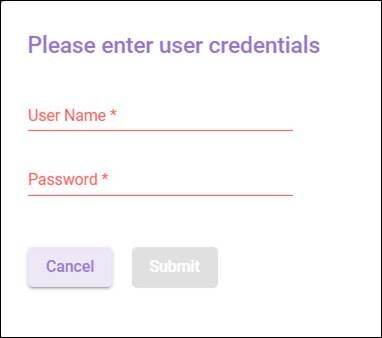
- A Please enter user credentials page appears. You are required to enter following:
- In the User Name field, enter the name of user with Super_Admin access.
- In the Password field, enter the valid password for the particular Super_Admin user name entered.
- Click Submit.
- A Please enter user credentials page appears. You are required to enter following:
- After verification, If the user is available in the active directory, then the details of particular user appear such as First Name, Last Name, and Email ID details is automatically populated from the user repository. If the unique ID is not available in the active directory, an error message appears on the page as No Data Found.
- By default, the Status field is set as active. You can set the user as inactive, whenever required.
- Is Authorized field allows you to indicate whether a user is authorized to access Control Tower. This field also makes a user an eligible manager if, set to Yes.
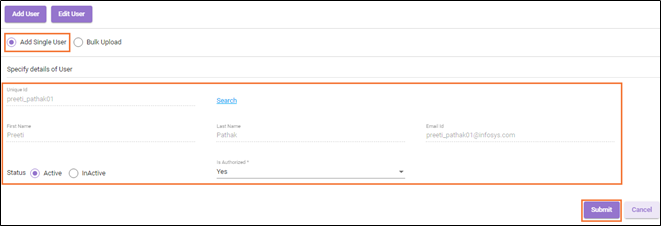
- Click Submit to add the user to the database. Click Cancel to discard the changes.
Bulk Uploading Users
Bulk upload enables you to upload multiple users at a time.
Prerequisites:
Before you start Bulk Upload, ensure:
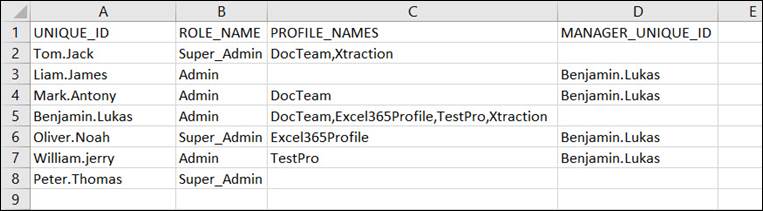
- You have a worksheet (*.xlsx) with the following columns:
- UNIQUE_ID: Unique Id (username) of the user to be uploaded.
- ROLE_NAME: Role name to be mapped to the user.
- PROFILE_NAMES: Profile names to be mapped to the user. These profile names must be comma separated; however, it is not mandatory to map a profile name to the user.
- MANAGER_UNIQUE_ID: Manager name to be mapped to the user. It is not mandatory to map a manager name to the user, you can leave it blank if the user doesn’t have a manager name.
NOTE:
To map a manager to a user:
- The UNIQUE_ID of the manager must be entered in the excel before the UNIQUE_ID of the user, or the unique ID of the manager must already be present in the system.
- To assign a manager to the user, the user and manager must be mapped to the same profile name.
- The PROFILE_NAMES column of the user must contain a profile that is mapped to the MANAGER_UNIQUE_ID.
- On the vertical hierarchy, the user must be listed beneath the manager.
- The role of the manager should be either same or higher than that of the user.
- The worksheet can be uploaded even without the MANAGER_UNIQUE_ID column.
- You must have a valid AE- RPA user credentials.
To download worksheet template:
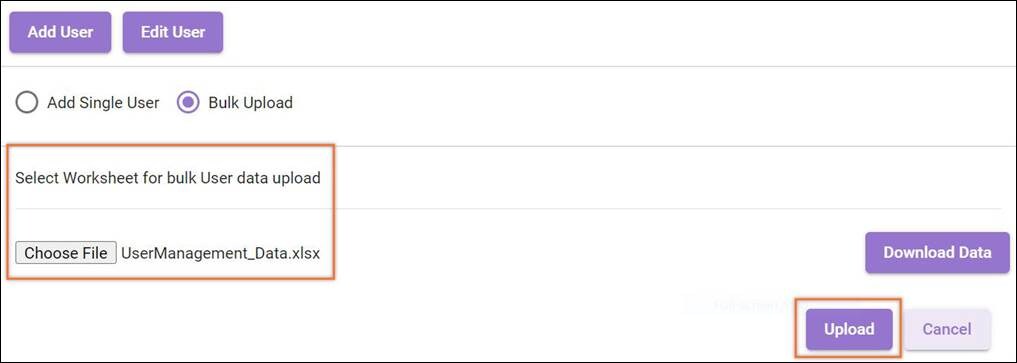
- Click Add User and then select Bulk Upload option.
- Click Download Data to download the template in excel format.
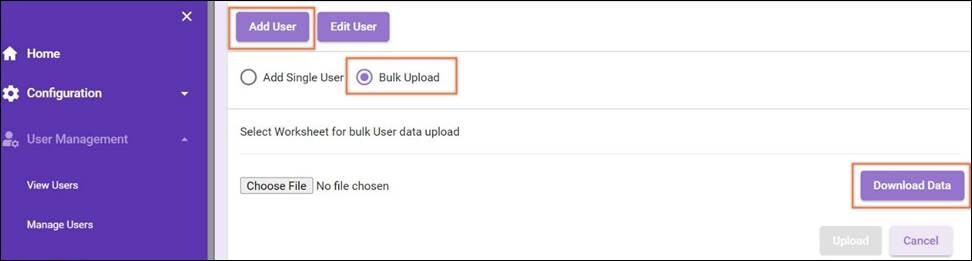
- If there are existing users with mapped roles, profiles, and manager names then the downloaded file includes those data.

- Update the excel sheet by either adding details of new users or updating data for existing users. You can even delete all the records from the excel sheet and upload only the required data.
- If there are existing users with mapped roles, profiles, and manager names then the downloaded file includes those data.
To perform bulk upload:
- Click Choose File, navigate and select the excel file(worksheet) to bulk upload the data. The selected file appears in the text box.
- Click Upload. The Please enter user credentials popup window appears, enter the valid AE-RPA User Name and Password and click Submit.
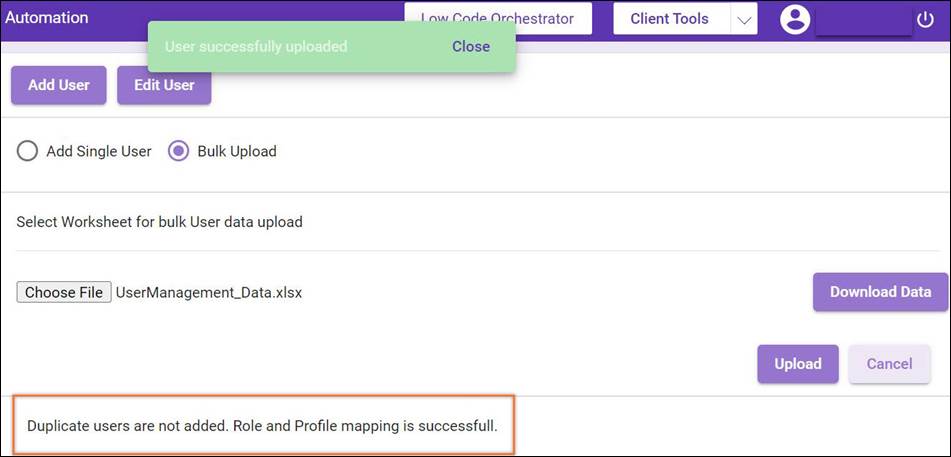
- Post uploading, User successfully uploaded message is displayed.
- On successful bulk upload, the Duplicate users are not added. Role and Profile mapping is successfull message appears.
- In case of any mismatch of data related to the user, the following error information is displayed on the page.
- Invalid user.
- Update user failed, manager not eligible.
- Supervisor is not Eligible as Role/Profile data for manager does not exists.

- To view and rectify the errors, click Export Results.
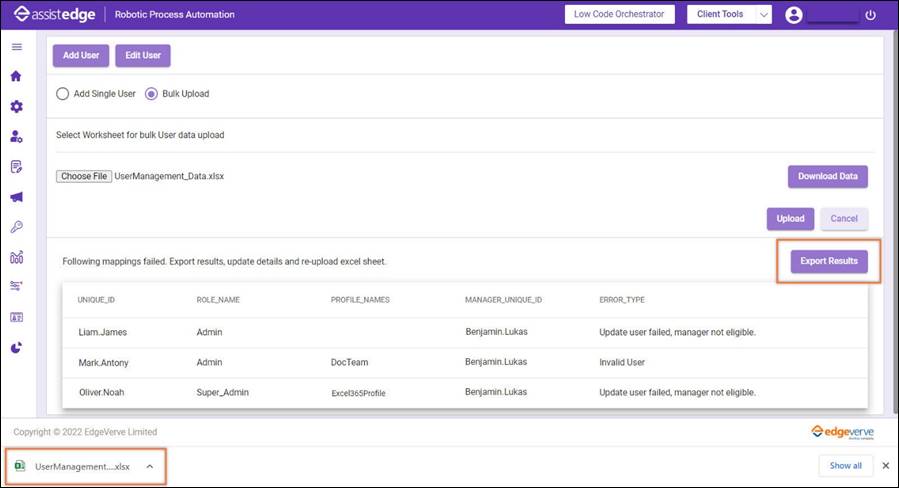

- Excel sheet contains Error_Type column, which includes the error information for that particular entry.
- Search or filter the Error_Type, rectify the errors by verifying the changes from the page.
- Upload the excel file again. You can remove the Error_Type column before uploading. However, if the Error_Type column exists in the excel sheet, the excel is still uploaded successfully.
- If any additional column is introduced in the template, apart from these five columns, the upload operation fails.
- If the template has details of only unique ID, role name, and profile name, the excel is still uploaded successfully.
- On successful bulk upload, the Duplicate users are not added. Role and Profile mapping is successfull message appears.
Editing User Details
By default, user repository is mapped to local Active Directory; however, you can edit details of the users such as first and last name, email address, and status. This is useful in scenarios where you may want to change the role of a user, when users forget their password, or when their email address has changed.
To edit the user's details:
- Click Edit User.
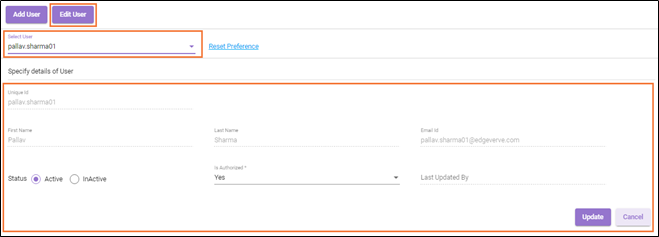
The Edit User page is displayed.
|
NOTE: |
All the preferences set for the selected user can be deleted from a database using the Reset Preferences link. |
- Select the user from the available list.
- Click the Reset Preferences link to delete all the preferences set for the selected user from the database.
- A message appears as Implementation and Application-Level Preferences Reset on the page.
|
NOTE: |
The Unique ID field cannot be edited. |
- In the First Name field, specify the new first name for the user.
- In the Last Name field, enter the new last name for the user.
- In the Email Id field, enter the new Email Id for the user.
-
Select the Status option as per your preference. The Status field is active unless the user is set to inactive.
-
Is Authorized field indicates whether a user is authorized to access control tower or not. This also indicates if the user is eligible to become a manager or not.
-
Click Update to reflect the changes in the database or click Cancel to discard the changes.