SMTP Settings
SMTP Setting enables you to send out the emails, notifications, or request to the application servers which are passed to the specific SMTP server. You are required to edit the SMTP settings in order to provide accurate details for SMTP server and port to receive the mail requests, or notifications.
Prerequisites
- By default, only the <Super_Admin> and < Admin> role has access to SMTP Settings. For more information about SMTP access, see Specify Role Access.
- Ensure that the logged-in user role has page access to view the SMTP Settings.
Starting with SMTP Settings
To set SMTP settings:
- Go to Configuration > SMTP Settings.
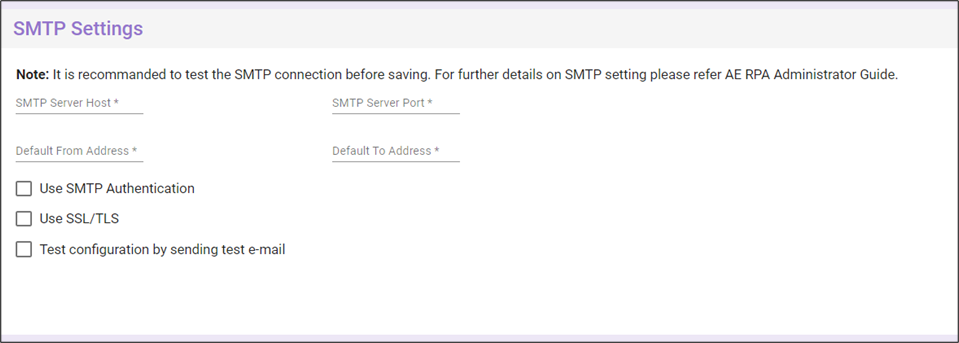
- In the SMTP Server Host, specify the host name of the mail server machine.
- In the SMTP Server Port, specify the port number of the mail server machine.
- In the Default From Address, specify the e-mail address from which the notifications must be sent.
- In the Default To Address, specify the e-mail address to which the notifications must be sent.
- In case you are required to use the SMTP authentication, select the Use SMTP Authentication check box, and specify the username and password to access the SMTP server.
|
NOTE: |
|
- In case the SMTP server requires SSL/TLS protocol for connection, select the Use SSL/TLS checkbox.
- In case you want to test the SMTP configuration, select the Test configuration by sending test checkbox, and then specify the email address of the recipient.
- Click Save to save the SMTP settings.