Building a Low Code Process Flow
The process flow defines the complete end-to-end business journey which the end user is going to experience.
To start building a Low Code process flow:
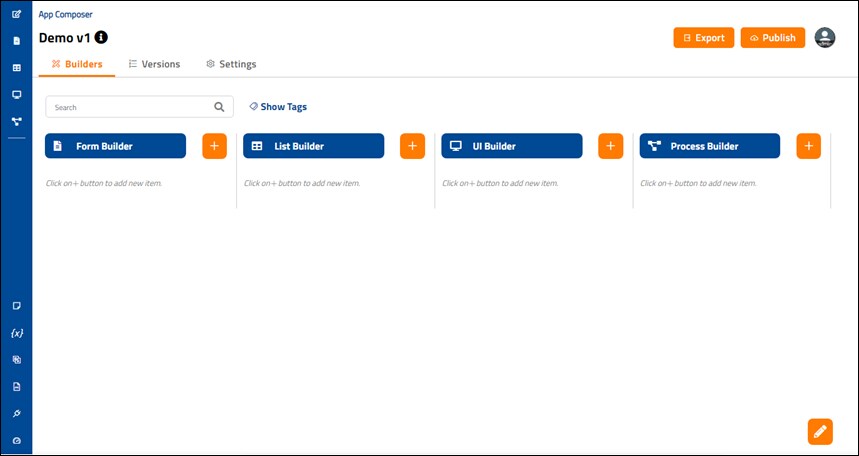
- Click edit (
 ) icon on the application you want to create the process flow for. The App Composer screen for that application appears.
- Click plus (
 ) icon on the Process Builder from the right panel.
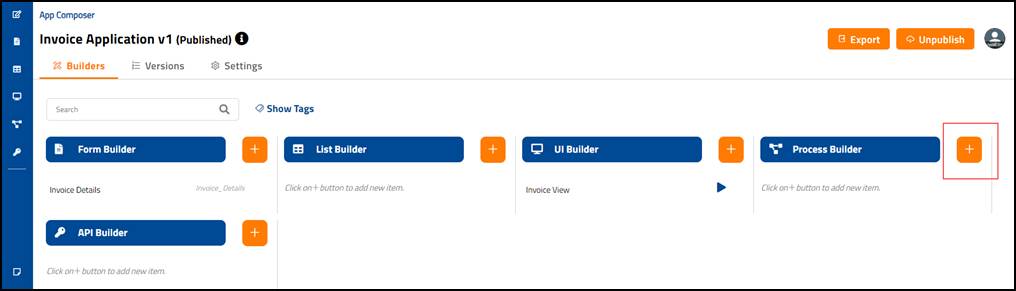
The Process Builder screen provides option to:
Design the process flow
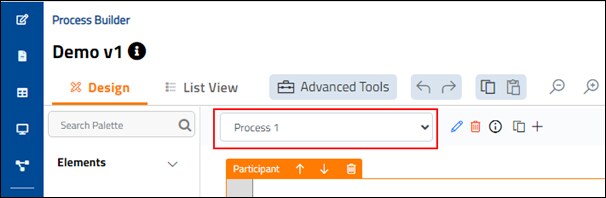
To start with designing of the process flow click Design Tab. The Process Builder screen appears.
By default, a process is already created with process name as Process 1 on the Design Tab screen. You can edit the process name as required.
Editing the Process Properties
The process properties are used to define the name and id of the process, create workflow variables, add subflow parameters and provide SLA options.
To edit the process details:
- Click the Edit (
 ) icon beside the <Process Name> field. The Properties window for the process appears on the right side of the screen.

- On the Properties enter the required details and click Apply Change. The process is edited and ready to be designed further.

You can also remove process or the element ( ), view additional information (
  ), clone (
  ), or add (
  ) new process using these respective icons.
Adding Process Elements
Once you edit the process properties you can proceed with designing the process by dragging and dropping the required elements as per the process flow. You can configure the mapping of these elements as you select them when designing the process flow.
To add the elements:
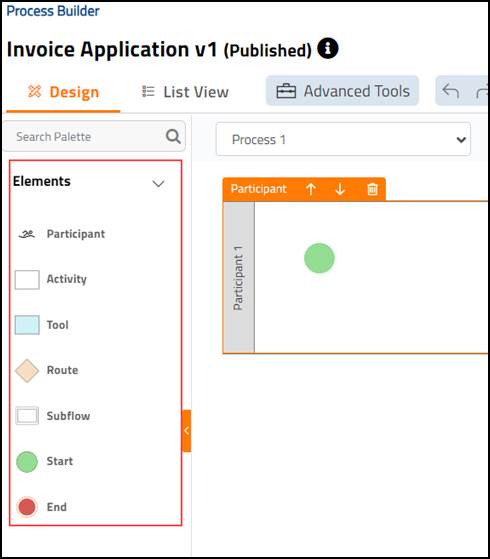
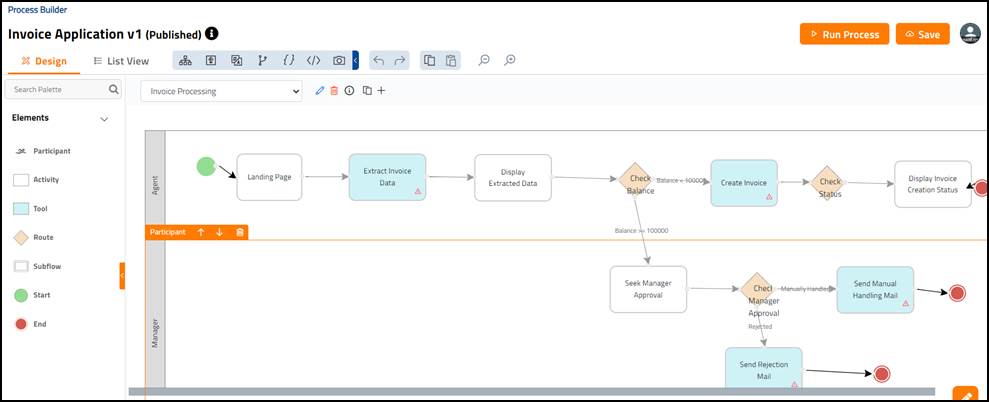
On the Design Tab Palette, hover on the element you require and drag - drop it on the on the canvas area. By default, every process has a Participant element containing the Start element. For more information about these elements, see Process Builder Elements.
Process Builder Elements
The Process Builder elements are added based on the end-to-end business flow which is experienced by the end user.
Following are the Process Builder elements available for selection:
| Element | Icon | Description |
| Participant |  |
The Participant element is used to bring in a new participant swim lane which represents a role, a person, or an entity. |
| Activity | The Activity element is mapped to the forms within the application and utilized to communicate with participants by taking inputs or displaying the output. | |
| Tool |  |
The Tool element is mapped to the Process Tool plugin, to either trigger the automation process or trigger certain functionality programmatically as a part of end-to-end business flow. |
| Route |  |
The Route element is used to determine the flow of the process. It can be used as a condition-based control in the flow. |
| Subflow |  |
The Subflow element is used to trigger the start of another process within the main process under the same application. |
| Start |  |
The Start element signifies the start of the process flow. |
| End |  |
The End element signifies the end of the process flow. |
Additional Element
| Element | Icon | Description |
| Transition | The Transition element is used to connect two elements. This element appears when two elements are connected. |
|
NOTE: |
Every process flow must have at least one participant, start and end element along with at least one of the remaining elements connected with transition elements. |
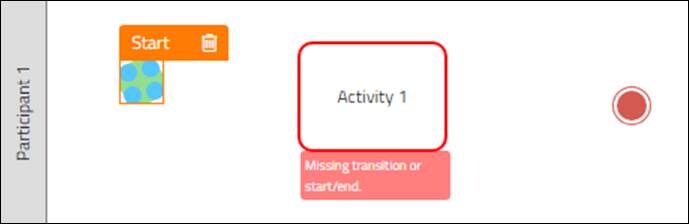
Connecting Process Builder Elements
The Process Builder Elements are added based on the end-to-end business flow which is experienced by the end user.
All elements must be connected using the transition element. Once you drag and drop the elements on the canvas, hover over the desired element. Upon hovering the element, the element gets surrounded by circles. Hover over the desired circle, click on it, drag and drop the mouse on another desired element to connect it.

Editing and Mapping the Elements
Once you drag and drop the elements on the Process Builder canvas, you can then edit the element properties as required.
To edit the element properties:
- Click the desired element. The Properties window for that element appears on the right side of the screen.
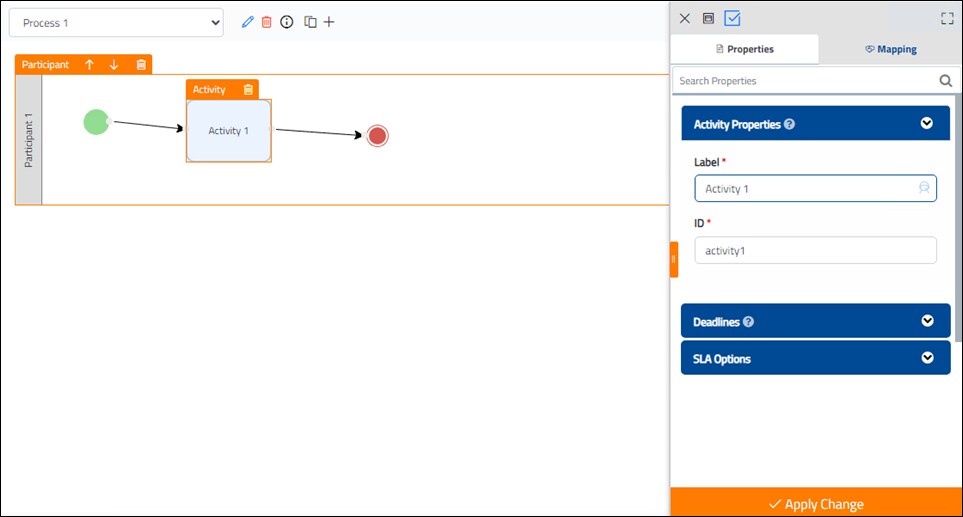
- On the Properties panel, enter the required details.
NOTE:
The transition element doesn’t have any associated properties when it is connected from start element or to stop element. But whenever the transition element is connected between other elements, the properties such as Name, Style and Type can be configured for it.
To configure the element mapping:
- Click the desired element. The Properties window for that element appears on the right side of the screen.
- Click Mapping on that window. The Mapping section appears.
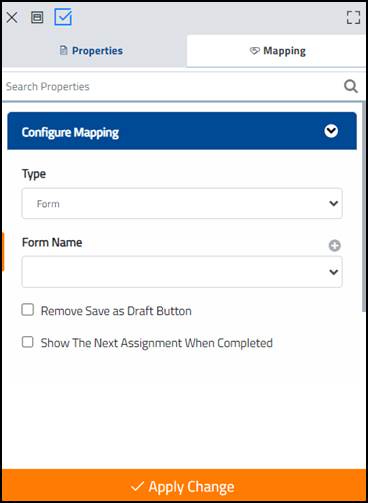
- Enter the details required to configure the mapping. For more information on mapping the various elements see Designing the Process under the Step-by-Step Example.
Saving the Process Flow
After all the process elements are added and edited on the process builder, you must deploy the process.
- Click Save.
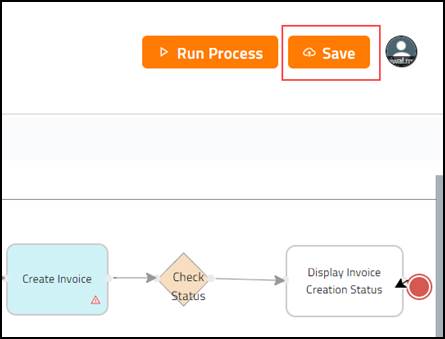
- In the Processes tab, the designed process appears.
The process is now ready to be run.
Creating a UI
After designing the process and configuring the mapping, you must create a User Interface to let the participant initiate the process flow and look at the assignments which are to be completed.
For more information about creating a UI, see Creating a User Interface.
Publishing and Launching the Process
Once the application with relevant forms, Userview and process is created, you must publish the application to let the relevant participant launch and access the application.
For more information about publishing and launching the process, see Publishing and Launching the Application.
Running the Process
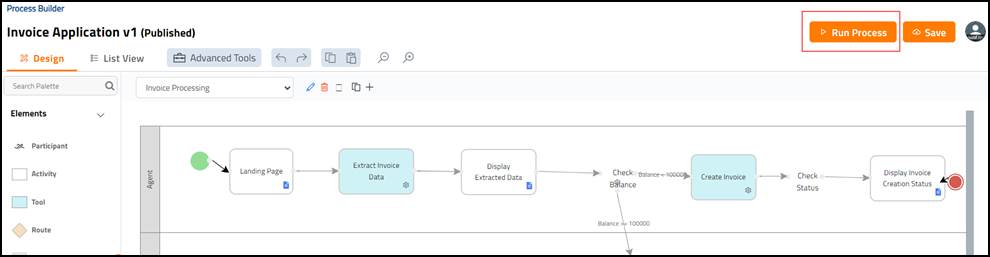
The Run Process button enables you a quickly launch the process instance of the currently displayed process.
To run the process:
- On the App Composer screen, select the process you want to run from under the Process Builder list.
- Click Run Process.
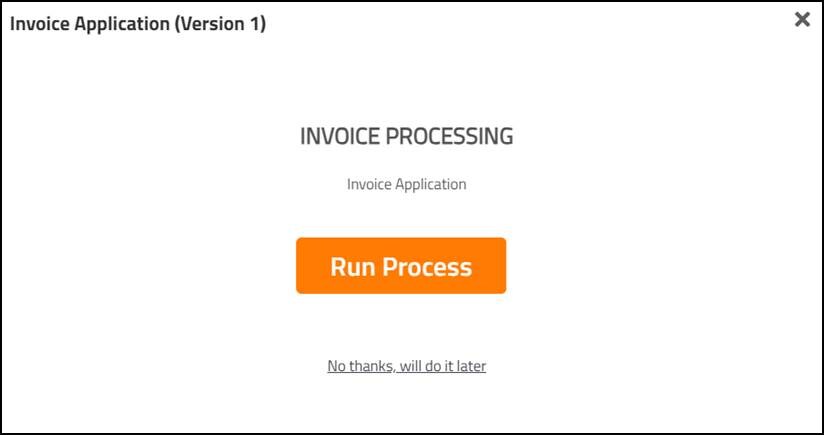
- Click Run Process on the confirmation window.
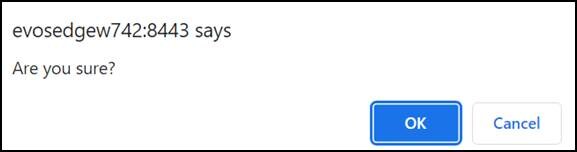
- Click OK to confirm.
- Click Complete, if prompted to execute subsequent steps in process flow.