Upgrade Client-Side Components
Once server-side components are upgraded, you need to apply the updates to all the client-side components.
EnterprisePersonalAssistant (EPA) and Engage Upgrade
There are two ways to use the upgraded version of EPA and Engage:
- Use new EPA/Engage from upgraded build:
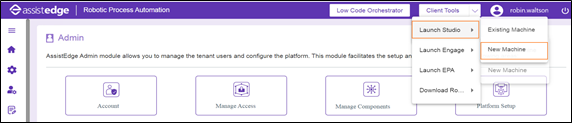
- In the Admin module, use the Client Tools > Launch EPA option and select New Machine from the drop-down list to download the EPA application.

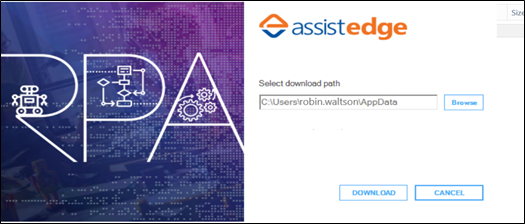
- Launch the EPA application on your system using the downloaded .exe file. It enables you to install a compressed EPA file from web browser directly. By default, the file gets downloaded at \AppData\Local\EdgeVerve\19.1. You can change the default location as per your need.
- Click Browse and select the desired location to save EPA at a different location.
- Click DOWNLOAD.
NOTE:
Once you have executed the above steps, you can launch EPA from the Admin module using the Launch EPA > Existing Machine option.

- Similarly, use Client Tools > Launch Engage and repeat step 1 through step 4 for Engage application.
- In the Admin module, use the Client Tools > Launch EPA option and select New Machine from the drop-down list to download the EPA application.
- Use new EPA/Engage from upgraded build:
- On the client-side, run EnterprisePersonalAssistant.exe. The Patch Notification window appears.
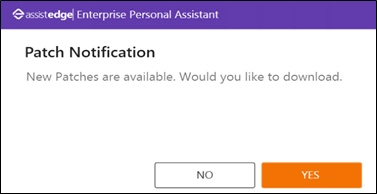
- Click Yes to download the new patches.
Again, the Patch Notification window is displayed. The message appears as Patches downloaded successfully. Would you like to update Enterprise Personal Assistant?
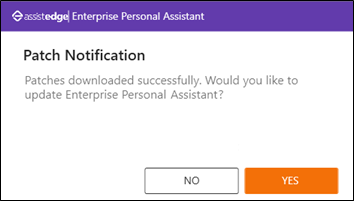
- Click YES to apply the downloaded patches.
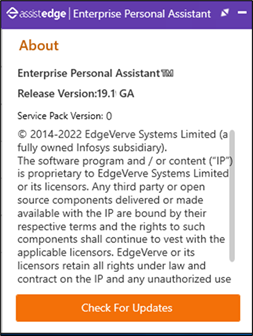
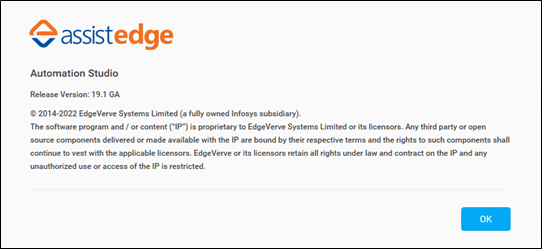
- Once the patch is applied, a window with details of the application and the version of the patch applied is displayed as shown in the below image.
- Similarly, repeat steps 1 through 4 for Engage.exe. If any error occurs during the update, the system automatically rollbacks to the existing version.
- On the client-side, run EnterprisePersonalAssistant.exe. The Patch Notification window appears.
Automation Studio Upgrade
There are two ways to use the upgraded version of Automation Studio:
- Use new Automation Studio from upgraded build:
- In the Admin module, click Client Tools > Launch Studio and select New Machine option from the drop-down list to download upgraded Automation Studio on your system.
- Launch the Automation Studio application on your system using the downloaded .exe file. It enables you to install a compressed automation studio file from web browser directly. By default, the file gets downloaded at \AppData\Local\EdgeVerve\19.1. You can change the default location as per your need.
- Click Browse and select the desired location to save Automation Studio at a different location.
- Click DOWNLOAD.
NOTE:
Once you have executed the above steps, you can launch Automation Studio from the Admin module using the Launch Studio > Existing Machine option.

- In the Admin module, click Client Tools > Launch Studio and select New Machine option from the drop-down list to download upgraded Automation Studio on your system.
- Use the existing Automation Studio:
- Launch RPA 19.x Automation Studio using AutomationStudio.exe from the path where it was downloaded previously. For more information, see AE-RPA-Engage-Automaton Studio UserManual.
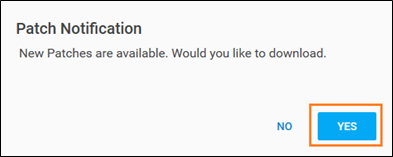
The Patch Notification window is displayed. The message appears as New Patches are available. Would you like to download., if new patches are available.
- Click Yes to download the new patches.
Once patches are downloaded, the message appears as Patches downloaded successfully. Would you like to update Automation Studio?
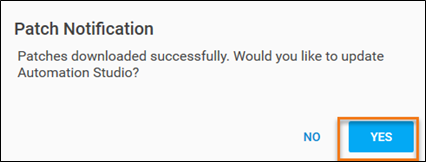
- Click YES to apply the downloaded patches.
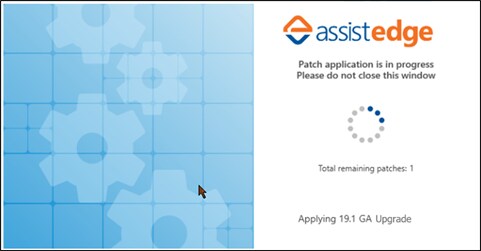
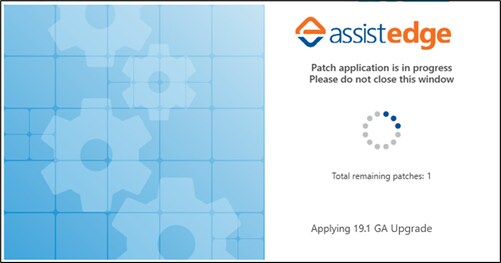
- The component is stopped, and the Patch Application window is displayed as shown in the above image. It also displays the total number of patches to be applied.
- Launch RPA 19.x Automation Studio using AutomationStudio.exe from the path where it was downloaded previously. For more information, see AE-RPA-Engage-Automaton Studio UserManual.
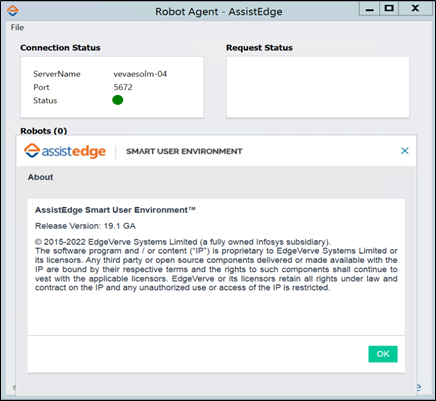
Once all the patches are applied, a window with details of the application and the version of the patch applied is displayed as shown in the above image.
Post successful upgrade you can launch Automation Studio from Admin Module > Launch Studio > Existing option.
Upgrade Proctor
Follow the below steps to upgrade Proctor.
- Apply patch for Proctor. Skip to the next step if you are not using Proctor.
- Login to the machine where Proctor is installed.
- Ensure that Proctor is in STOP state.
- Copy all the files except EV.AE.Proctor.exe.config from the upgrade folder- <Release191 Folder>\client-tools\AutomationRuntime\Robot\Proctor and paste them in the \Proctor folder available on the machine where Proctor is installed.
NOTE:
Ensure you do not copy and replace the EV.AE.Proctor.exe.config file oin the \Proctor folder, else, the upgrade does not happen as expected.
- Copy ae.bat file from the upgrade folder- <Release191 Folder>\client-tools\AutomationRuntime\Robot\ and paste them in the \Robot folder available on the machine where Proctor is installed.
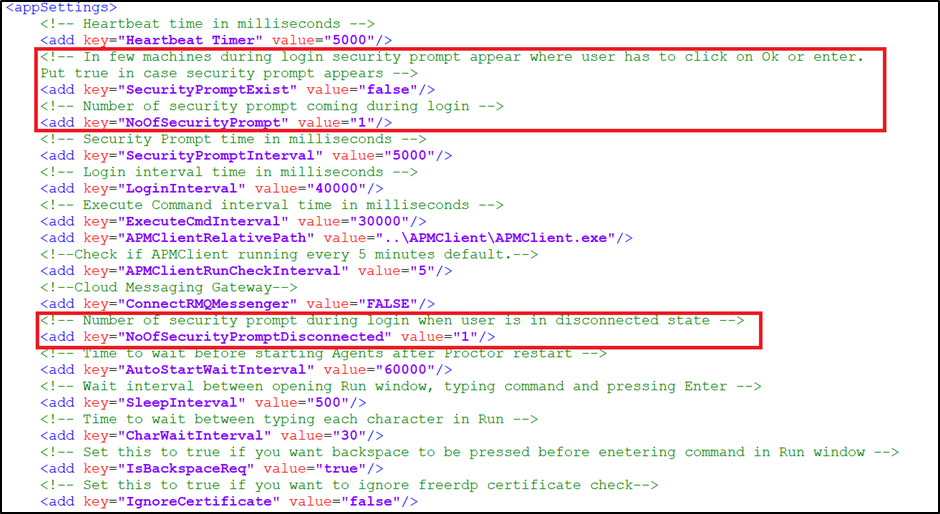
- Login to the machine where Proctor is installed and update the Proctor configuration file EV.AE.Proctor.exe.config available inside the \Proctor folder. Under the appSettings section of the file, remove the following key-value pairs (as shown in the below screen shot):
- SecurityPromptExist
- NoOfSecurityPrompt
- NoOfSecurityPromptDisconnected
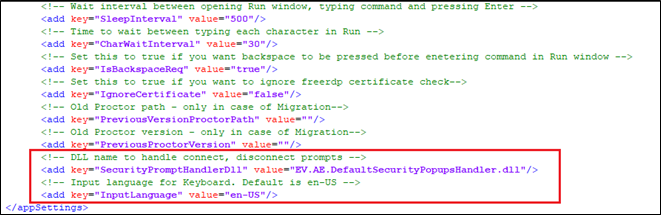
- Once the key-value pairs are removed, add the below key-value in the appSettings section:
- SecurityPromptHandlerDll
<!-- DLL name to handle connect, disconnect prompts -->
<add key="SecurityPromptHandlerDll" value="EV.AE.DefaultSecurityPopupsHandler.dll"/> - InputLanguage
<!-- Input language for Keyboard. Default is en-US -->
<add key="InputLanguage" value="en-US"/>
- SecurityPromptHandlerDll
- Start Proctor using the ae start command.
- The respective machine starts appearing in the Control Tower application.
|
NOTE: |
It is recommended that all instances of client components are upgraded. Else, user might encounter issues using the existing version of the client components. For example, there could be a conflict in the dll file as the server is migrated to the latest version. Additionally, users will not be able to use the new features and enhancement introduced in 19.1 release. |
Upgrade APM Clients
You need to upgrade the APM clients on each machine where the robot agents are installed. Skip this section if you want to use the Robot Agent from the fresh installation and not the existing Robot Agent of RPA 19.x version.
- Copy all the files except APMClient.exe.config.merge from the upgrade folder- <Release191 Folder>\client-tools\AutomationRuntime\Robot\APMClient and paste them in the \Robot\APMClient folder available on all the machine where Agent is installed.
NOTE:
Ensure you do not copy and replace the APMClient.exe.config.merge file.
- On the required machine, access the APMClient.exe.config file available in the folder- <InstallationDirectory>\client-tools\AutomationRuntime\Robot\APMClient.
- Within the PrimarySettings section, add the <Parameters/> tag.
- Save and close the file.
- Repeat step 1 through step 3 for all the machines where robot agent is installed.
The APM Clients are updated.
Upgrade Robot Agent and Robot
There are two ways to use the upgraded version of Robot Agents and Robots:
- Use new Robot Agent from upgraded build:
- In the Admin module, click Client Tools > Launch Robot and select New Machine option from the drop-down list to download the upgraded Robot folder.

It enables you to download the entire Robot folder on your system. By default, the folder gets downloaded at \AppData\Local\EdgeVerve\19.1. You can change the default location as per your need.- Click Browse and select the desired location to save Automation Studio at a different location.
- Click DOWNLOAD.
- In the Admin module, click Client Tools > Launch Robot and select New Machine option from the drop-down list to download the upgraded Robot folder.
- Use the existing Robot Agent and Robot:
You must update the APM client before you upgrade the existing Robot Agents and Robot to RPA 19.1.
Using the Update Management tab in the Control Tower, you can upgrade respective Robot Agent or Robot. For more information, see Update Management.
|
NOTE: |
|
To apply 20.0 patch to Robot Agent or Robot:
- Click the
 (Update Management) icon or click Update Management. The Update Management page is displayed.
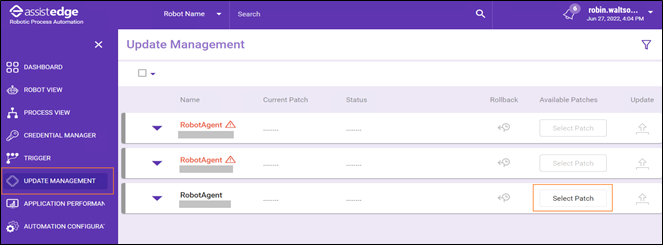
- In the Available Patches column, corresponding to the Robot Agent or Robot for which you want to apply the patch, click Select Patch. The UDATE – ROBOT/ROBOT AGENT page appears to select the required patch. All the patches that you have uploaded for Robot Agent and Robot are available to select.
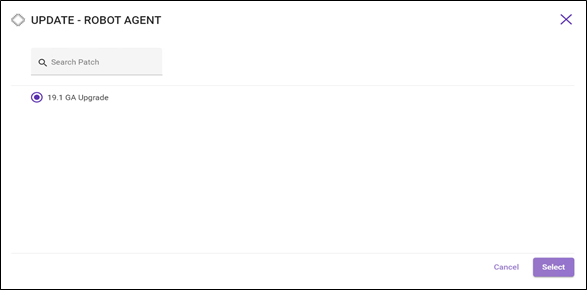
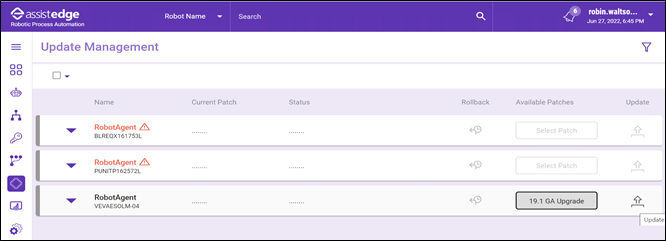
- Select the required patch and click Select. The selected path appears corresponding to each Robot Agent or Robot.
- Click Update.
NOTE:
If the patch is already applied, select Patch button is highlighted in red and tool tip appears on the page.
A message appears as Applying Patches # <Number>. The Apply Patch and Rollback Patch buttons are disabled during this process.
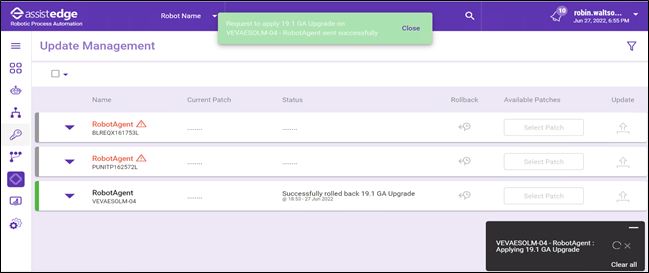
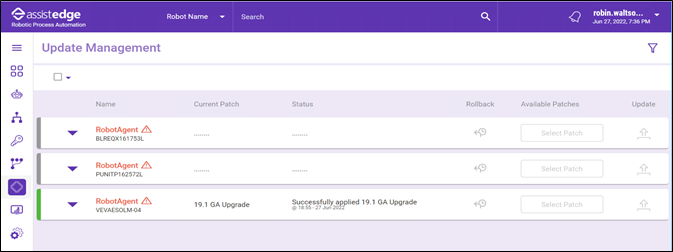
Once the patch is applied successfully, a message as Machine name - RobotAgent: Patch number applied appears. Additionally, Status column is updated as Successfully applied Patch#<number> with the date and time stamp. - Click the
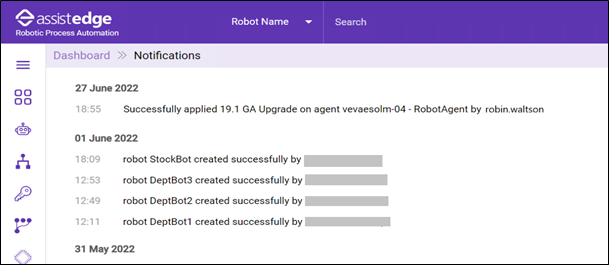
 (Notification) icon to view the patch status. A notification messages as <Successfully applied patch #<number> on agent <Machine name> - <Robot Agent Name> by <username> appears on the page. The Patch Version displays the version of all the patches that you applied.
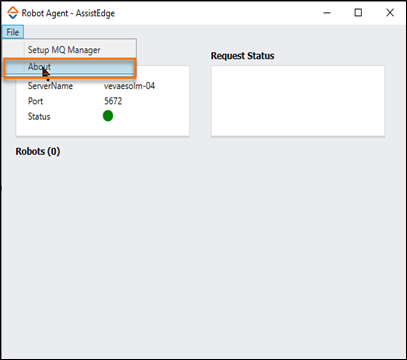
Once the patch is applied, the Apply Patch and Rollback buttons for the component are enabled. - In Robot Agent window, click the File menu, and then click About to verify if the patch is successfully applied.
|
NOTE: |
If you create new Robot in RPA 19.1 you must upgrade it to 19.1 following the above steps for Robot upgrade, else, it does not work as expected. |