RobotFarm Migration
This section covers:
Pre-Migration Steps
Below is the list of prerequisites to be completed before proceeding with RobotFarm Migration. Ensure that:
- The TxnStore migration is successful.
- From the RPA 20.0 scripts folder, run the command ae start TxnStore in admin mode. Verify that the TxnStore of 20.0 is in running state.
- From the RPA 20.0 scripts folder, run the command ae start messaging in admin mode. Verify that the messaging of 20.0 is in running state.
- From the RPA 20.0 scripts folder, run the command ae start vanguard in admin mode. Verify that vanguard of 20.0 is in running state.
- From the RPA 20.0 scripts folder, run the command ae start controltower in admin mode. Verify that the controltower of 20.0 is in running state.
- Download the Robot folder form the Admin module of RPA 20.0 instance for copying to Robot Farm machines where old Proctor is installed. For more information on how to download Robot folder, see Download Robot section.
- Login on all the machines where old robots are running.
- Copy the Robot folder (Robot folder of RPA 20.0).
- Replace the old Robot folder with the copied Robot folder (RPA 20.0) on all machines where old robots are running, and migrate the Robot agent and Robots.
- Update OldRobotAgentPath with the new path:
- Go to the copied Robot folder (Robot folder of RPA 20.0) and access the RobotAgent folder.
- Locate and open the RoboAgent.exe.config file in editor.
- In the oldRobotagentpath key, enter old Robot agent path with ‘/’ at the end. For example, “D\RPA19.x\client-tools\RobotAgent” /
- Update the version of the old agent under baseVersion key. For example, if you are migrating from AssistEdge version 17.6, then the baseVersion key value is 17.6.
- Add a new key, RobotSourcePath and update its value with the base robot path of the new RobotAgent with ‘/’ at the end. For example, <add key=”RobotSourcePath” value=”D:\RPA19.x\Robot\RobotAgent\RobotSE” />
|
Note: |
For version 17.3 and earlier:
|
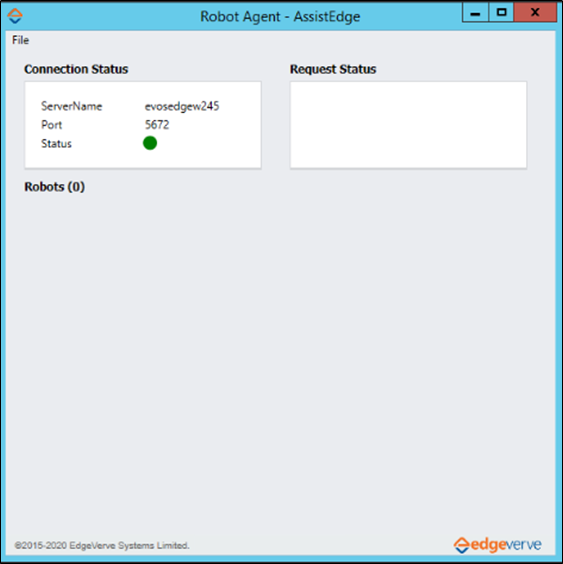
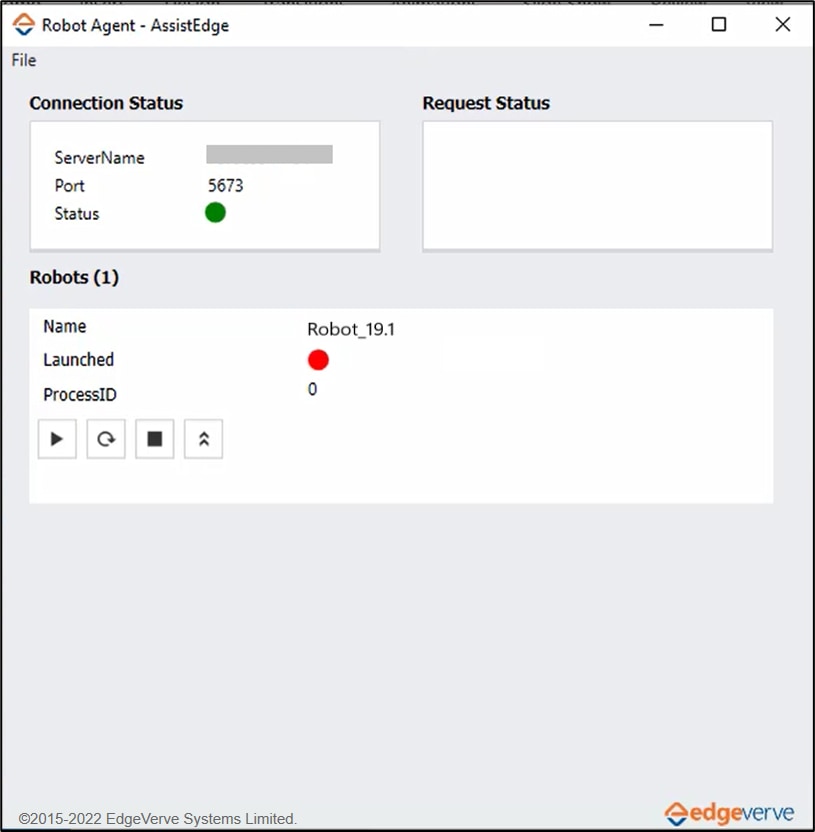
- Run RoboAgent.exe. Ensure that RobotAgent is connected to Messaging service. The green dot indicates the successful connection. Contact the support team if it fails to connect to the Messaging Service.
Migration Steps
|
Note: |
|
To migrate using Migration Workbench:
- Run MigrationWorkbench.exe.
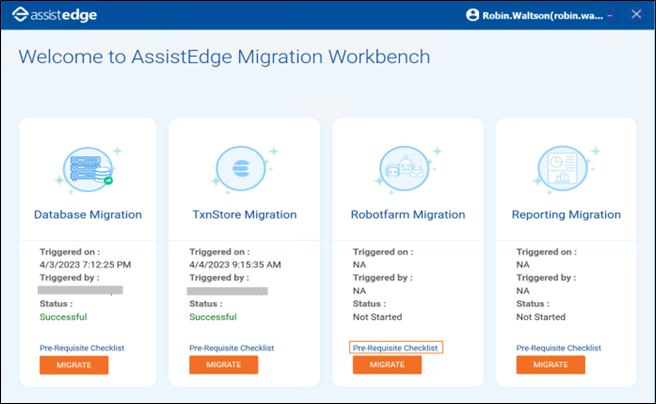
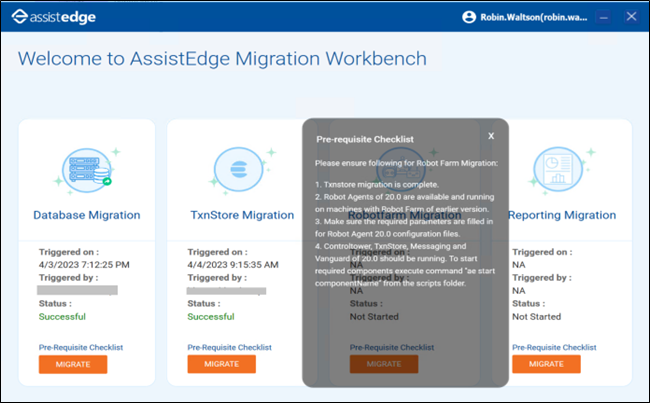
- Click the Pre-Requisite Checklist link in the RobotFarm Migration pane. The prerequisite checklist is displayed as shown in the below screenshot.
- Ensure that the prerequisites are verified as per the checklist.
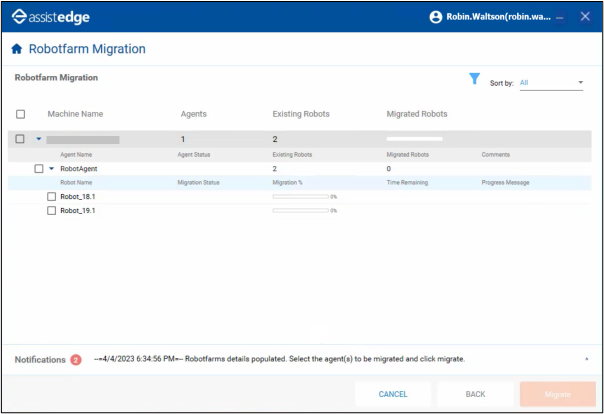
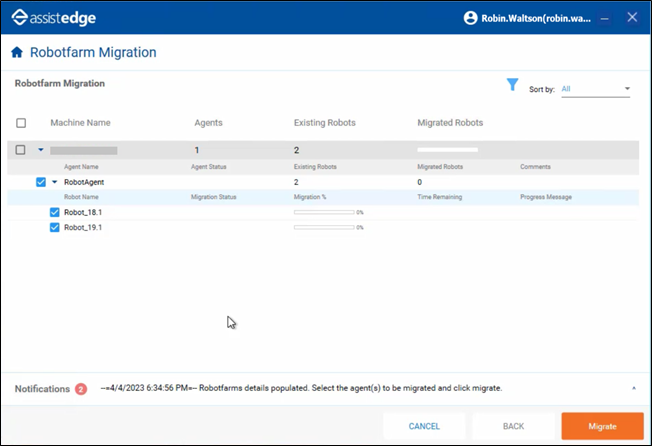
- Click Migrate in the RobotFarm Migration pane. The RobotFarm Migration window appears displaying the following information:
- Machine Details
- Machine Name
- Total Number of Agents
- Total Number of Robots
- Total Number of Migrated Robots
- Agent Details
- Agent Name
- Agent Status
- Total number Robots in Agent
- Total number of migrated Robots in Agent
- Comments (Migration Status)
- Robot Details
- Robot Name
- Migration Status
- Migration %
- Time remaining to complete migration
- Progress message to show migration step in progress at Robot
If there are multiple agents on the same machine, the agents belonging to each machine are visible on the screen.
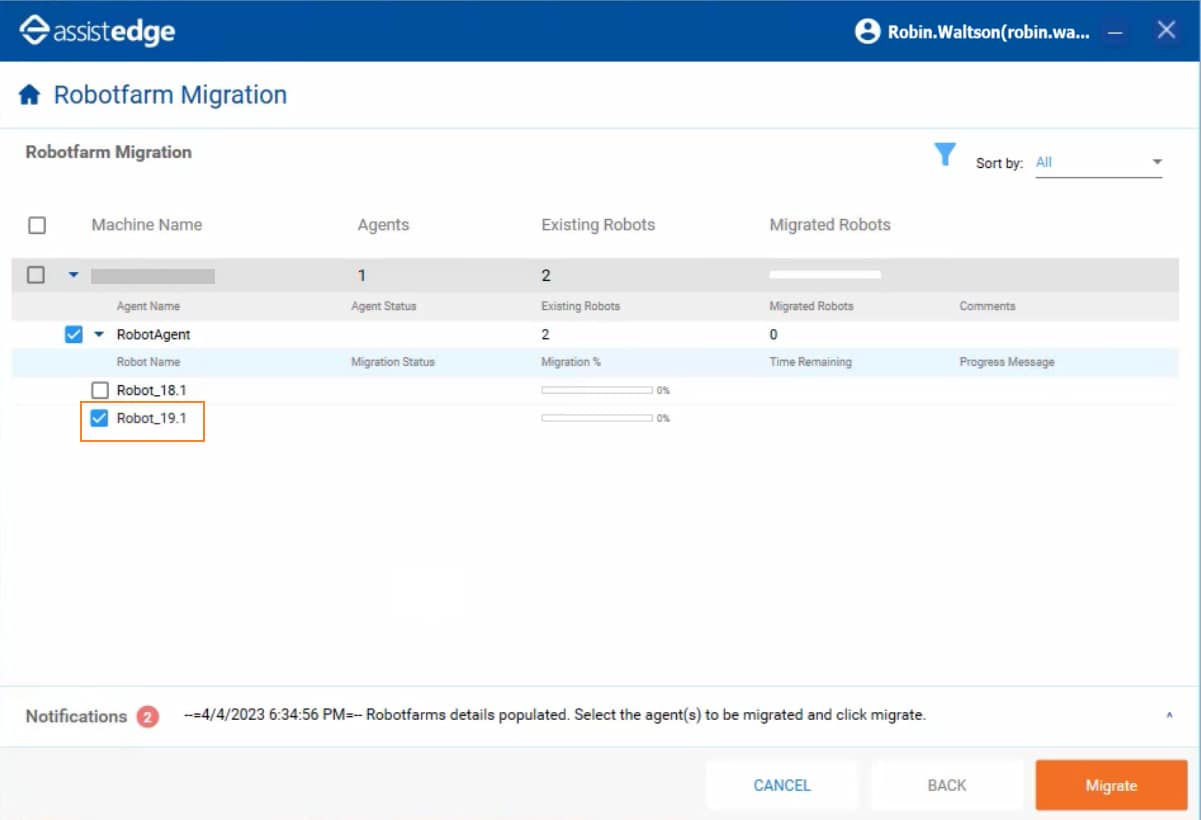
- When you select the check box next to a particular Machine Name, all the agents and robots associated with that specific machine are automatically selected.
Similarly, when you select the check box next to a particular Agent Name, all the robots associated with that specific agent is automatically selected.
- Additionally, you can select the desired number of robots that you need to migrate. Here, Robot_19.1 is selected.
- Click Migrate. The below screen appears stating Querying agent for availability.
|
Note: |
The agents that are not connected to the messaging services are not visible, thus can not be migrated. |
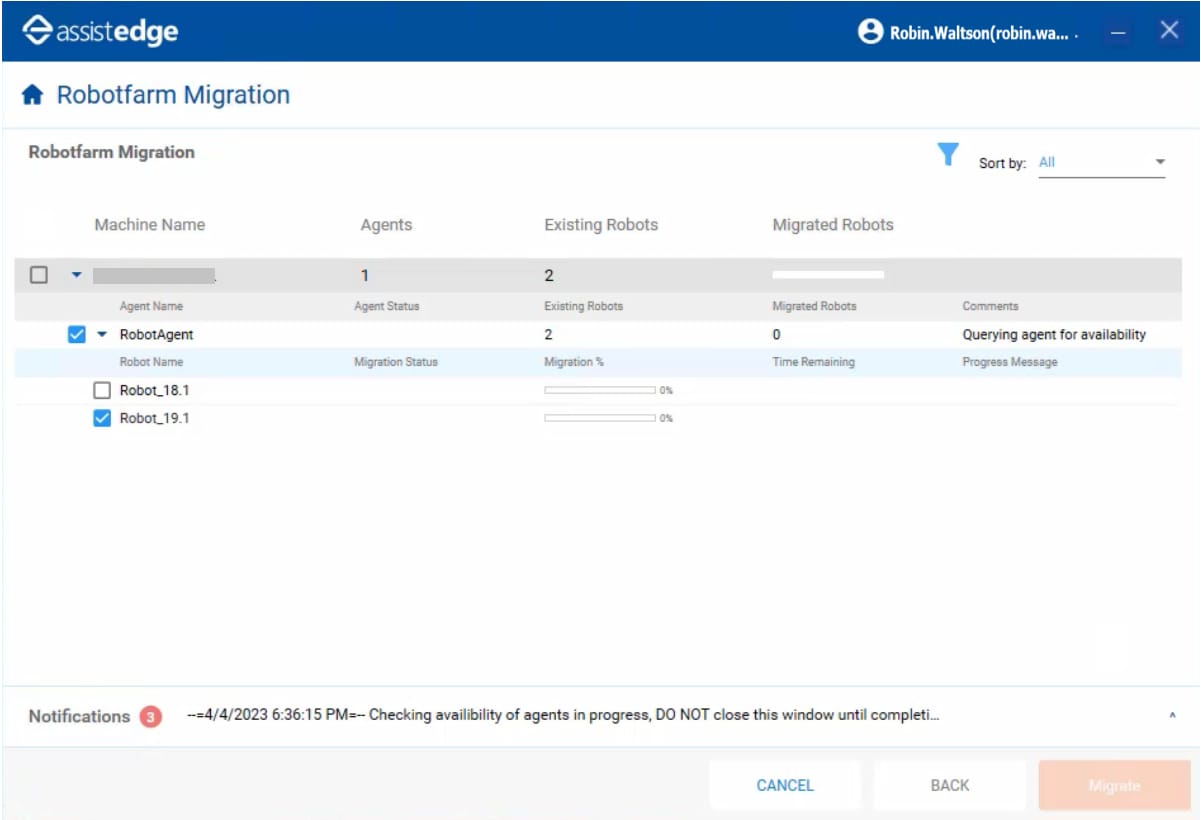
The migration time varies depending on the number of robots and agents you need to migrate.
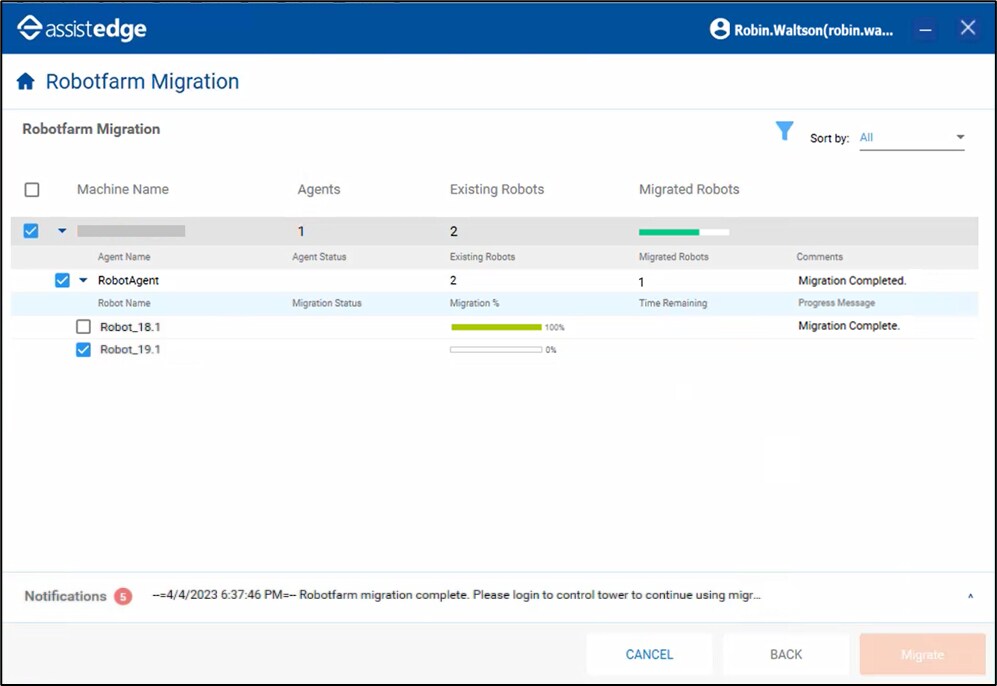
- Once the migration is completed, the below screen appears. The Comments column shows the message stating Migration Completed.
Post- Migration Steps
There are two ways to verify if the RobotFarm Migration is successful:
- Go to RobotFarm and check RobotAgent. It shows the migrated bots. Here, Robot_19.1 is migrated.
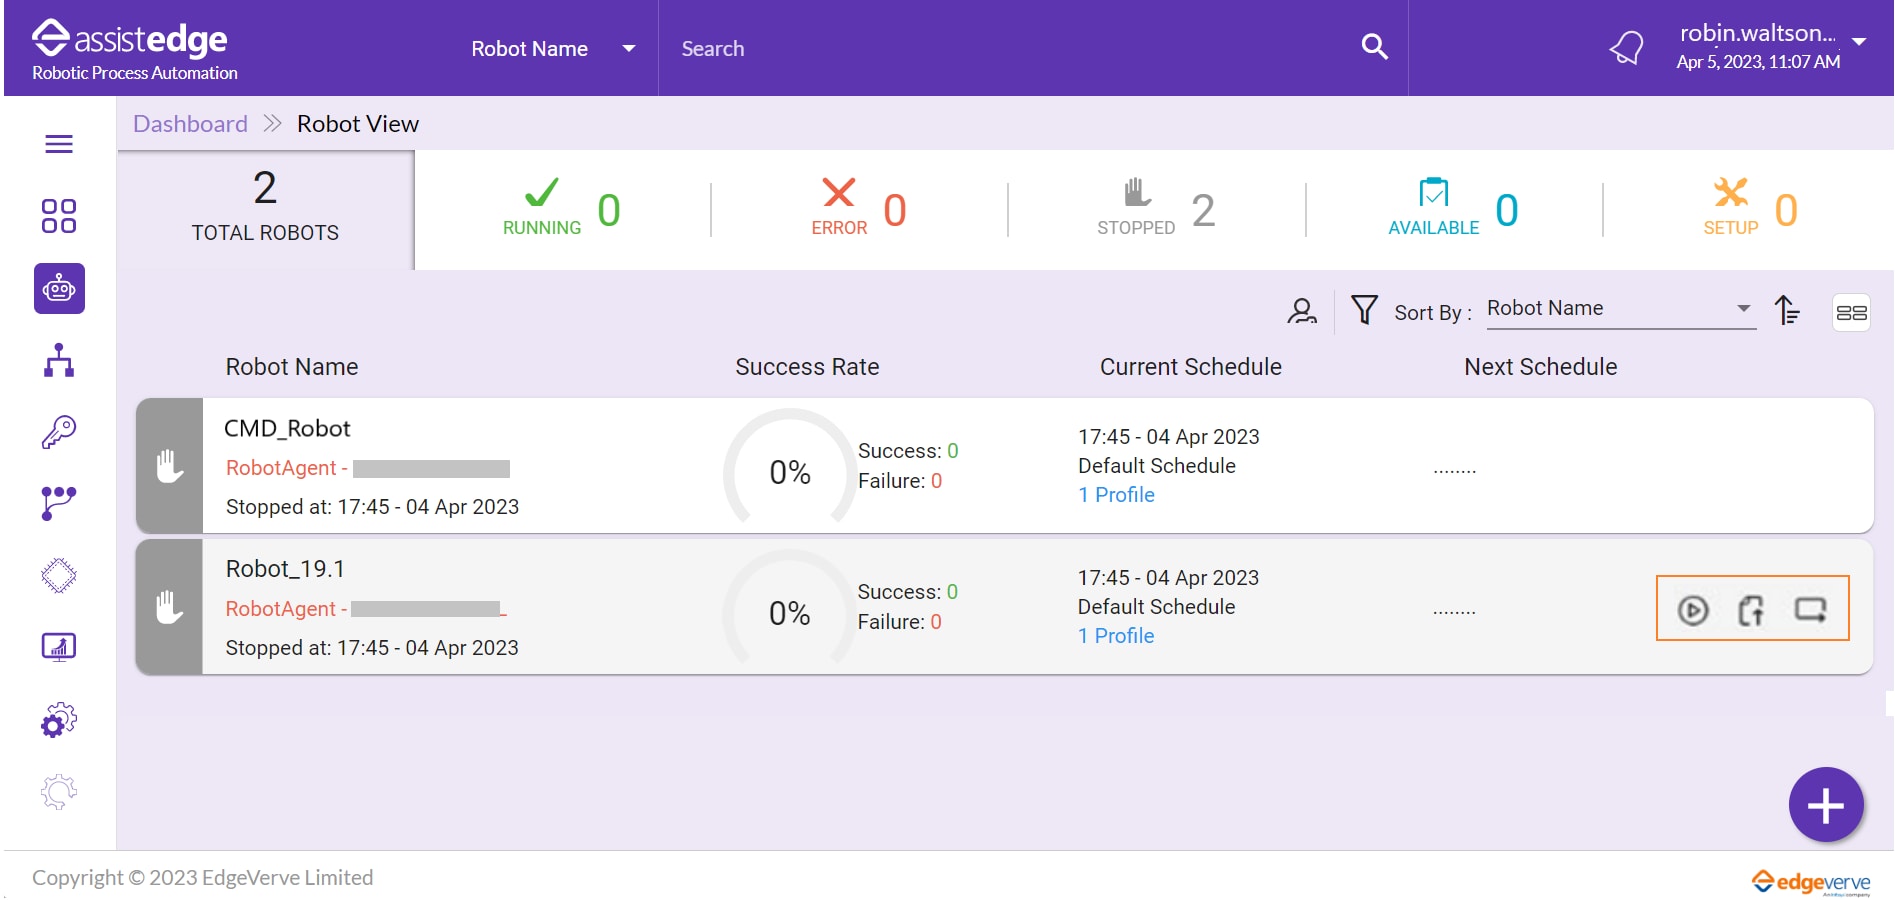
- Login to Control Tower. Robot Agents and Robots are available here. The action icons are disabled for the bots that are not migrated. For example, CMD_Robot.

Whereas the action icons are enabled for the migrated bots.
For more information on Control Tower, see ControlTower.
|
Note: |
Post migration, robots must be started manually for the first time to run them in their defined schedule (This is applicable for robots running in only Default schedule/ only Custom schedule / Combination of Default and Custom schedule.) |