Verify Server-Side Installation
This section validates successful installation on your system that is an Open Distro encrypted login. Ensure that all the components are up and running before you start validating the server-side components.
To Verify the Setup:
- Copy the server license file provided by EdgeVerve to <Installation Directory>/AssistEdgeAutomation > data > License folder.
- Go to the URL https://<proxy_server_hostname>:8443/ui/Admin.
- Login using the Super Admin credentials that are added during installation. If no super admin was added, use ae addsuperadmin from the command prompt to add a super admin. For more information, see AE Commands.
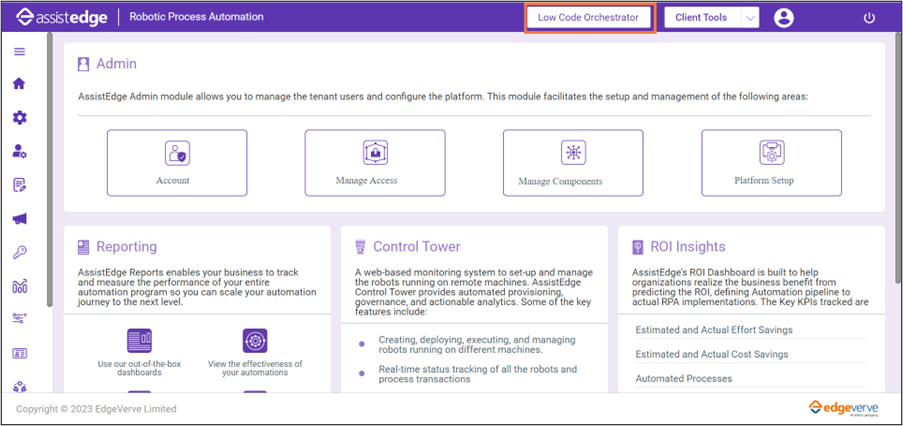
License Manager
After the installation is successfully done, follow the below steps to provide the required server and user licenses:
- Server-Side License - ,You can see the server license in the License Manager interface of the Admin Module. For more information, see SSL Certificates and Licensing Prerequisites.
- User/Robot Licenses – Upload the relevant user licenses in the License Manager interface of the Admin Module.
- Lowcode – Upload the license in the App Center of the Low Code Orchestrator. For more information, see Steps to Upload Lowcode License.
Steps to Upload User/Robot License
- Visit the URL of the Control Tower component.
- Enter Username and Password of the Super Admin that was created during creation of database and then click Login. The Admin page opens.
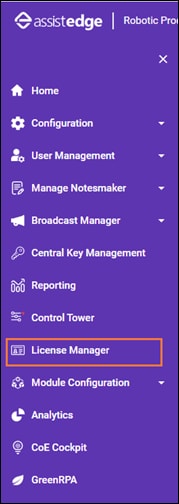
- Access License Manager menu.
Click LICENSE UPLOAD to upload the license provided by EdgeVerve. See License Prerequisite section above to know about the License required based upon the functionality. Contact EdgeVerve if you do not have the license file available with you. The Upload License dialog box opens.

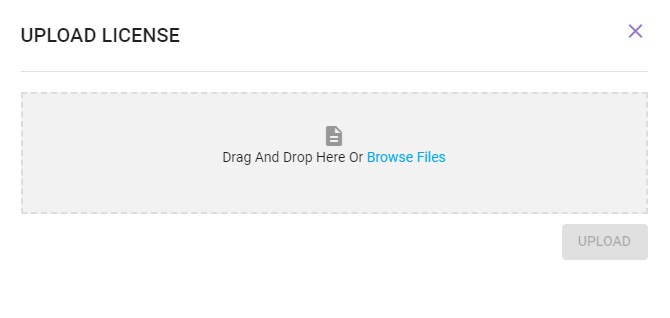
- Either Drag and Drop or browse file to find the license file saved on your system and then click UPLOAD.
The License file is uploaded and saved.
|
NOTE: |
For more information, see Administrator. |
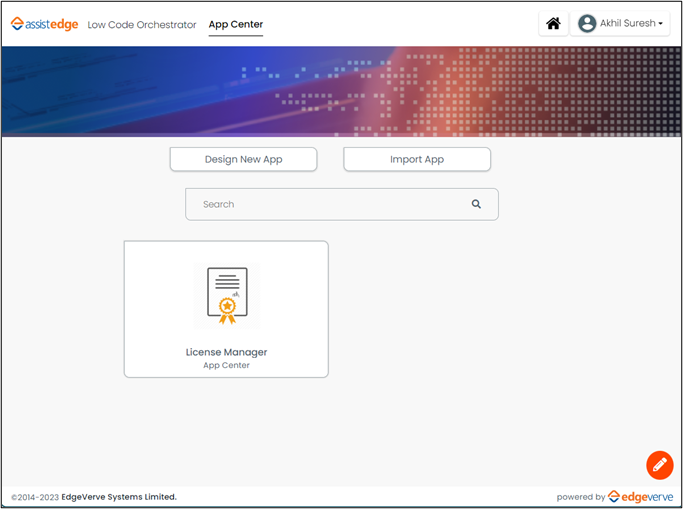
Steps to Upload Lowcode License
- Visit the URL of the Control Tower component.
- Enter the username and password of the user who has Low code orchestrator designer access, and then click Login. The admin page opens.
NOTE:
The user must have Low code orchestrator designer access to login to the Low Code Orchestrator page. To specify the role access to the user, see Specifying New Access section. - Access Low Code Orchestrator tab.
- From the App Centre, click the License Manager App Centre.
The License Manager app provides two sections:- Section 1 – License Input
The License Input section contains lists of all the system keys for each node, along with their IP address and creation date.
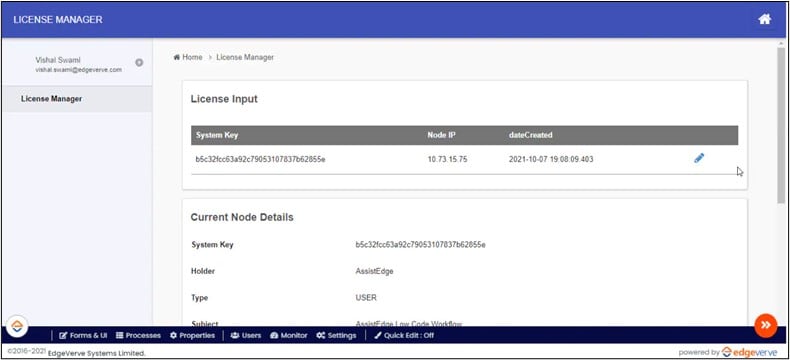
If it is a cluster environment with multiple nodes, then this section will display all the nodes.
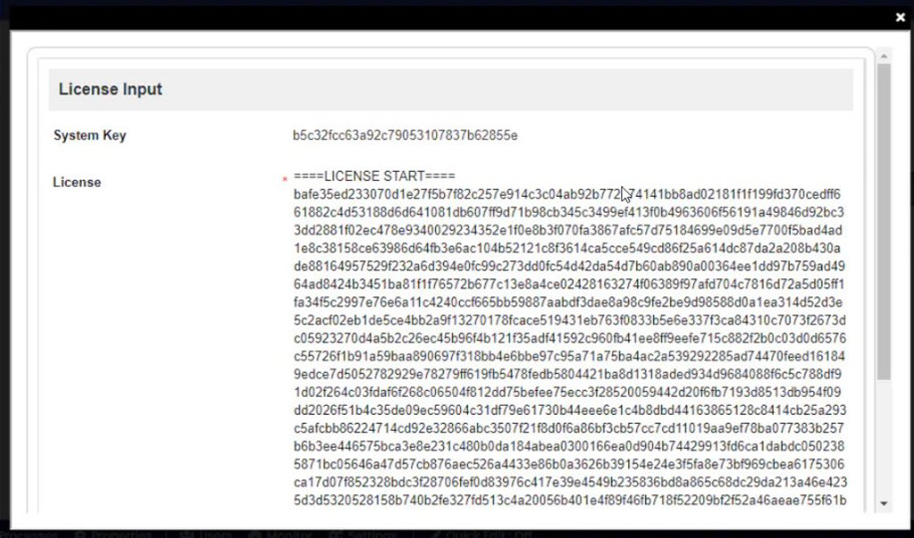
Click the (pencil) icon to add the license key, as shown below:
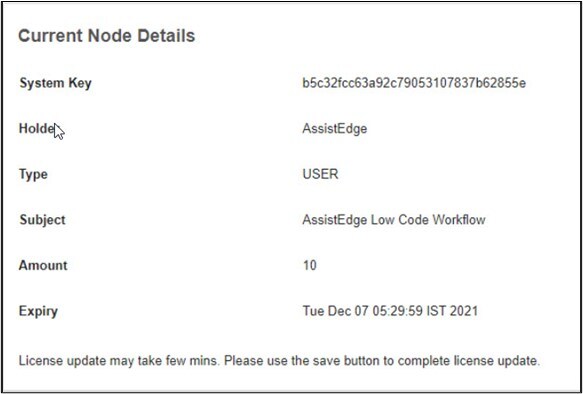
- Section 2: Current Node Details
- In case of single-node environment: The below section contains details about the license that was used to connect the node to that URL.
- In case of multi-node environment: The user must access the direct URL of that node to get the license details.
NOTE:
If you have applied for a new license, then it takes around 40–60 seconds for the new license details to reflect in this section.
- Section 1 – License Input