Step-By-Step Guide to Use Win Popup Handler to Handle the Popup Window While Joining Cisco WebEx Meeting
Let's create an example of handling the popup window that appears while joining the Cisco Webex meeting using the Webex URL.
Prerequisite:
- In the Admin menu, add an application of Application Type- WebApps.
- In the Application Properties panel:
- Enter your enterprise Webex dashboard URL in the Login URL field.
- Enter the same dashboard URL in the Search URL field.
NOTE:
Since this application does not require login, hence the login and the search URL remains same. However, it changes if they are different post login. - Enter a Display Name of your choice.
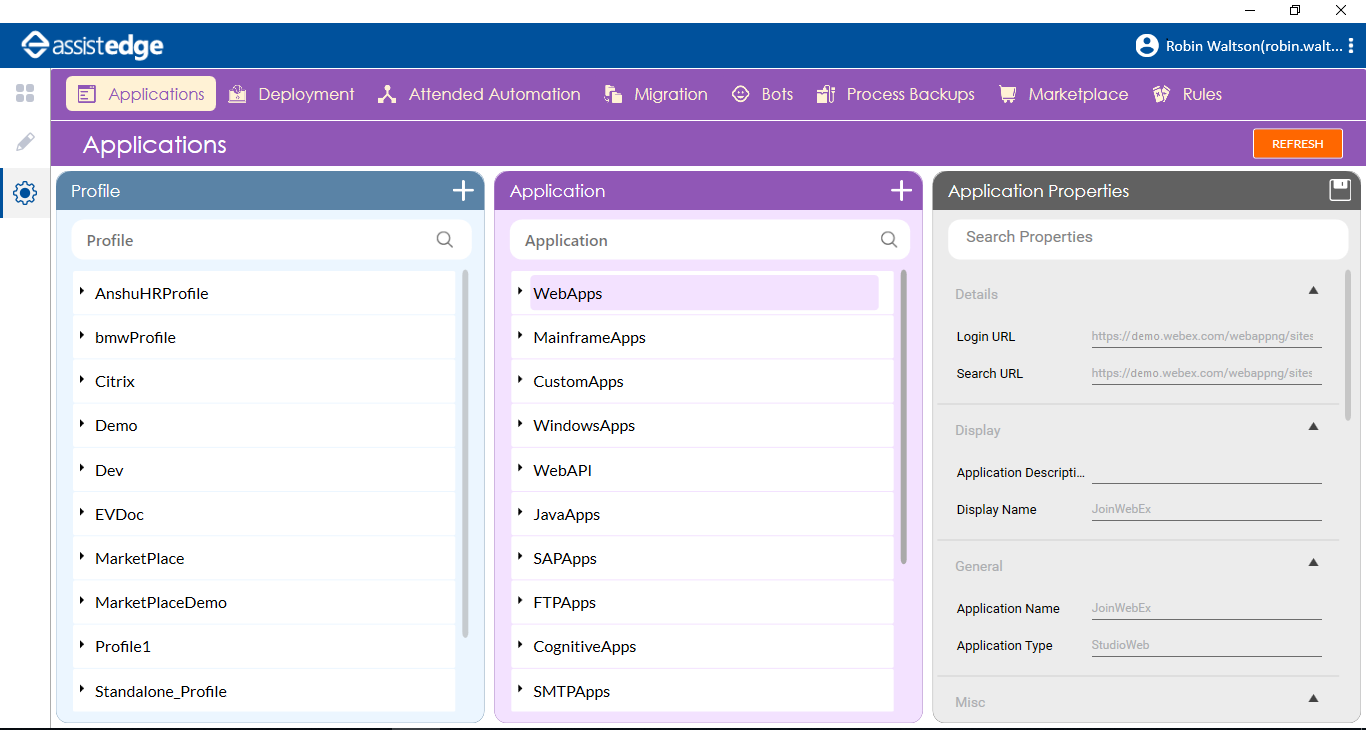
- Click the
 (Save Properties) icon to save the application details.
 - Enter other details as per your requirement.
The Webex application is configured.
To handle the Cisco Webex popup window:
- In the Studio menu, create a new process.
- From the Canvas Tools panel, add the Application activity to the Flowchart designer on the Canvas.
- In the Parameter bar, create an In arguments, RoomId and assign the required room id or the number required to join the Webex meeting.
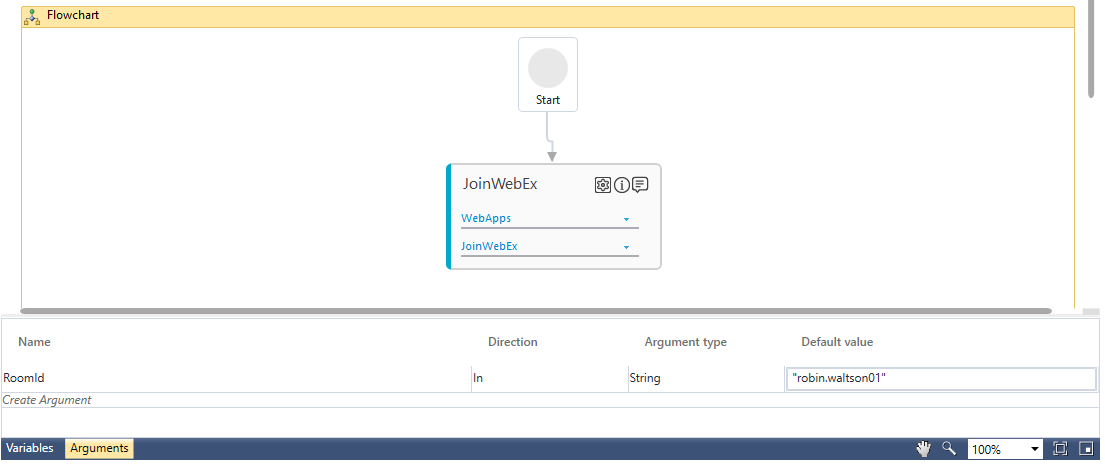
- In the Application Type list, select WebApps.
- In the Select an Application list, select the available web application that you configured.
- Click the
 (Settings) icon to launch the WEB MODE of the Multimodal interface. The configured Webex application page appears.
 - Click the
 (Play) icon to capture the step of entering the meeting information such as the room Id or the required number to join the meeting. Hover over the Enter meeting information field and then click the highlighted area. The Field Properties panel of the Web Mode appears. The fields that are mandatory are highlighted with red box.
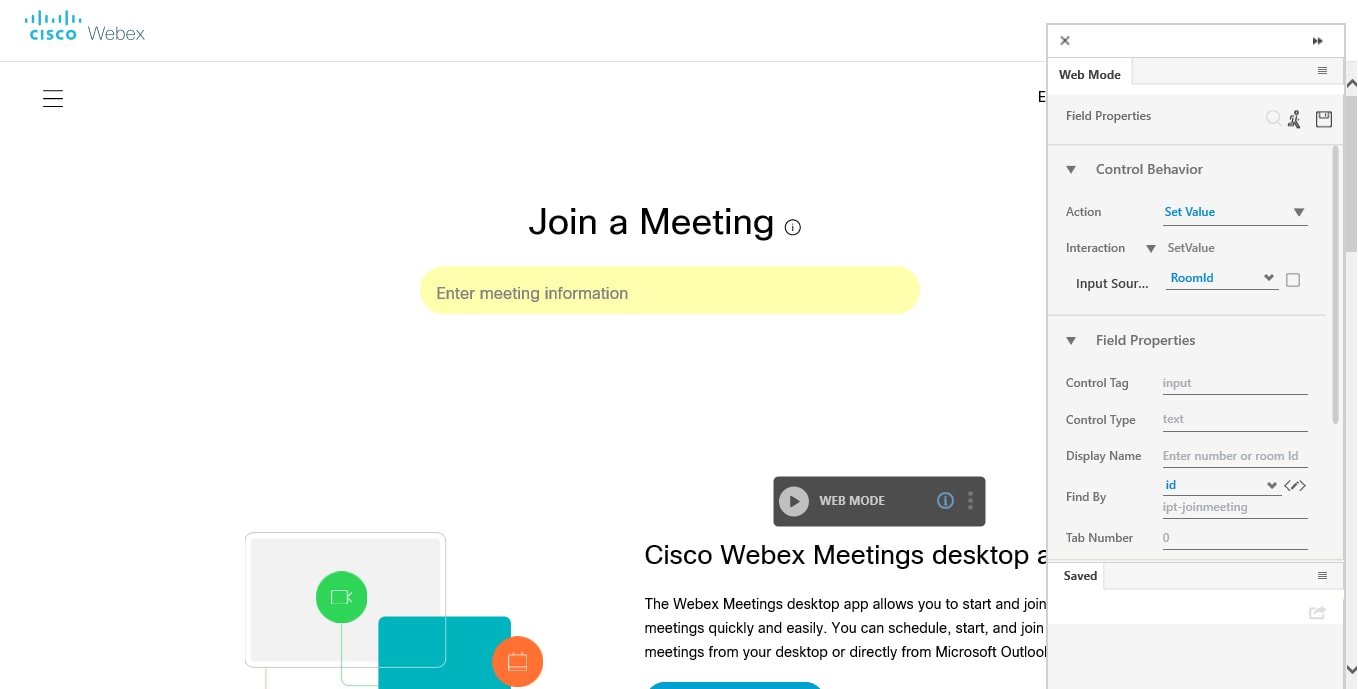
- In the Action list, select Set Value.
- In the Input Source list, select the RoomId argument created above.
- Enter a Display Name, and then click the (Save) icon to configure the details captured. The saved details start appearing in the Saved tab of Field Properties bar.
- Click the (Play) button to capture the action of clicking the Join button that appears twice. The popup window appears after the second instance of the Join button is clicked.
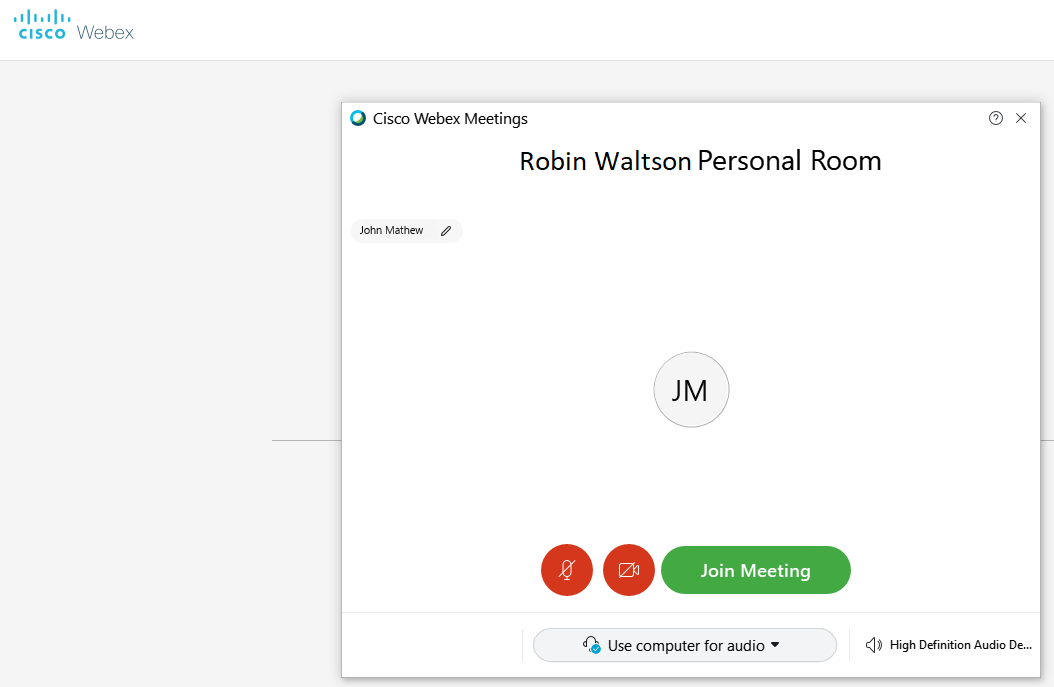
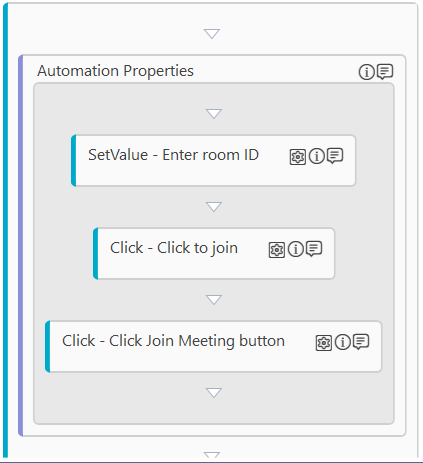
- Open an instance of the Webex application with the popup window in the configured browser to capture the automation step of handling the popup window.
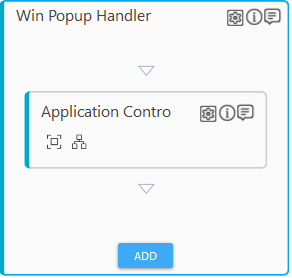
- Add the Win Popup Handler activity below the second click interaction.
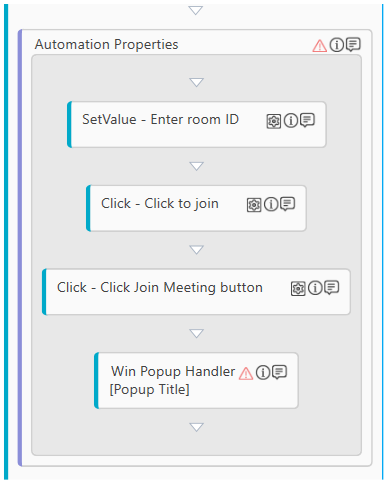
- Double click the Win Popup Handler activity.
- Click the (Settings) icon. The configuration dialog box of the Win Popup Handler activity appears.
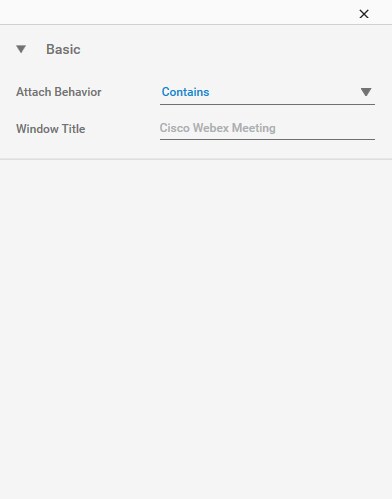
- In the Attachment Behavior list, select Contains.
- In the Window Title field, enter the title of the popup window, Cisco Webex Meeting. Close the configuration dialog box.
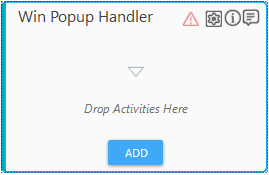
- Click ADD to add the Application Control activity.
- Click the
 (Field Configuration) icon. The Webex popup window that you have kept open comes into focus.
 - Press the Ctrl key, hover over the window popup and simultaneously select the Join Meeting button.
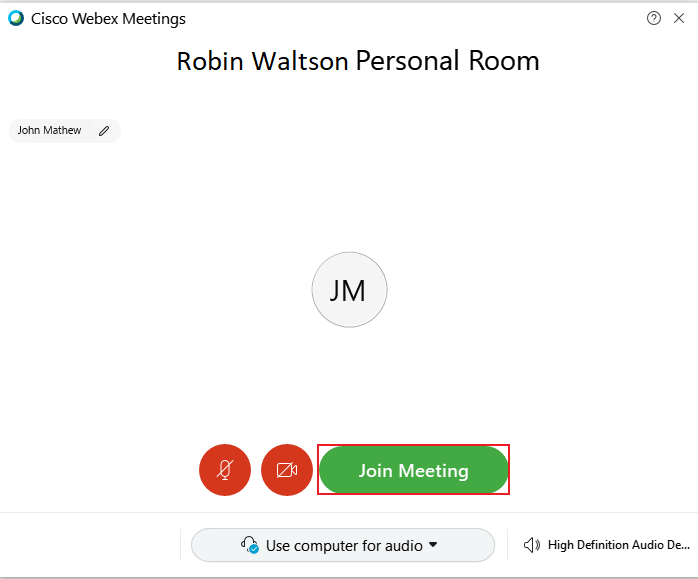
- Click the highlighted area. The configuration dialog box appears. The fields that are mandatory are highlighted with red box.
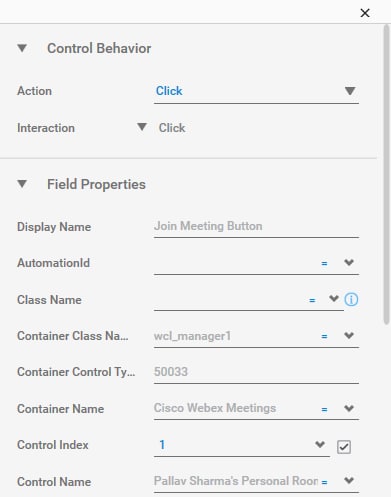
- In the Action list, select Click.
- In the Display Name enter a name of your choice and then close the configuration dialog box.
- Save the process.
- To view the output in Automation Studio, setup the environment and then perform test run. You can assign this process to a robot, if you want to execute this process outside Automation Studio.
Observe that the Webex application opens and the popup window getting clicked automatically to join the meeting.