Import Automation Processes Using Jenkins
To Import the Exported Processes:
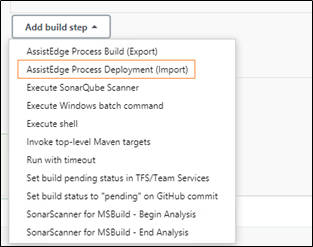
- In the Build section, click Add Build Setup to expand and select the AssistEdge Process Deployment (Import) option.
- In the AssistEdge Version field, select the version of AE RPA as per the Global Tool Configuration done.
- In the AsssistEdge Exported file path field, enter the path along with the folder name of the exported AE process package. For example, D:\FinanceExportProcesses.zip.
- In the AssistEdge Url field, enter the API URL of the AE server database where you want to import the processes. For example, http(s)://hostname:portnumber.
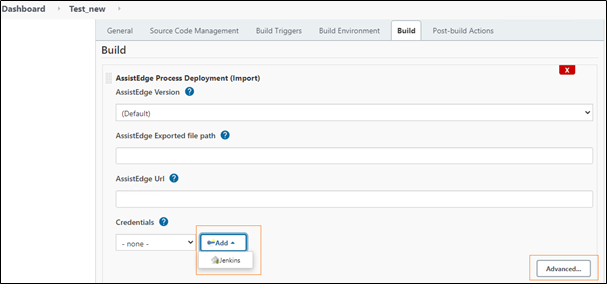
- In the Credentials field, select the credential of the AE environment where you want to import the exported processes. You can select the required credentials if it has already been added or add a new credential at this point of time.
NOTE:
The entered password must be encrypted else the import fails.
- Click Advanced to view and set other options related to import.
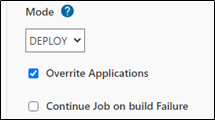
- In the Mode dropdown, select DEPLOY or PUBLISH to either deploy or publish the imported processes.
- Select the Overrite Applications checkbox to over-write the involved applications in the imported process in the target instance.
- Select Continue Job on build failure checkbox if you want the job to execute and move to the next step instead of exiting from this stage if the build fails.
- Click Save and Apply to save and apply the configurations done for the export and import of the processes.
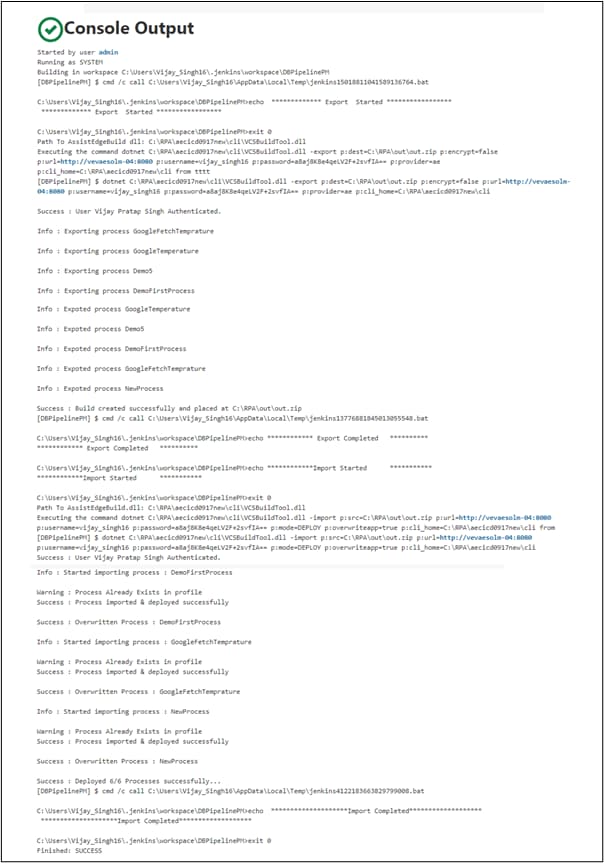
- Click Build Now to run the pipeline.
The processes get imported as per the configuration done. Below is the sample screen shot: