Getting Started With Automation Studio
About Automation Studio
Automation Studio is the core part of AssistEdge RPA that empowers business users and developers to configure automation processes. The Automation Studio encompass configuration capabilities for number of technology applications.
Why Automation Studio?
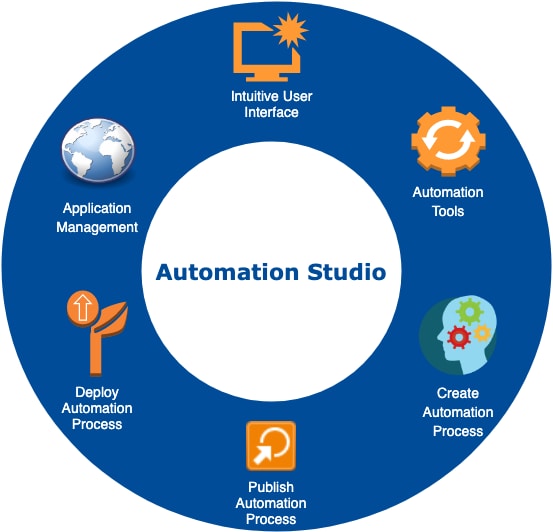
Automation Studio is a powerful tool that fulfills your business automation requirements by offering numerous configurable activities for the automation processes. It offers a user friendly and intuitive interface for the ease of automation workflow configuration. Studio gives you the power to manage your work better by getting rid of mundane tasks using automation. In the Studio, you can set up workflows with just a few clicks and assign them to bots for further actions.
Additionally, Automation Studio enables you to integrate and manage custom codes to automate advanced business scenarios.
Roles in Automation Studio
The Automation Studio has typically three roles assigned to the users:
- Process Designer- role assigned to a user who designs the process workflow, tests the process, fixes error (if any), and then publishes the process.
- Process Approver – role assigned to a user who can approve the process workflow.
- Process Deployer- role assigned to a user who deploys the published process on to the server.
The access for the required role can be defined in the Admin module.
Automation Studio Journey
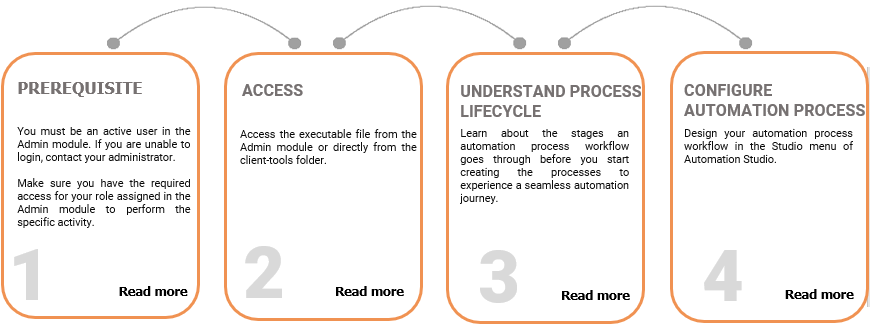
Setting up Automation Studio is quick and easy. Understand the different user roles and then access Automation Studio to start creating your own automation workflow. Below is a high level diagram depicting the journey:
Login to Automation Studio
- Launch Automation Studio using the executable file either downloaded from the Admin module or from the client-tools folder. The Instance Configuration dialog box appears. The default configuration is displayed as per your installation.
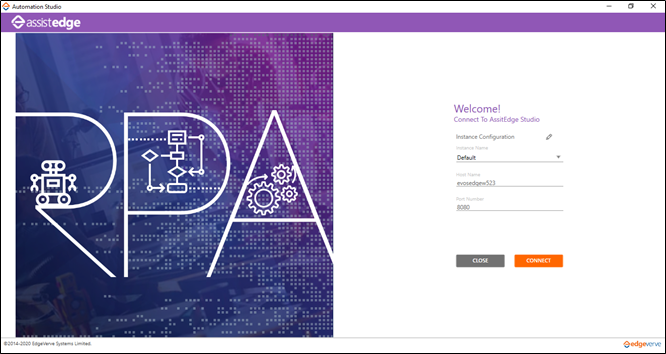
- Click CONNECT to login with the default settings.
NOTE:
Additional authentication is required if you are using http or custom authentication (SAML/OIDC); else, the authentication dialog box does not appear. Automation Studio directly connects you to the Welcome page once you click CONNECT.
- Click Close to go to the Welcome Screen of Automation Studio.
You can edit the default settings or even create a new instance to login to Automation Studio. Contact your administrator for valid details related to the new instance.
Navigating Through Automation Studio
Automation Studio includes four main menus, as described below, that allows you to design a workflow and configure processes as per your business requirements. Additionally, you can create and manage settings of applications, deploy a process, manage settings for attended automation, move processes from one environment to another, manage process bots, manage processes exported from AssistEdge Discover, and connect to AssistEdge Marketplace for bots to help you build automation faster and easier.
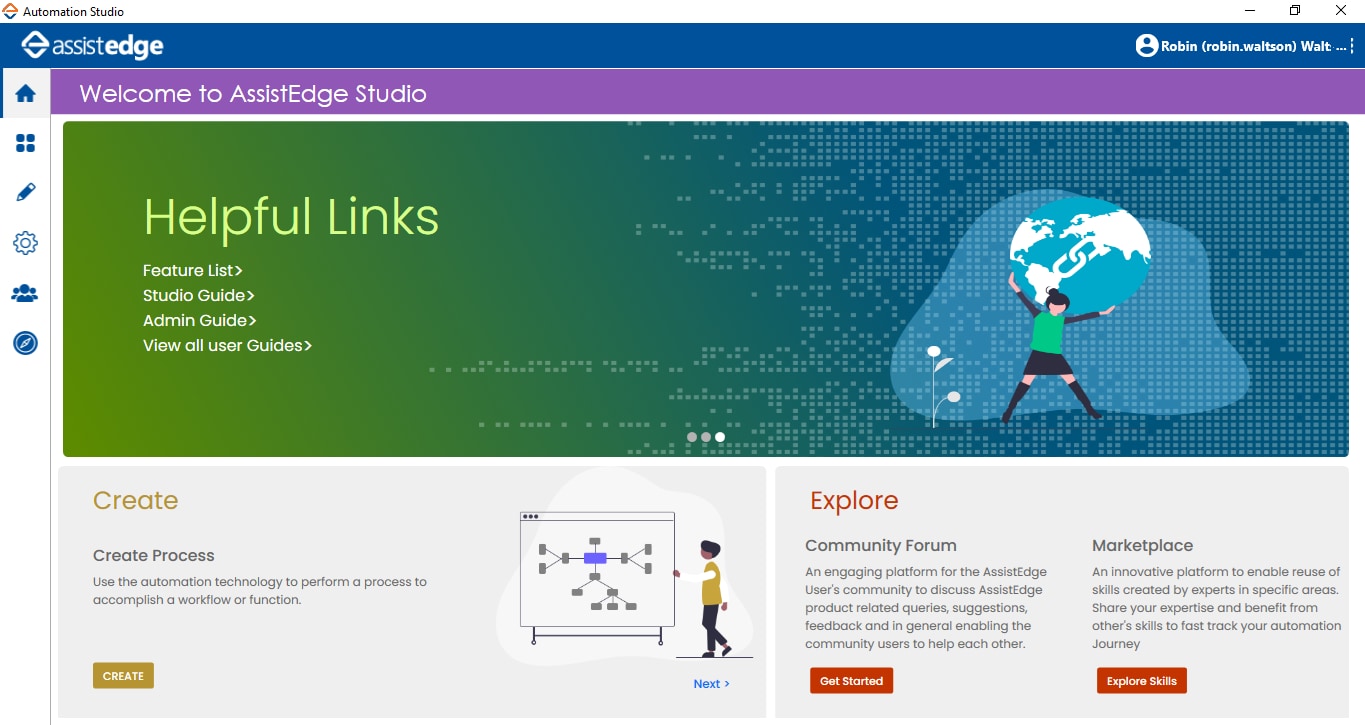
Welcome Screen
The Studio Welcome page introduces you to the knowledge base where you can access information about Studio, and other components of AssistEdge. The Welcome screen can be accessed using  . Learn more about Welcome screen.
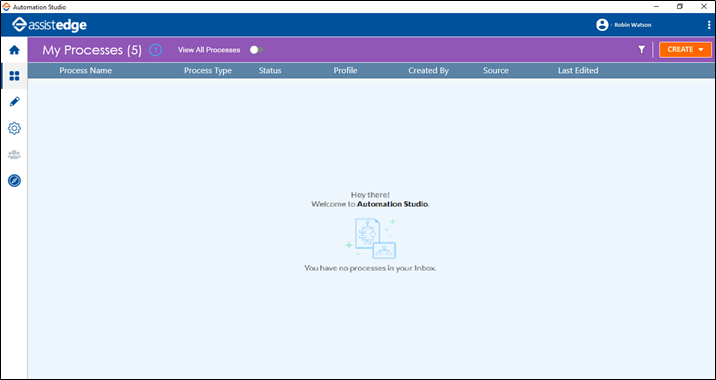
My Processes Menu
The processes created in Automation Studio can be viewed on the home page  . You can even view the processes created by other users. The functionalities that can be performed on the home page is explained in the My Processes page.
Studio Menu
The Studio menu  helps you to manage , create, test, and publish the automation processes. Find out the right tool for you to help develop the best automation possible in the Configure Automation Process section.
Admin Menu
The Admin menu  helps you to create an application, profile and deploy an automation process. You can also import and export an existing process or a bot. The configuration capabilities are explained in the Application and Configuration Processes section.
Version Control System Menu
The Version Control System menu ![]() lets you make updates and changes to the process files, metadata, resource files such as the microbot, python activity files.
lets you make updates and changes to the process files, metadata, resource files such as the microbot, python activity files.
Discover Menu
Access the automation processes  exported from AssistEdge Discover application. Import the Discover processes to studio and modify as per your requirement. For more information, see Manage Discover Processes.