Step-By-Step Guide to Use Try Catch to Extract Product Price From the E-commerce Website When the UI of the Site Changes
Let's see an example to extract price of a product from the Amazon website where the UI of the Amazon website changes after a few days. This is a potential case where the UI element may not be found due to which an exception error might be received.
We would place the workflow where the product price gets extracted in the Try block. If any exception is received, the error message must get logged in the log file and hence we would place the Write to Log activity in the Catch block.
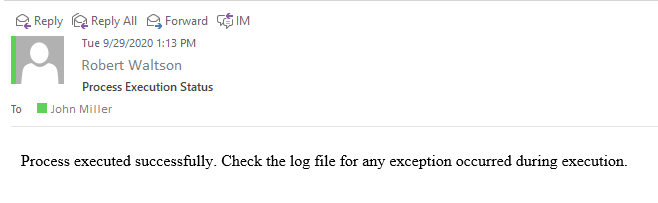
An exception is received or not, we would send an e-mail to the administrator stating - Process executed successfully. Check the log file for any exception occurred during execution. This lets the administrator check the log files with the relevant message, if any. As we want to send the e-mail in either of the case, we would place this action in the Finally block.
To automate the exception handling of the UI element not found on the Amazon web site:
- In the Admin menu, add an application of Application Type- WebApps.
- In the Application Properties panel:
- Enter the Login URL as https://www.amazon.com/
- Enter the Search URL as https://www.amazon.com/
- Enter Amazon Website as the Display Name.
- Click the
 (Save Properties) icon to save the application details.
 - Enter other details as per your requirement. The Amazon application is configured in Automation Studio.
- In the Studio menu, create a new process.
- In the Parameter bar, create In arguments:
- ProductName - to store and pass the product name as the input to the Application activity.
- ProfileName - to store and pass the profile name as the input to the Outlook activity.
- Sender - to store and pass the e-mail Id of the sender as input to the Outlook activity.
- Recipient - to store and pass the e-mail Id of the recipient input to the Outlook activity.
- Subject - to store and pass the subject line of the e-mail as input to the Outlook activity.
- Body - to store the body content of the e-mail as input to the Outlook activity.
- In the Parameter bar, create an Out argument, ProductPrice to store the extracted price of the product from the Amazon website.

- From the Canvas Tools panel, add Application activity to the Flowchart designer on the Canvas.
- In the Application Type list, select WebApps.
- In the Select an Application list, select the available web application that you configured. In this case the display name of the web application is Amazon Website.
- Click the
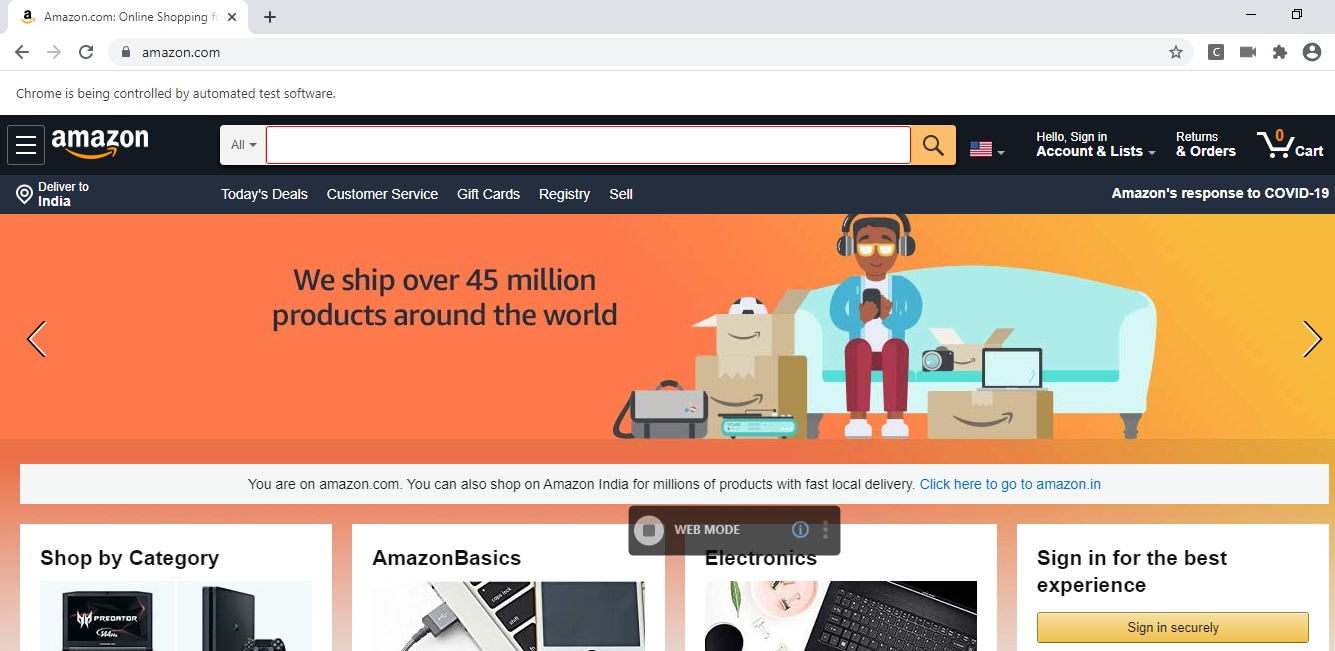
 (Settings) icon to launch the WEB MODE of the Multimodal interface. The Amazon web page appears.
 - Click the
 (Play) icon to automate entering the product name in the search box. Hover over the search box. The search box gets highlighted with red box.
- Click the highlighted area. The Field Properties panel of the Web Mode appears. The fields that are mandatory are highlighted with red box.
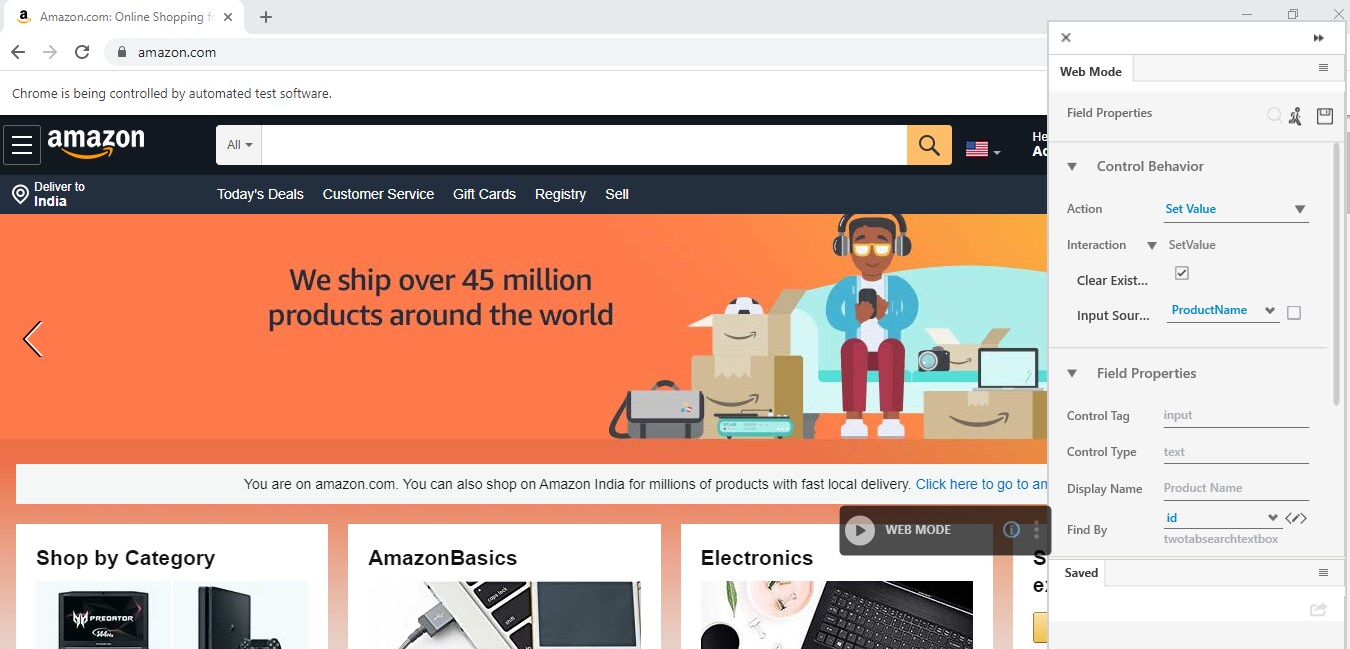
- In the Action list, select Set Value.
- In the Input Source list, select the ProductName argument created above.
- Enter a Display Name, and then click the (Save) icon to configure the details captured. The saved details start appearing in the Saved tab of Field Properties bar.
- Repeat step 12 through step 16 to capture other steps of the automation process workflow of clicking the search icon and then extracting the price of the first product that appears in the list displayed by the Amazon website.
- To view the extracted product price in Automation Studio itself, let's add WriteLine activity.
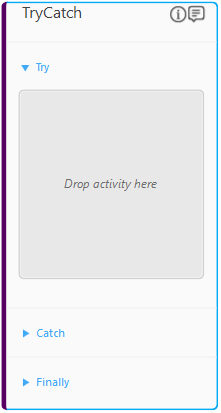
The steps to extract the product price has the potential where exception of the captured UI element may not be found due to change in the UI of the Amazon website. So, we are going to place these steps inside the Try block. - Drag the Try Catch activity and drop on to the Flowchart designer on the Canvas.
- Double click the TryCatch activity block to configure the required steps or the actions. By default, the Try activity is expanded.
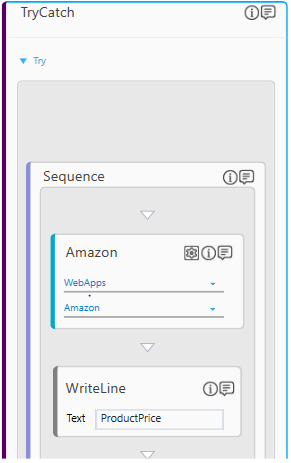
- In the Try activity block, drag and drop the Application activity and the WriteLine activity where the steps to extract the product price are captured.
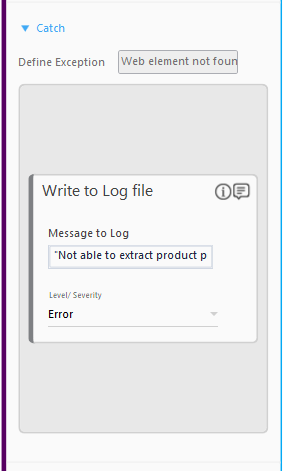
- Click and expand the Catch activity block.
- In the Define Exception field, enter the exception error message, Web element not found that might appears for the steps placed in the Try activity block.
- In the Catch activity block, drag and drop the Write to Log file activity to handle the exception that appears in the Try activity block. This logs the specified message in the log file of the Automation Studio.
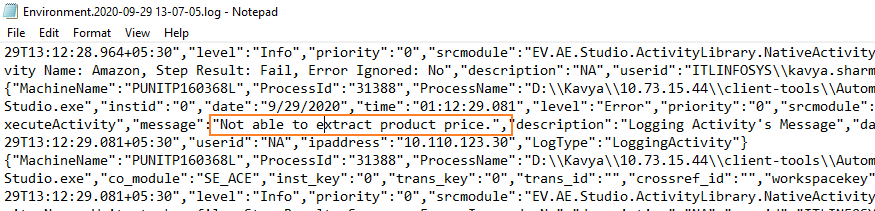
- In the Message to Log field enter, Not able to extract product price as the message that must be logged in the log file.
- In the Level/ Severity list, select Error.
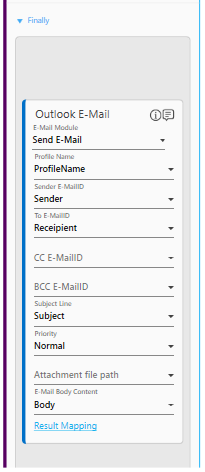
- In the Finally activity block, drag and drop the Outlook E-Mail activity that must be executed when either Try or Catch activity completes.
- In the Profile Name list, select the ProfileName argument, created above.
- In the Sender E-MailID list, select the Sender argument, created above.
- In the To E-MailID list, select the Receipient argument, created above.
- In the Subject Line list, select the Subject argument, created above.
- In the Priority list, select Normal.
- In the E-Mail Body Content list, select the Body argument, created above.
- Save the process.
- Setup the environment and then perform test run. You can assign this process to a robot, if you want to execute the process outside Automation Studio.
If the exception error does not occur, the product price is displayed in the Output console of automation Studio. If the exception error occurs in the Try block, the flow goes to the Catch block and logs the specified error message in the log file of Automation Studio. Below is the sample message:
The Finally block gets executed either the Try activity or the Catch activity completes. It sends the specified message using the Outlook application of the sender to the specified recipient. Below is the sample e-mail: