LowCode API Integration
The AssistEdge LowCode Orchestrator has an API Builder plugin that allows the user to configure LowCode API’s which can be triggered from AssistEdge RPA automation processes and external clients like POSTMAN. The types of LowCode API’s that can be triggered are:
Calling An API From AssistEdge RPA
Any user on AssistEdge RPA Admin portal with LowCode Orchestrator Designer and LowCode API access enabled for their roles will be able to select and configure these APIs. The user can trigger the Low code API’s in two modes:
- API Builder – In this case, the user needs to pass API_ID and API_KEY as mandatory headers while making the API calls.
- Global API’s – For calling Global API’s, there is no need for user to specify API_ID or API_KEY parameters.
To start the API, user needs to go to the APP center page in Low code Orchestrator and click on the APP, for which the API’s need to be enabled. To enable access for the API’s, refer to Manage Roles Section in AE-RPA-Administrator Guide.
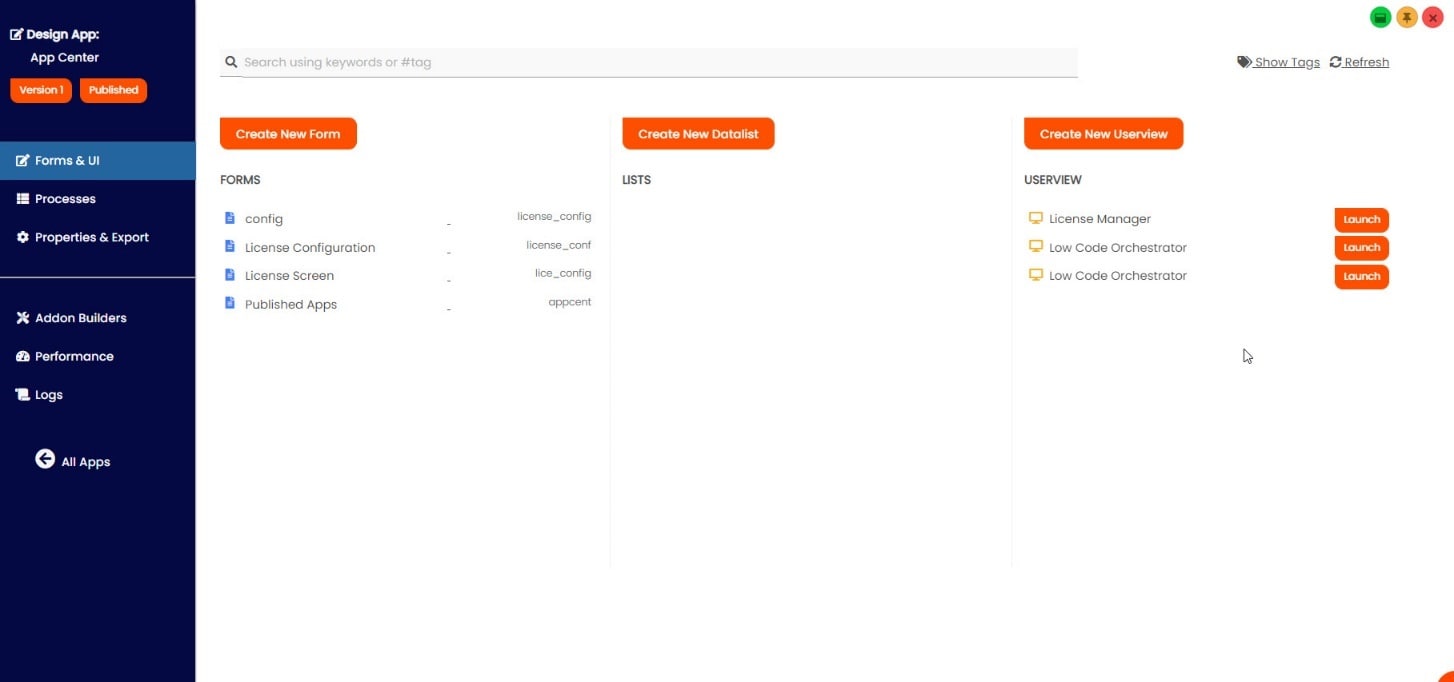
On launching any app in design mode, the user can go to Addon Builders tab. It allows the user to select which API’s to enable for the selected app.
Follow the below mentioned steps to call the API:
- Click the Addon Builders option on the left panel of your screen.
- Select Create New API Selection.
- You can see an auto-generated ID, which is created for every new API combination. Name the API and Save it.
- Drag and drop the desired API from the Design Menu to the screen:
Select the check box to enable the API’s for use, in the Lowcode Orchestrator app and Save it.
API BUILDER
API BUILDER is a page which helps user to automate the API in the lowCode Orchestrator. This page has four tabs:
Design
From Design tab we can select the lists of API which need to be enabled, they are:
- Drag and drop the Group from the Design tab
- The user can select the type of Process from the drop down
- Add a short Description.
- Click on the check box for selecting the Process API, which you want to perform.
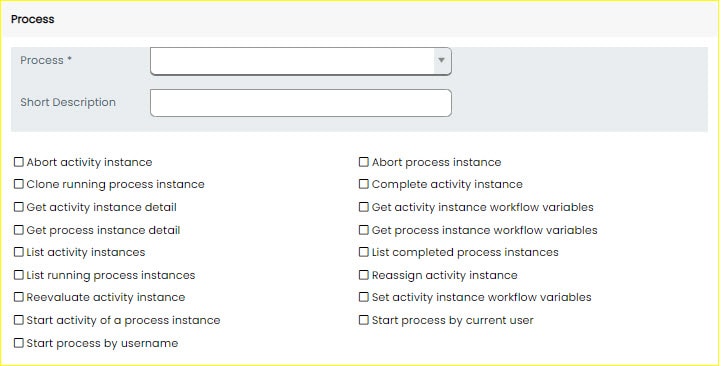
- Click on Save tab to save the information.
- Drag and drop the Assignment from the Design tab
- Click on the check box for selecting the Assignment API, which you want to perform.
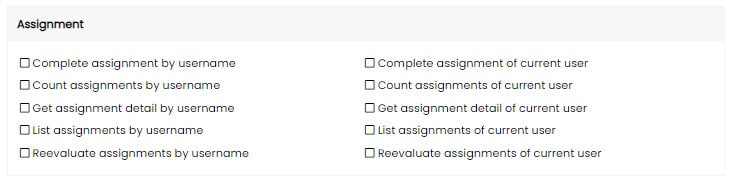
- Click on Save tab to save the information.
- Drag and drop the Form from the Design tab
- The user can select the type of Form from the drop down.
- If you want, you can add a short Description.
- Click on the check box for selecting the form API, which you want to perform.
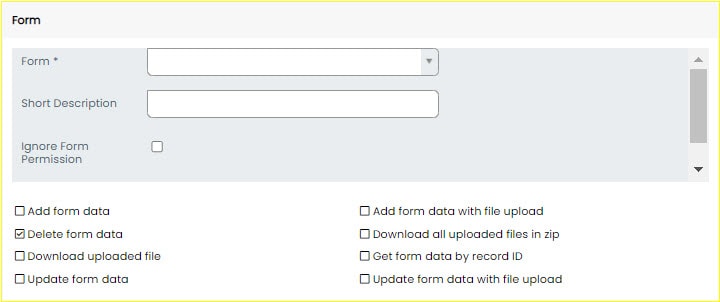
- Click on Save tab to save the information.
- Drag and drop the List from the Design tab
- The user can select the lists from the drop down
- If you want, you can add a short Description.
- Click on the check box to Retrieve list of data.

- Click on Save tab to save the information.
- Drag and drop the Group from the Design tab
- Click on the check box for selecting the Group API, which you want to perform.

- Click on Save tab to save the information.
- Drag and drop the Audit Trail from the Design tab
- Click on the List audit trails check box for running the Audit Trail API.

- Click on Save tab to save the information.
Properties
From properties tab we can see the Auto generated API ID and API Document Name, whch is generated at the time of API selection.
|
NOTE: |
This API ID needs to be specified as header while calling the APIs. |
If needed you can provide the Description and Document Info.
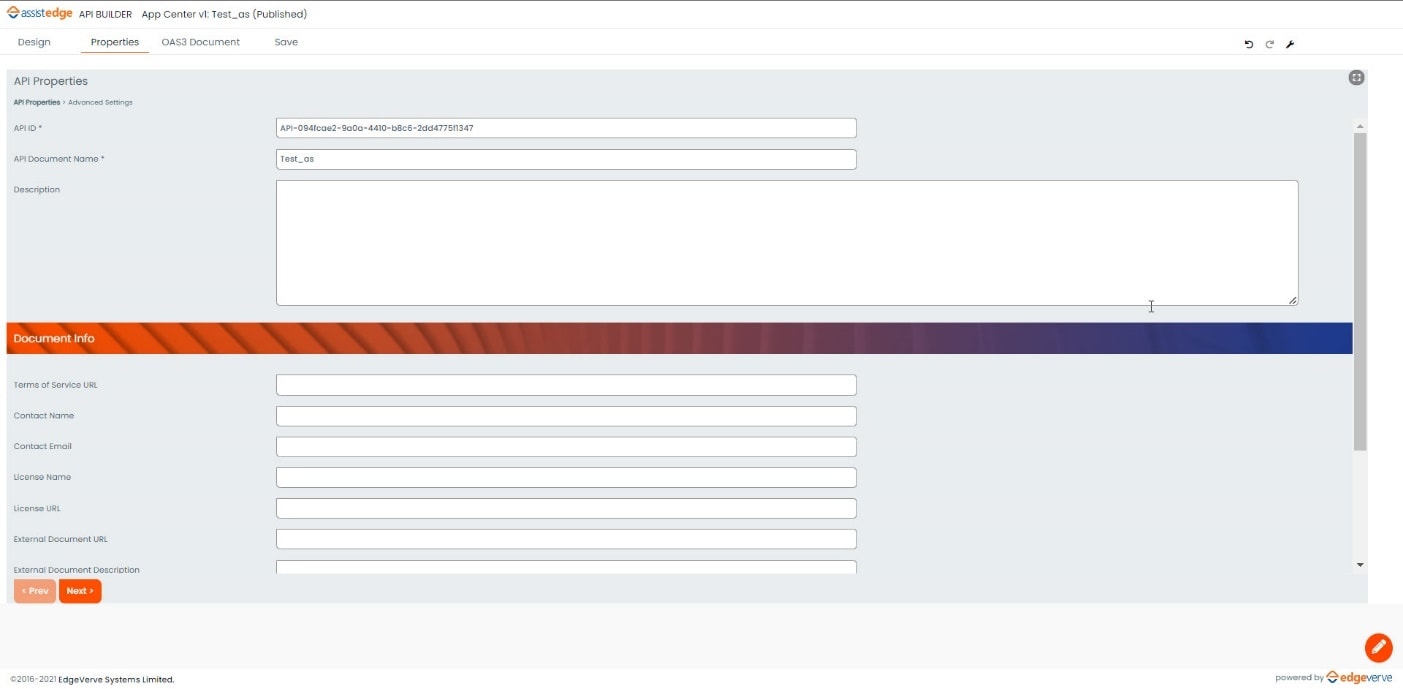
Click on Save after providing the necessary information.
OAS3 Document
This tab helps to test the API from the lowCode orchestrator side.
- Select the OAS3 Document tab, a new tab will open with a name as Swagger UI.
- In this tab you can see all the API selected by the user in the Design tab, which gives an interface to test this API.
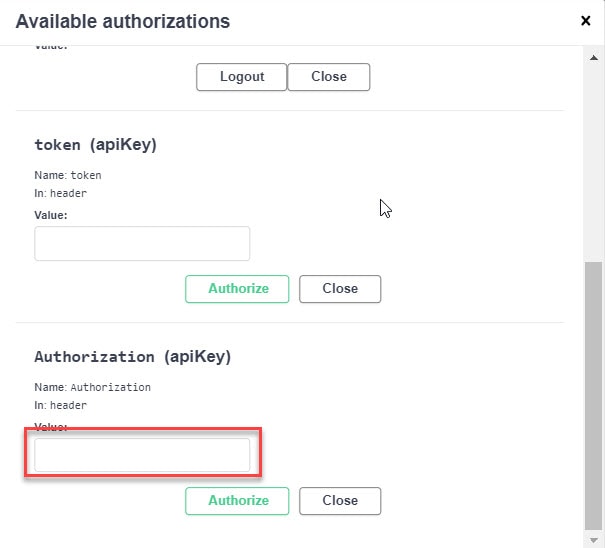
- For your user id, you can generate an AssistEdge user authorization token using POSTMAN. This can be done using the below token API:
URL: https://hostname:port/api/token - From the right side Click the Authorize button.
- Copy the bearer Token under the Authorization tab. The token needs to be in (Bearer <Token>) format.
- Click Authorize.
- Select the API and click Try it out tab
- Click Execute to view the API’s and to test it.
Save
You can Select the Save tab to save all the details at any time from any tab.
Generating api_key
Generating an api_key is an important aspect in API Builder. Follow the below steps to generate an Api_key:
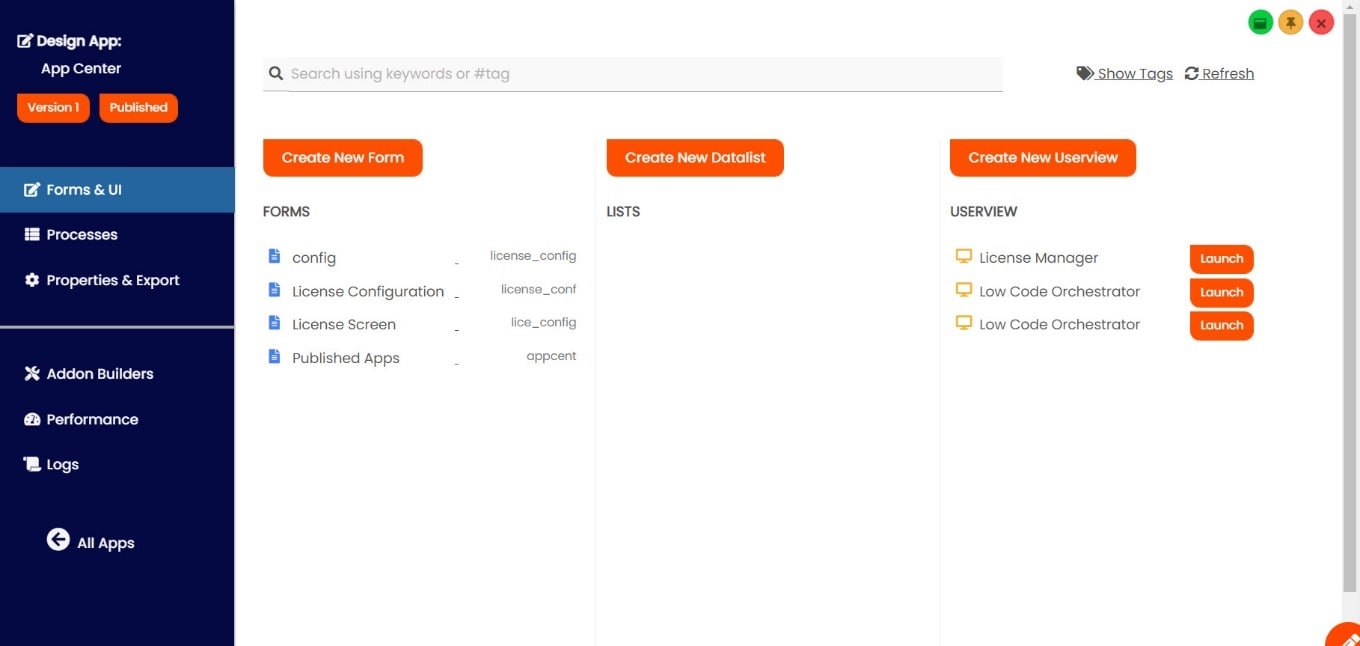
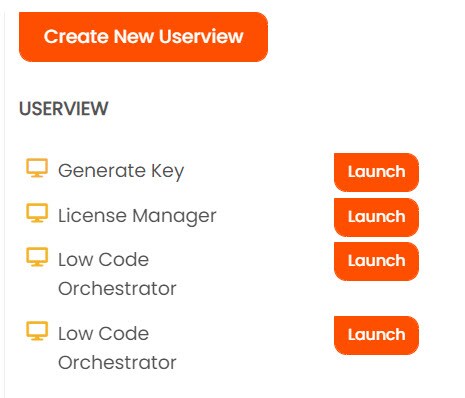
- From Forms &UI Select Create New Userview.
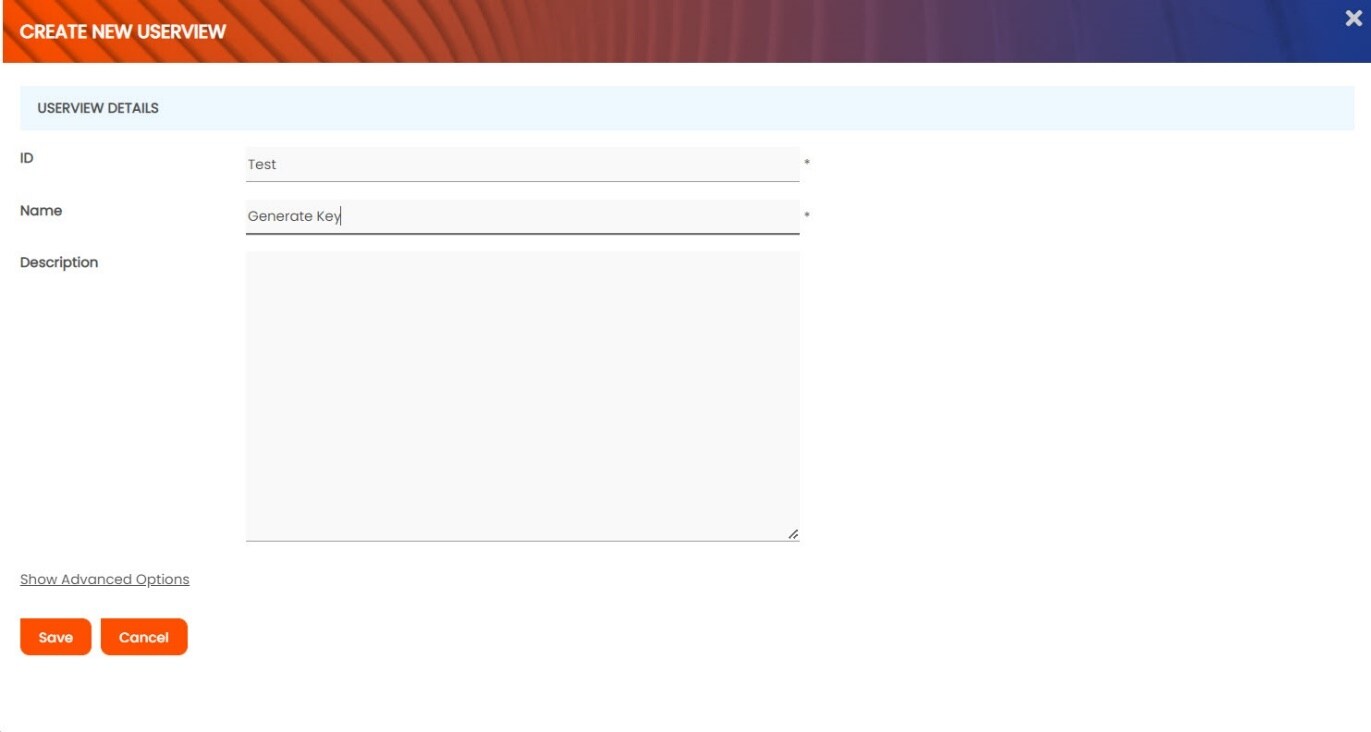
- Provide the (test) ID for USERVIEW DETAILS.
- Provide the (Generate Key) NAME for USERVIEW DETAILS and click Save.
Once the USERVIEW is created it will get opened as a new tab. - From the Design Userview men drag and drop the Manage API Authentication option to Home
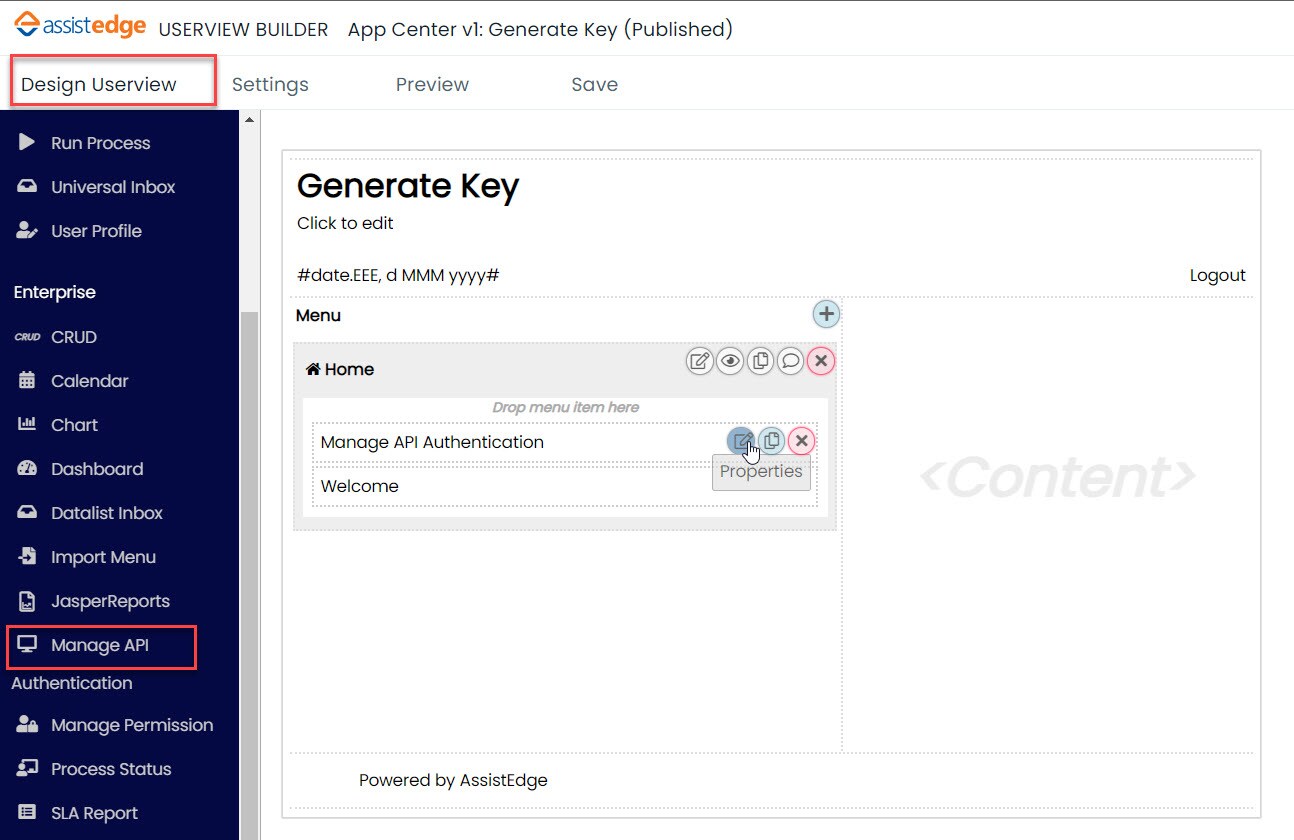
- Click on properties.
- Select which API set for which you need to generate api_key using API DOCUMENTATION NAME*
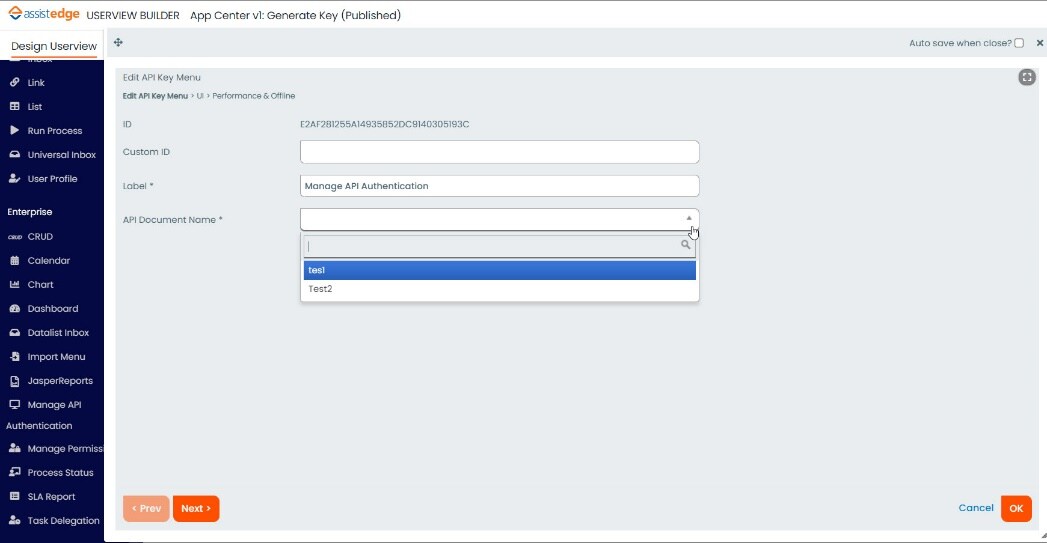
- Click OK and click Save
A userview is generated with a name as Generate key - Launch the Generate key, it will redirect to a new page to create the api_key.
- Select New, to auto generate a key for the specific API.
- Name the API Name.
- Click on the Permission Plugin dropdown to define permission criteria for the API’s selected.
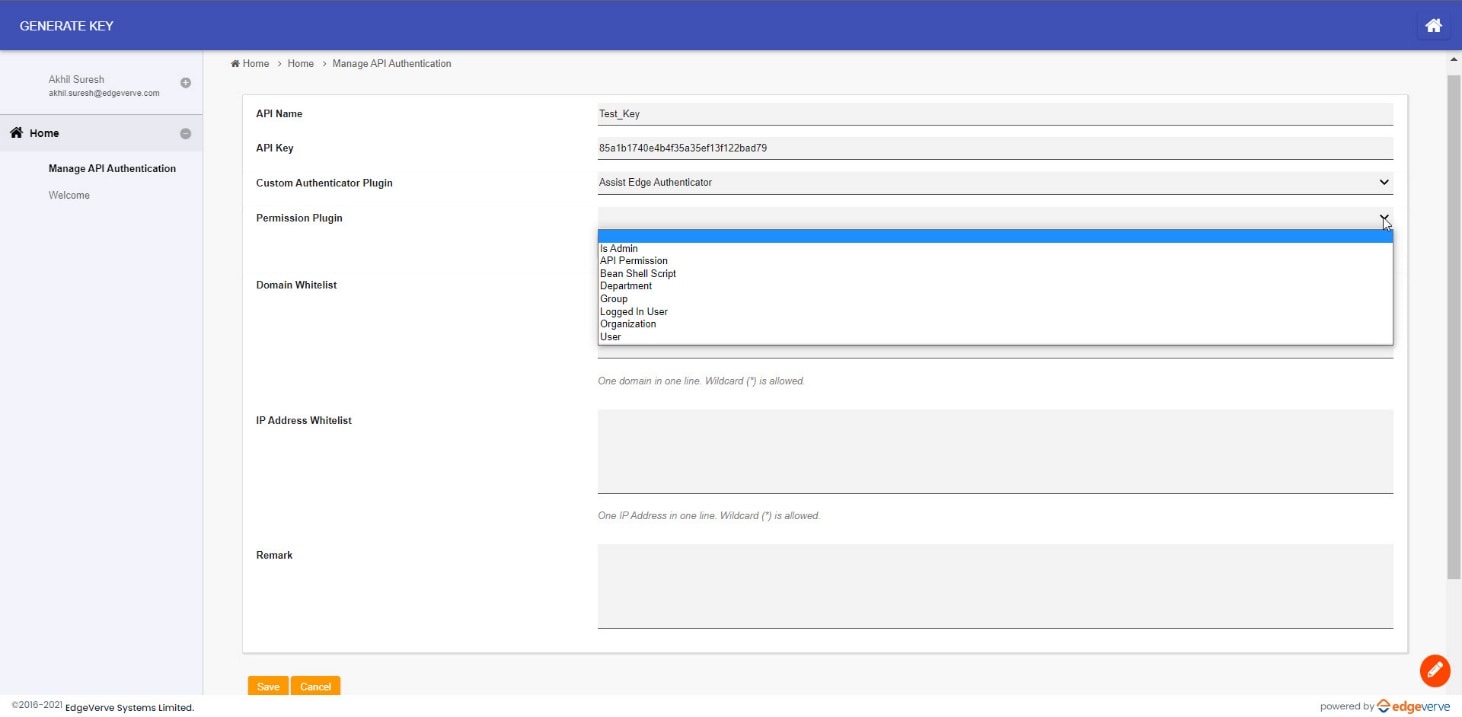
- You can select the Domain if you want, in Domain Whitelist.
- You can specify the IP Address in the IP Address Whitelist.
- Click save.
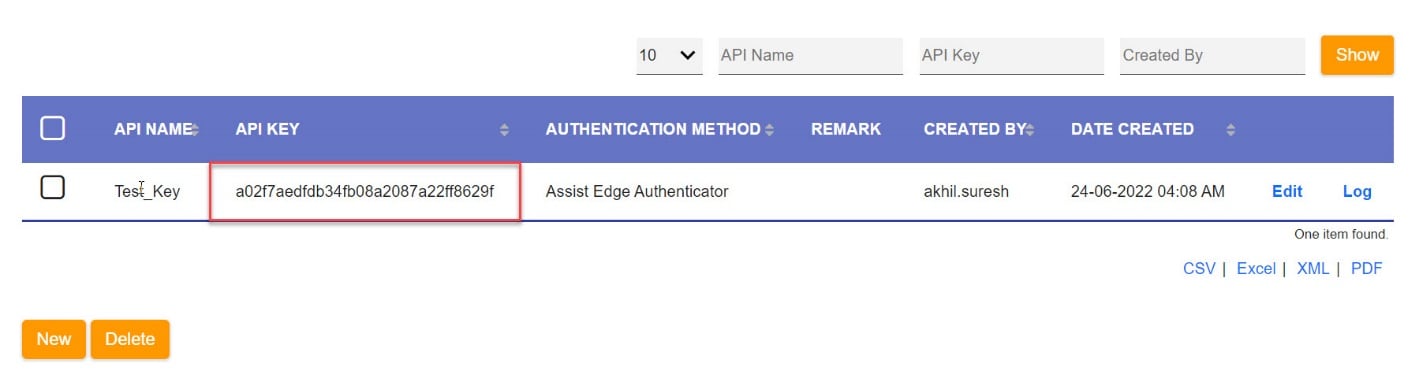
You can get the api_key from the API KEY column
NOTE:
Multiple API keys can be generated per API set created in the Add-On Builders.
Global API
Global API is a modified URL which helps you to automate LowCode Orchestrator. It does not require API KEY or API ID.
For more details about Global API see Global API section in Steps to test Low Code API’s using POSTMAN.
The syntax for Global API’s also requires the app Id to be provided. The syntax has the following format:
https:/hostname:port/lc/jw/lowcodeapi/global/appID/assignment/list
The AppID can be taken from the URL of the app:
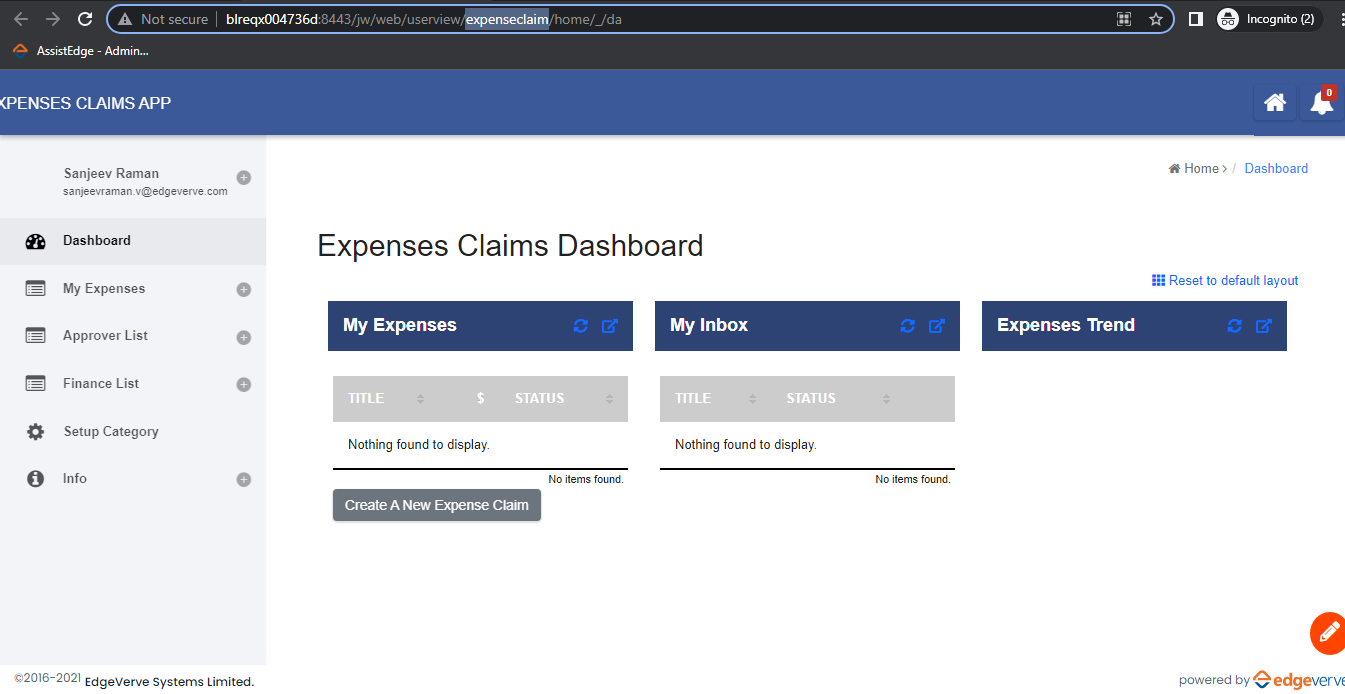
In this case the appId is ExpenseClaims, so the syntax for API will be:
https://hostname:port/lc/jw/lowcodeapi/global/expenseclaim/assignment/list
Appendix
How To Generate Token
You require token to call the API’s using an external client like POSTMAN. This token validates the user as a legitimate AssistEdge user on the server where AssistEdge is installed.
- Download and install the POSTMAN app from the software app center.
- Open the app from the Windows menu.
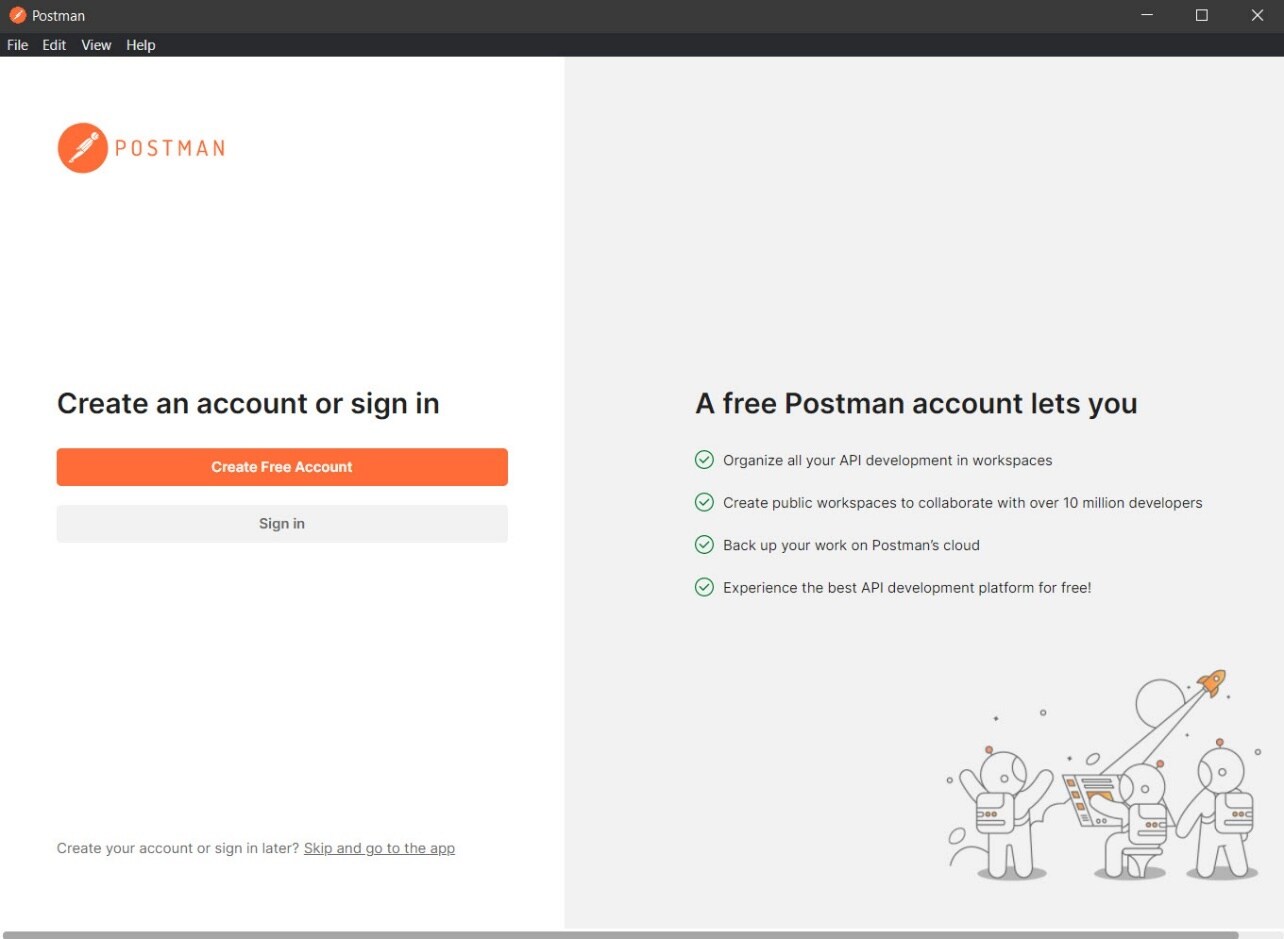
- Login the POSTMAN using your Email credentials.
- Click Home from the top left corner of the app.
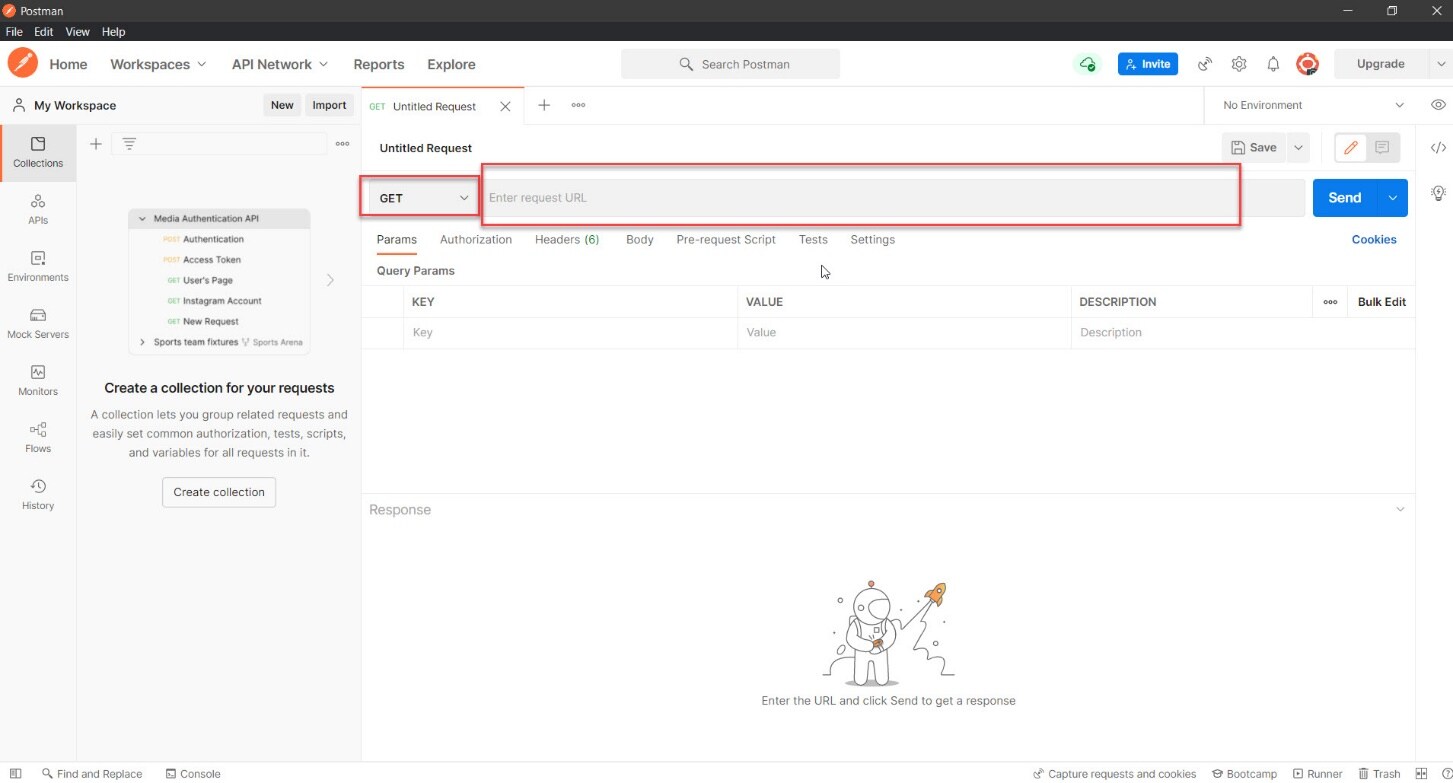
- From the drop down select POST.
- Enter the requested URL – https://hostname:port/api/token in the Enter request URL section and click Send button. You will also need to enter your credentials in the following format:
{
"username": "test",
"password": "test"
}
- Username: Provide the AssistEdge username.
- Password: Provide the AssistEdge User password.
Steps to test Low Code API’s using POSTMAN
We can test the Low Code API’s using two methods:
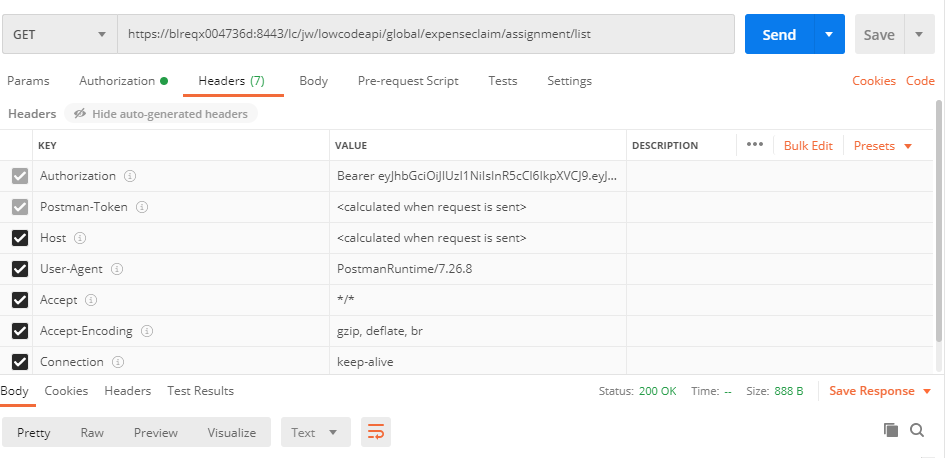
- Global API’s: Global API’s doesn’t required any api_id or api_key as headers.
For using a Global API’s, you can use the API URL syntax as follows:
https://hostname:port/lc/jw/lowcodeapi/global/appId/assignment/list
You can see, that in the below screenshot the appId for Global API is expenceclaim. You can get this appId from Processes/show Additional info/ Package ID of the desired App.
- Call Type:
Depending on the API the Call Type for the Global API can be modified to:- GET
- POST
- PUT
- DELETE
- Headers:
You can trigger different API’s, like:- Assignment API
- Process API
- Form API
- List API
- Group API
For triggering these API:
- Authorization: You need to generate the bearer token and use this token in the Authorization header.
- Content-Type: You need to change the Content Type as application/json, if the input API has a JSON body.
- Call Type:
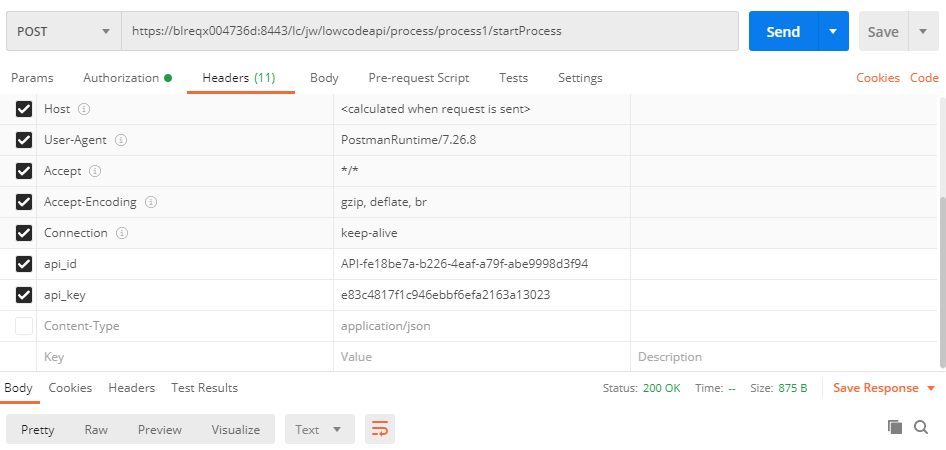
- API’s selected via API Builder: For API’s selected via API Builder need api_id and api_key as parameters.
For using API Builder API’s, you can use the API URL syntax as follows:
https://hostname:port/lc/jw/lowcodeapi/process/processId/startProcess
- Call Type:
Depending on the API the Call Type for the Global API can be modified to:- GET
- POST
- PUT
- DELETE
- Headers:
You can trigger different API’s, like:- Assignment API
- Process API
- Form API
- List API
- Group API
For triggering these API:- Authorization: You need to generate the bearer token and use this token in the Authorization header.
- Content-Type: You need to change the Content Type as application/json, if the input API has a JSON body.
- api_id: Every selection of APIs in the API builder will generate api_id.
- api_key: The API key generated via the “Manage API authentication” menu.
- Call Type: