Available Robot View
Once the robot is created, robot appears in the Available robots view, and Total Robots list view. In Available state, you can edit the name of robot. The robot tags can be edited irrespective of its state.
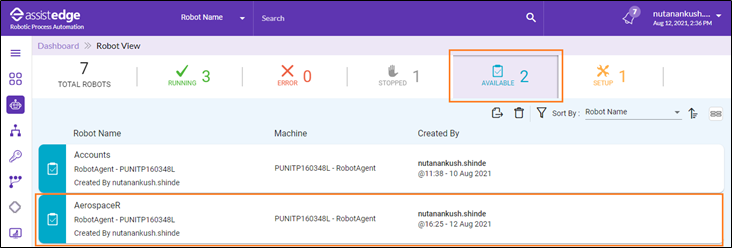
To assign the robot from the available pool:
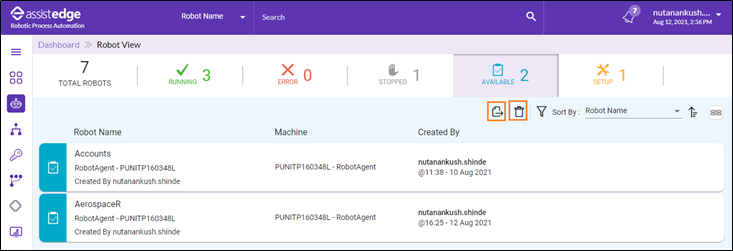
- Navigate to Robot View, click Available. All the newly created robots will be listed in the Available Robot View and also in Total Robots View. For more information about the total robot view, see Total Robot View.
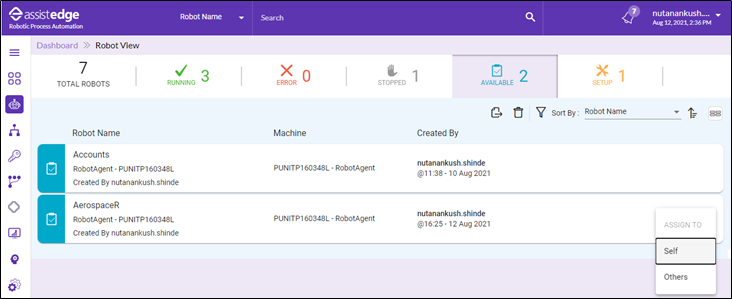
You can assign the available robots as per your preference to Self or Others.
- From this view, you can assign the available robots as per your preference to :
- Self: Click the
 (Assign) icon and then, select Self.
- Self: Click the
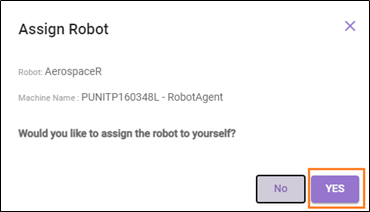
The Assign Robot window appears as <Would you like to assign the robot to yourself?>
Click YES to assign the robot to yourself.
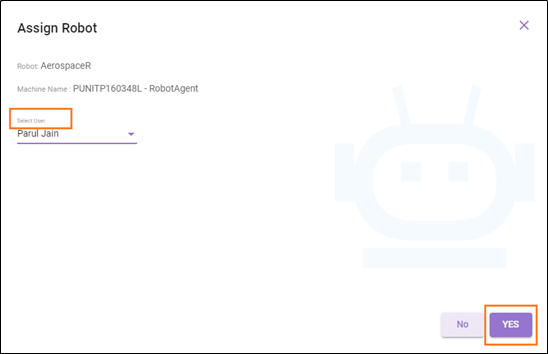
- Others:
- Click the (Assign) icon and select Others.
The Assign Robots page appears. - In the Select User list, select the user ID of the user to whom robot needs to be assigned.
- Click YES, the selected user is assigned with particular robot.
Additionally, you can delete the robots if required. Click the  (Delete) icon corresponding to any of the available robots.
- Multiple Robots can be assigned at a time.
- Click the (Assign Multiple) icon.
- Click the (Delete Multiple) icon to delete the multiple robots from the available list.
- Click the
- Then, the robot is assigned to user and message appears as Robot <name of robot> is successfully assigned.
![]()
|
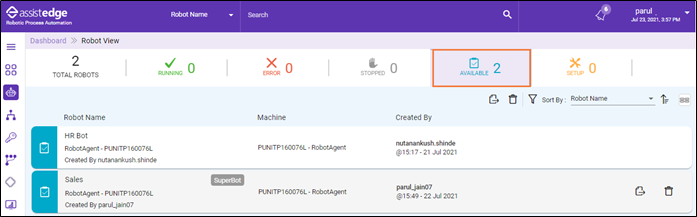
NOTE: |
Robot which is marked as Superbot can only be assigned to a user with role having <super_admin> access. |
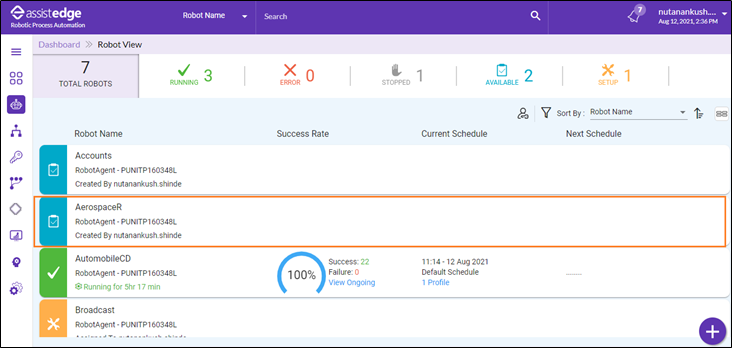
Once the robots are assigned to the users then, robots move to the Setup Robots List.