Java Applications
This activity allows you to automate the actions performed on the Java application such as testing Java applications or performing operations on the UI.
The supported files types are - JAR, JNLP (Java Network Launch Protocol) and Java Applet.
Prerequisites
- Install Java (JDK, v ) on the system where the automation process workflow needs to be created and where the automation would run.
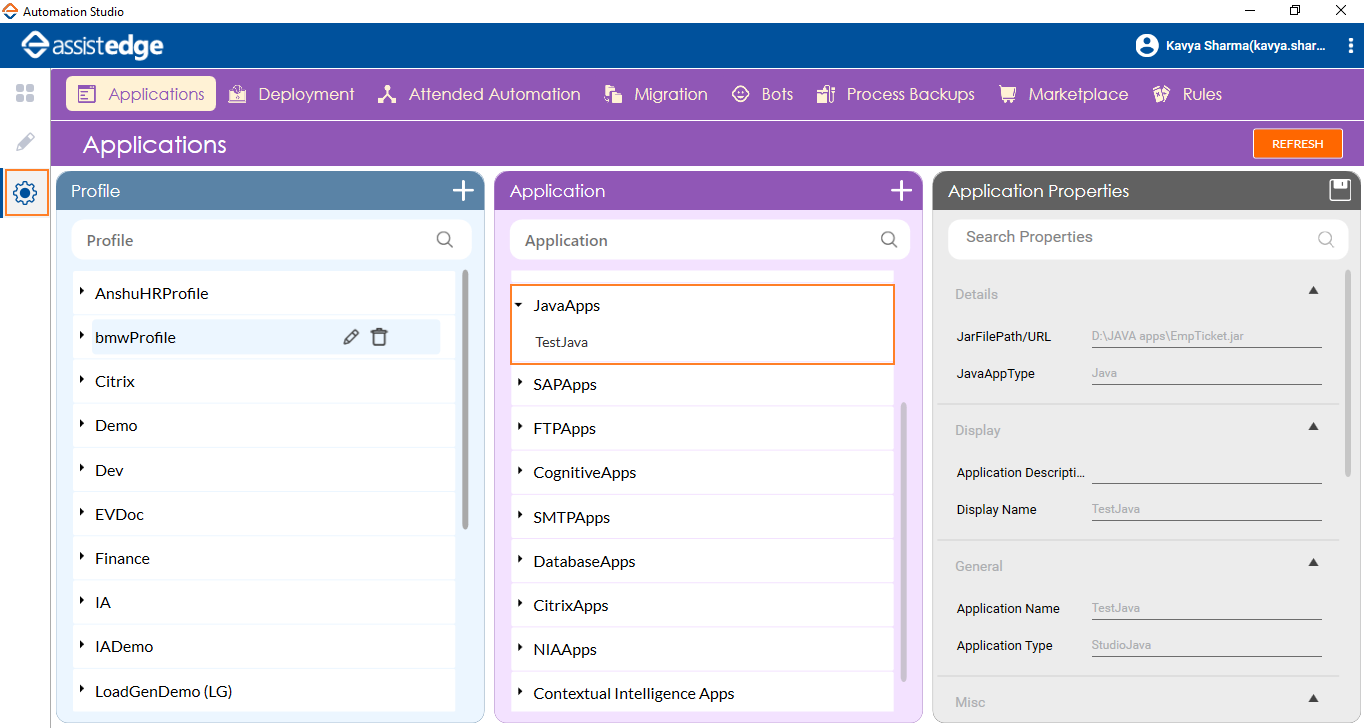
- Configure the required Java application in Automation Studio where you want to perform the automation. Below are the minimum required properties for configuring the intended Java application. If you want to define remaining properties, refer JavaApps section. To configure Java application with minimum required properties:
- In the Admin menu, add an application of Application Type - JavaApps.
- Browse and select the required .jar file.
- In the Application Properties panel:
- Enter the URL of the JNLP file/applet in the JarFilePath/URL field.
- Enter the time out duration of the application launch in the Launch Time Out (in secs) field, if the JavaAppType is JNLP Applications or Applet.
- In the Environment Type list, select the type of environment of the added Java application.
- Click the
 (Save Properties) icon to save the application.
The Java application is configured.
Using Java Application Activity
- In the Canvas Tools pane, click Process Components to expand the tool and view the associated activities.
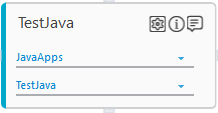
- Drag the Application activity and drop on to the Flowchart designer on the Canvas area. The validation error symbol disappears when required inputs are provided in the correct format.
- From the Application Type list, select JavaApps. You must have at least one application added for it to appears in the list.
- In the Select An Application list, select the configured Java application that you want to automate. Alternatively, you can add a new Java application at this point of time. To add a Java application:
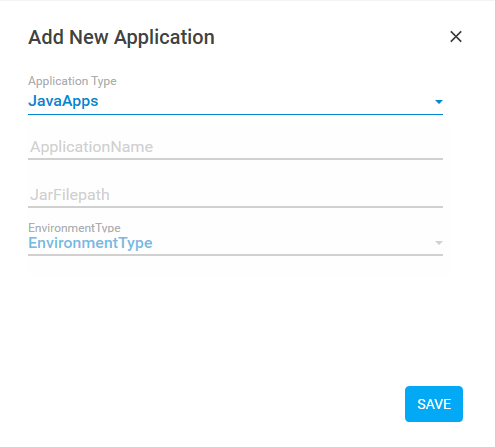
- In the Select An Application list, click Add New Application. The Add New Application dialog box appears.
- In the Select An Application list, click Add New Application. The Add New Application dialog box appears.
- In the Application Type field, select the required application type of the Java application you want to configure in Automation Studio. Available options are:
- JavaApps
- JavaApps - JNLP
- JavaApps - Applet
- In the ApplicationName field, enter a desired name of the Java application.
- If JavaApps is selected, enter the file path along with the file name and extension of the required JAR file in the JarFilePath field.
- If JavaApps - JNLP is selected, enter the URL of the JNLP file in the URL field.
- Enter the time out duration of the application launch of the JNLP file in the Launch Time Out(in secs) field.
- Enter the window title of the JNLP window in the Launch Window Caption field.
- If JavaApps - Applet is selected, enter the URL of the Java applet in the URL field.
- Enter the time out duration of the application launch of the Java applet in the Launch Time Out(in secs) field.
- In the Environment Type list, select the type of environment of the Java application. Available options are:
- EVENT_BASED
- WINDOW_CLASS_BASED
- Click SAVE. The web application is added.
- Click the
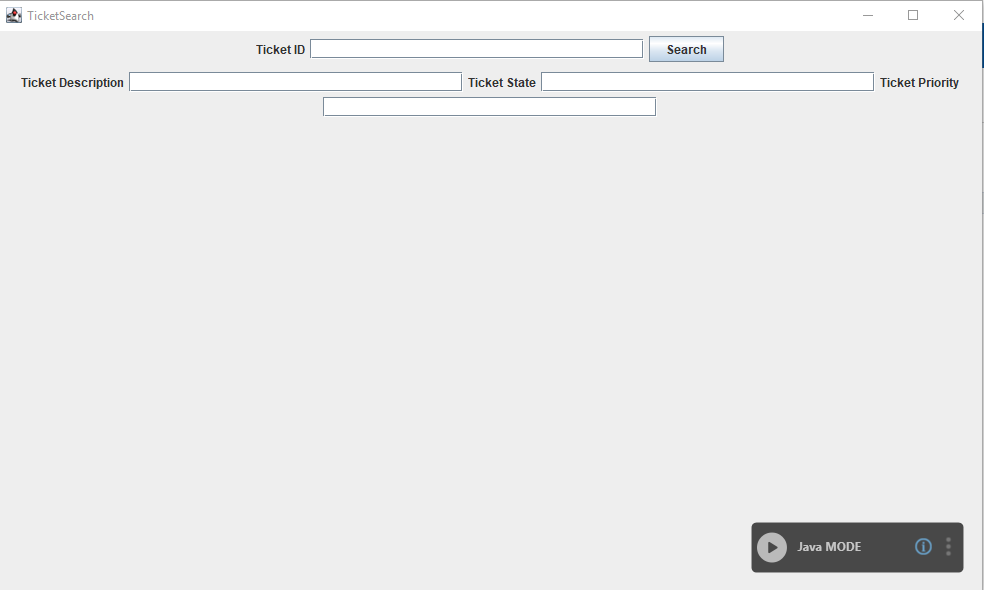
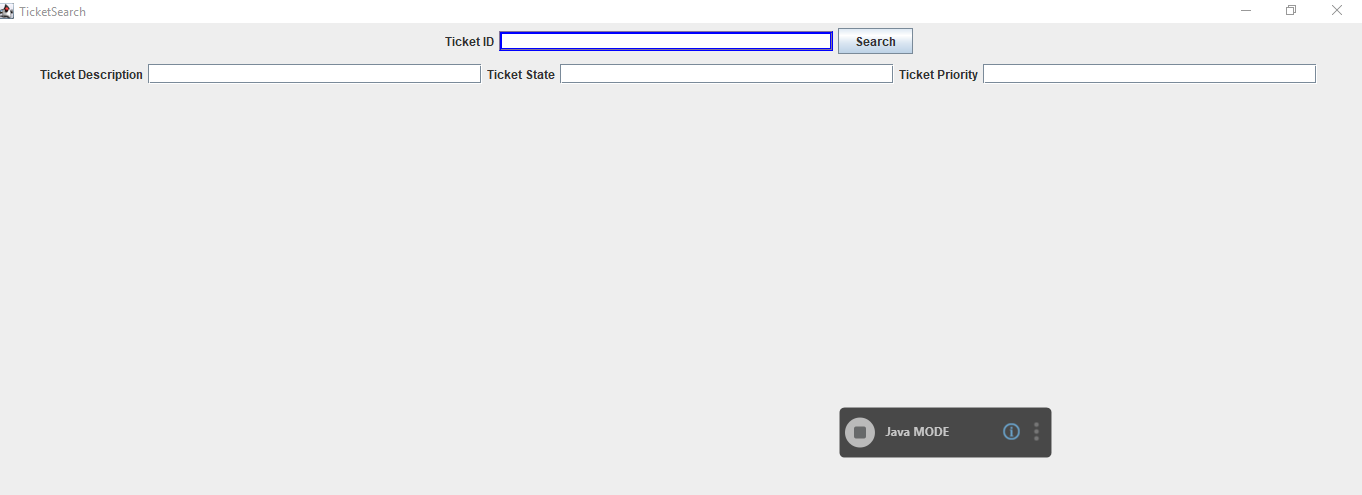
 (Settings) icon to launch the Java MODE interface. The configured Java application appears along with Java MODE interface.
- Click the
(Play) button to capture the steps that you want to perform within the Java application. The Play button changes to the
 (Recording) button.
 - Hover over the field that you want to capture. The field gets highlighted with the blue box.
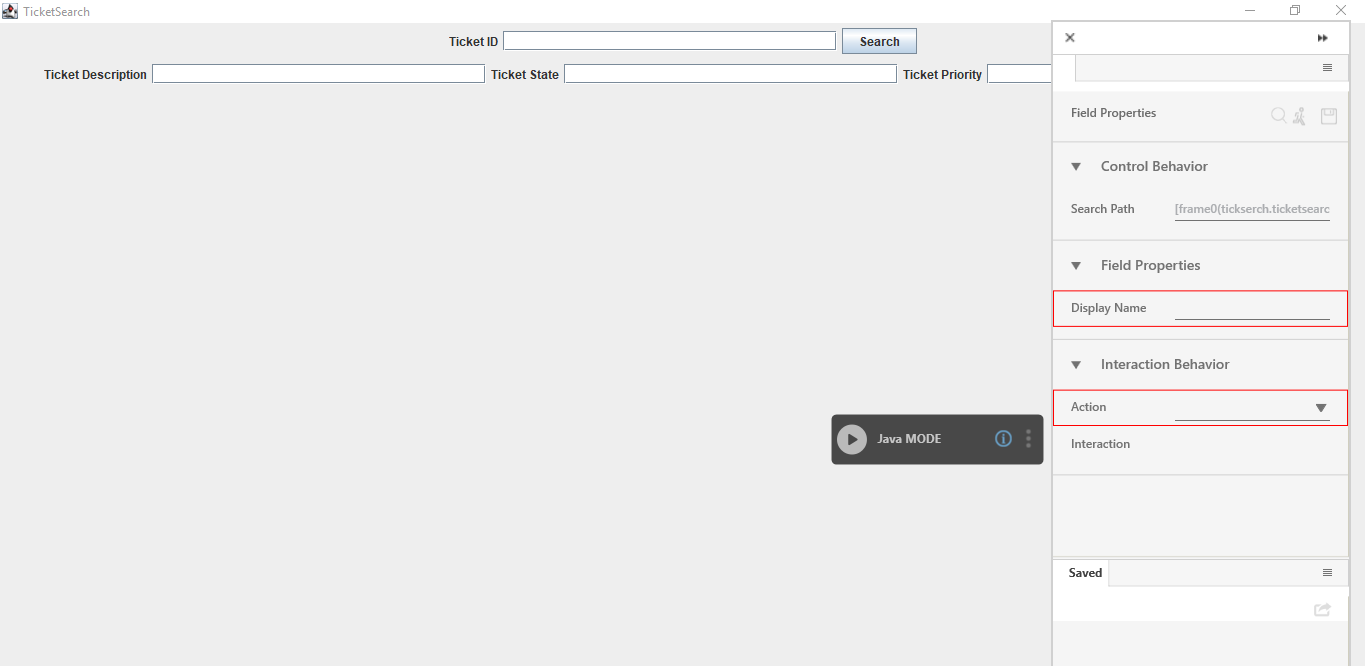
- Click the highlighted area. The Field Properties panel of the Java MODE appears. The fields that are mandatory are highlighted with red box.
- In the Action list, select the action that you want to perform on the captured area. Other mandatory fields change depending on your selection from the drop down list. Enter the required details. Refer Field Properties table to know more about the available fields and their respective properties.
- Click the
 (Save) icon to configure the fields.
 - Repeat steps 13 through 17 to capture all the steps involved in the process. The configured field is saved and starts appearing in the Saved pane of the Field Properties panel. You can edit or delete these steps in the Saved pane, if required.
- Click the
(Save configured field and return to studio) icon to save the field that you configured and return to the Studio menu.
The fields are configured and the Application activity for Application Type- JavaApps is created.
Java Mode Control Behavior and Field Descriptions
The properties of the JAVA MODE are listed in the following table:
|
Property Name |
Usage |
|
Control Behavior |
|
|
Search Path |
|
|
Interaction Behavior |
|
|
Action |
It is the action or the interaction that can be performed on a Java application depending on the type of UI element as per the requirement. Available options are:
|
|
Interaction |
The corresponding interaction set against the selected action. |
|
Appears if Action selected is Set Text, Set Key event Text, Insert JTextComp Text, Set Table Cell Value, Select Radio Button |
|
|
Text |
Allows user input as a text. You can select the parameter holding the required value defined in the Parameter bar. Alternatively, select the Is Default Value check box and specify the required text in the Text field to set the value as the default value. |
|
Appears if the Action selected is Insert JTextComp Text. |
|
|
Offset |
The distance between the target item and the anchor. |
|
Appears if Action selected is Get Table Cell Value, Set Table Cell Value. |
|
|
Column Number |
The column number that contains the required cell from the table. |
|
Row Number |
The row number that contains the required cell from the table. |
|
Dock Window This section appears only when Action selected is Dock. |
|
|
Dock Action |
When a link or button on the web page is opened in a new browser window, the Dock Action button enables the new window listed in the multimodal UI. You can select one of the windows in the multimodal UI to configure controls on the intended window. |
|
Appears if Action selected is Click, Perform ComboBox Select Value or Perform ComboBox Select ValueAt, CheckBox Click |
|
|
BlockingCall |
Indicates that the current thread is blocked until the operation is executed. If it is not handled it can the application or the system itself. |
|
Value |
Allows user input of the value of the combo box set. You can select the parameter holding the required value defined in the Parameter bar. Alternatively, select the Is Default Value check box and specify the required value in the Value field to set the value as the default value. |
|
Appears if Action selected is Perform Menu Item Click. |
|
|
Main Menu |
The main menu where the required item needs to be clicked. |
|
Sub Menu |
The sub menu where the required item needs to be clicked. |
|
Appears if the Action selected is Select ListItem. |
|
|
ItemIndices |
Index number of the selected item of the list. |
|
Appears if the Action selected is Perform Click At Offset. |
|
|
X Offset |
Vertical offset on the Java application. The value must be entered in pixels. |
|
Y Offset |
Horizontal offset on the Java application. The value must be entered in pixels. |
|
Appears if the Action selected is Click CheckBox Action. |
|
|
Field Properties |
|
|
Display Name |
User specified display name of the action configured. |
|
Appears if Action selected is Get Text, Get Table Cell Value, Get RadioButton Status. Get RadioButton Text, Get CheckBox Status. Get CheckBox Text, Is Exists, Is Enabled, Is Visible, Is Focused, |
|
|
Is C-View |
Is applicable only for AssistEdge Engage. If selected, the field configuration captured in Automation Studio is visible in the Engage C-View tab. |
|
Variable Name |
User defined name of the variable that stores the captured value. You can define the variable name here itself or predefine it in the Parameter bar. |
|
Variable Type |
Type of the variable defined. Available options are:
|
Java Application Properties
The properties of a web application are listed in the following table and can be edited in the Properties grid on the right pane.
|
Property Name |
Usage |
|
Control Execution |
|
|
Ignore Error |
When this option is set to Yes, the application ignores any error while executing the activity. If set to NA, it bypasses the exception (if any) to let the automation flow continue; however, it marks the automation status as failure, in case of an exception. By default, this option is set to No. |
|
Delay |
|
|
Wait After |
Specify the time delay that must occur after the activity is executed. The value must be in milliseconds. |
|
Wait Before |
Specify the time delay that must occur before the activity is executed. The value must be in milliseconds. |
|
Misc |
|
|
Breakpoint |
Select this option to mark this activity as the pause point while debugging the process. At this point, the process freezes during execution allowing you to examine if the process is functioning as expected. In large or complex processes, breakpoints help in identifying the error, if any. |
|
Commented |
Select this option to mark this activity as inactive in the entire process. When an activity is commented, it is ignored during the process execution. |
|
DisplayName |
The display name of the activity in the flowchart designer. By default, the name is set as the name of the selected application. You can change the name as required. |
