Step-By-Step Guide to Use Code Editor to Change the File Extension
Let's see an example of changing the file extension of a .txt file to .jpeg file using the Code Editor activity and print a message for successful change of the file extension.
To create the automation process:
1. Create a new process.
2. In the Parameter bar:
· Create an In argument, inputargname and define the file path of the .txt file.
· Create an Out argument, outputargname to store the display message.
3. From the Canvas Tools panel, add the Application activity and in the Application Type list, select WindowsApps.
4. In the Select An Application list, add a new windows application at this point of time. To add windows application:
a. In the Select An Application list, click Add New Application. The Add New Application dialog box appears.
b. In the Application Name field, enter a desired name of the windows application.
c. In the Path field, enter the notepad EXE file available on the system.
d. In the Additional Parameters field, enter the path of the file (along with its name) that you want to open within the application.
e. Click SAVE. The windows application is added.
5. Double click the Application activity, drag the Code Editor activity and drop inside the Application activity.
a. Click
the  (Settings)
icon and then click Add New CodeEditor.
The Script Editor
dialog box appears with the default template and the required
interface already added.
(Settings)
icon and then click Add New CodeEditor.
The Script Editor
dialog box appears with the default template and the required
interface already added.
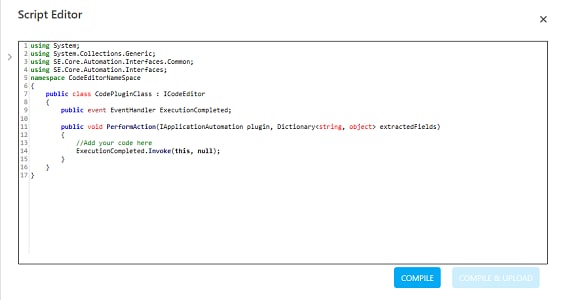
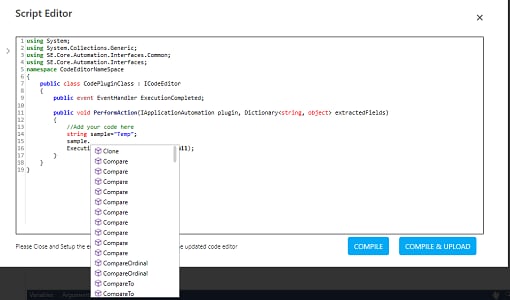
b. Write the required code under the PerformAction method. The in-built script editor provides expression building aid using the IntelliSense feature of Automation Studio.
c. After the code editor operations are completed, raise the ExecutionCompleted event
d. Click COMPILE to check for any compilation error in the code. Errors found are highlighted; else, the No Compilation Errors message is displayed. Close the displayed message.
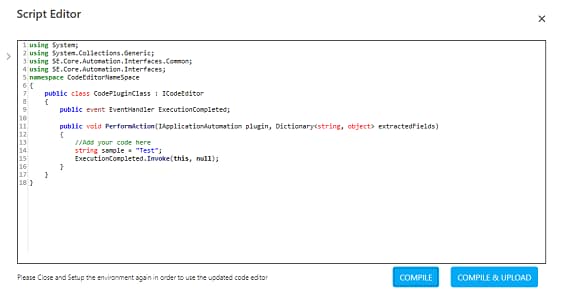
e. Click COMPILE & UPLOAD to upload and save the code editor DLL in the AssistEdge database. The Save Code Editor dialog box appears.
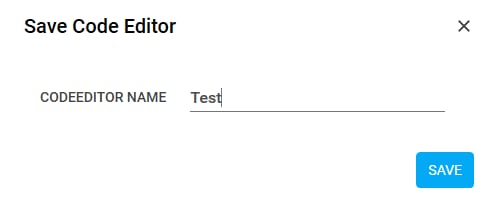
f. In the CODEEDITOR NAME field, enter a desired name of the code editor, and then click SAVE. The code editor is successfully uploaded and saved in the AssistEdge database.
6. Click
the (Settings)
icon, and then click Output Mapping.
The Output Parameters
dialog box appears. This lets you store the output of the code
editor DLL file (if any) in a parameter of the automation process
workflow.
a. Click Add to add a new row for mapping the required parameter to store the output.
b. In the Parameter drop down list, select the outputargname parameter you want to map with the corresponding output defined in the code editor DLL.
c. Click CONFIRM to save the mapping.
7. To view the output in Automation Studio, let's add WriteLine activity. You can publish, deploy and assign this process to a robot, if you want to execute the process outside Automation Studio.
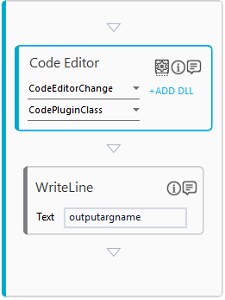
8. Add Writeline activity and in the Text field, enter the outputargname argument.
9. Save the process. Below is the sample automation process workflow:
10. Setup the environment and perform test run.
The Output console displays the specified message:
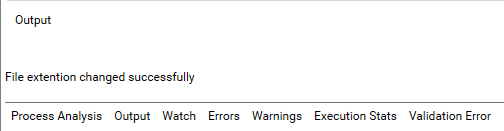
Related Topics