Step-By-Step Guide to Use File Search to Search for Files Modified During Last One Year With File Size Limit as 10KB
Let's see an example of searching Excel files modified during last one year whose file size limit is 10KB.
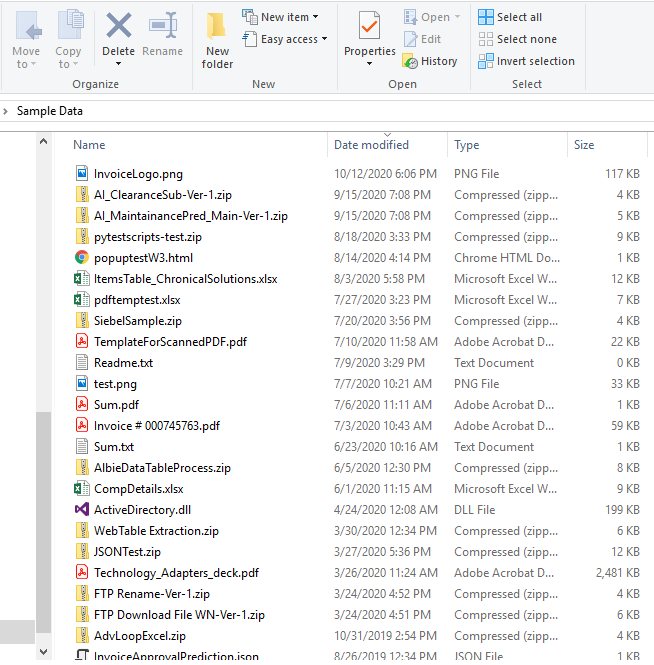
Below is the sample folder where we are looking for the required files that contains multiple files of different file format.
To search for the Excel files:
1. Create a new process.
2. In the Canvas Tools pane, click File to expand the tool and view the associated activities.
3. Drag the File Search activity and drop on to the Flowchart designer on the Canvas. The validation error symbol disappears when required inputs are provided.
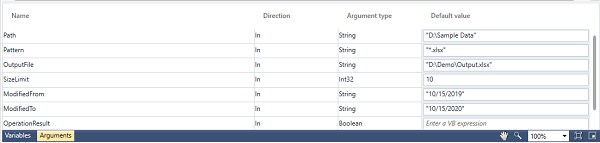
4. In the Parameter bar, create the following In arguments and define the required inputs:
· Path - to pass the folder path as input for performing the search within the folder.
· Pattern - to pass the file format as input for selecting the required files.
· OutputFile - to define the folder path along with the excel file name and file extension to store the list of searched files.
· SizeLimit - to pass the upper limit of the files as input for the files to be searched.
· ModifiedFrom - to pass the from date of file modification as input.
· ModifiedTo - to pass the to date of file modification as input.
· OperationResult - to store the result of the file search operation performed.
5. In the Search Path list, select the Path argument created above.
6. In the Search Pattern list, select the Pattern argument created above.
7. In the Output Excel File Path list, select the OutputFile argument created above.
8. In the Recursive Search list, select true to search for the required file in the sub directories or sub folders of the source path.
9. Click Advanced Search to expand and set the advance search options.
10. In the File Size limit in KB list, select SizeLimit argument created above.
11. In the Modified From Date list and Modified To Date list, select the ModifiedFrom and ModifiedTo arguments respectively for searching the files modified in the specified date range.
12. Click the Result Mapping link. The Output Mapping list appears. Select the OperationResult parameter.
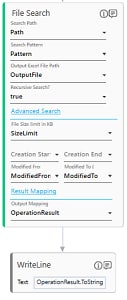
To view the output in Automation Studio, let's add WriteLine activity. You can publish, deploy and assign this process to a robot if you want to execute the process outside Automation Studio.
13. Add a WriteLine activity and in the Text field, enter the OperationResult argument created above to store the result of search operation performed. Below is the sample automation process workflow created:
14. Save the process.
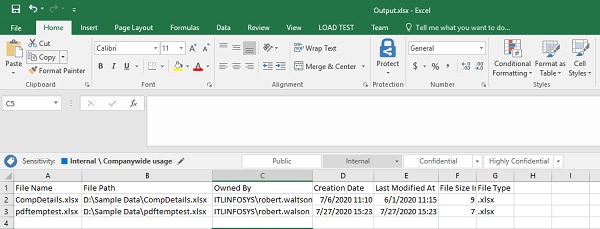
15. Setup the environment and then perform test run. Below is the sample screen shot of the excel file that stores the list of searched files:
The Output console of Automation Studio displays the file search operation result:
Related Topics