Step-By-Step Guide to Use Trigger to Execute the Automation Process
Let's create an example to create trigger for the robot to execute the automation request of the automation process workflow, TriggerDemo and view the status of the TriggerDemo process from the JSON output of the robot. TriggerDemo is an automation process workflow published under Demo profile and is designed to write text, This is a demo for Trigger Activity on a notepad file.
You must create robot in the Control Tower for the automation process workflow whose trigger needs to be created and the robot must be in the Start state.
- Create a new Load Generator Process.
- In the Parameter bar, create an In argument, TriggerInput and in the Default Value field enter the text This is demo for Trigger Activity. Create an Out argument, ListenerOuptut to store the AssistEdge Listener API output.

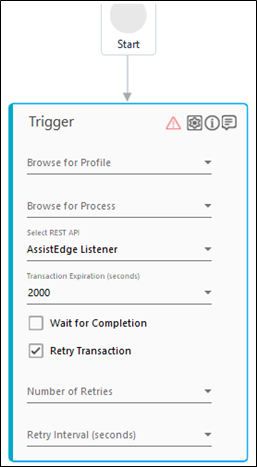
- From the Canvas Tools panel, add the Trigger Activity to the Flowchart designer on the Canvas.
- In the Browse for Profile list, select the profile to which the required automation process workflow is mapped.
- In the Browse for Process list, select the automation process workflow created to enter a text on the notepad.
- In the Select REST API list, select the added AssistEdge Listener API to which the automation requests must be sent.
- In the Transaction Expiration (seconds) list, enter 2000 as the expiry time of the automation requests specified in seconds.
- Click the
 (Settings) icon, and then click Input Mapping to align the parameters of the TriggerDemo automation process workflow with the parameter of the Trigger activity Load Generator process workflow. The Process's Arguments Mapping dialog box appears.
 - In the Map to Parent list, select TriggerInput argument created above.
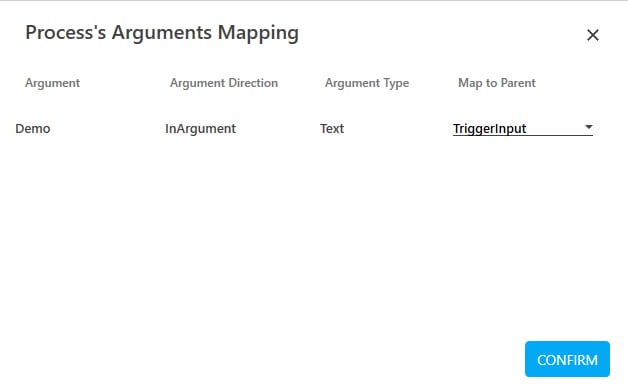
- Click CONFIRM. You are directed back to the Trigger activity on the Canvas.
- Click the (Settings) icon, and then click Output Mapping. The Output Parameters dialog box appears.
- Click Add to align the JSON output received from the AssistEdge Listener API.
- Click the
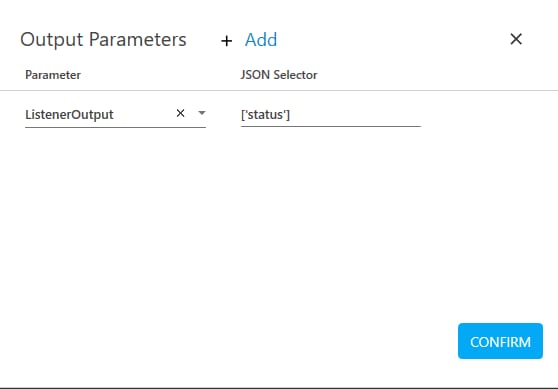
- In the Parameter column, click Select or Add, and then select TriggerOutput argument created above.
- In the JSON Selector field, enter the JSON query, ['status'].
- Click CONFIRM to save the mapping.
To view the JSON output in Automation Studio, let's add WriteLine activity. You can assign this process to a robot if you want to execute this process outside Automation Studio.
- Add a WriteLine activity below the JSON Activity and in the Text field, enter outputstring to print the book details retrieved.
- Add another WriteLine activity below the Trigger Activity and in the Text field, enter ListenerOutput to print the JSON output from the AssistEdge Listener in the Output console of automation Studio.
- Save the process.
- Click Test Run.
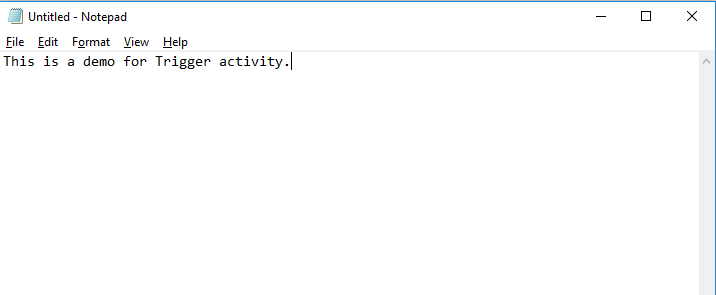
The notepad file opens and the text "This is a demo for Trigger activity." is automatically written on the opened file, as shown below:
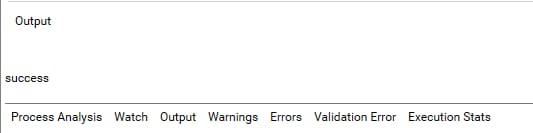
The Output console of the Automation Studio displays the JSON output from the AssistEdge Listener API, as shown below: