Discover
Discover tab displays the raw transactional data of the configured index patterns in the form of documents.
You can do following:
- Access the documents using the index pattern
- Search the required data and also filter the data
- Enables you to understand the field-level details about the document
- View available fields of an index pattern
- Expand your time range
For more information about Discover, see Kibana website.
Accessing the Discover page
To access the discover page:
- Navigate to Reports tab > Discover.
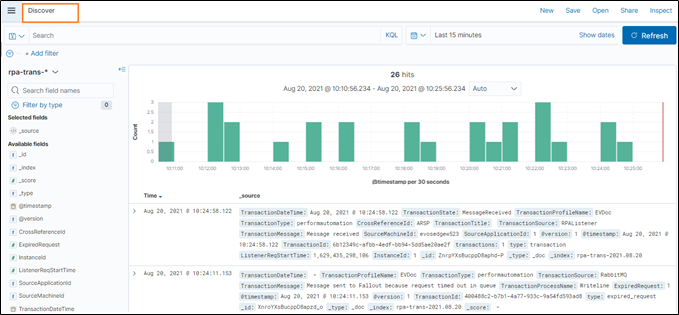
The Discover page is displayed, and it shows information such as Time and _source. This page shows the default index pattern mainly rpa-trans-* and selected fields according to which the data is displayed in the right panel. You can view the data as per your preference by selecting the required fields from the list.
- Go to Available Fields, select the field which you want to add and click the
 (Add) icon. For example, in following page @version, CrossReferenceId, and TransactionId is added.
- Available field list the fields covered in AE RPA index pattern such as ExpiredRequest, InstanceId, ListenerReqStartTime and so on.
- The selected fields appear in the Selected fields and the result is displayed accordingly on the page.

- Click Save to save the data and view it later.
Add a filter
By adding filters, you can narrow your search results to a more manageable data set. When you click on a name in the field list, you can see values for the selected field. For more information, see how to set a filter by fields.
Expand your time range
By default, discover shows data for the last 15 minutes. If you have a time-based index, and no data displays, you might need to increase the time range. Using the time filter in the upper right corner, you can change the time range as per your preference. For more information, see Expand your time range.