Step-By-Step Guide to Use Virus Scan to Invoke Existing Antivirus on the System to Automatically Scan a Folder
Let's see an example to invoke existing antivirus on the system to automatically scan a required folder.
Prerequisite:
Make sure the VirusScanProps.xml configuration file is present in the Automation Studio > bin folder, else the process would not work.
To scan the required folder:
- In the Canvas Tools pane, click File to expand the tool and view the associated activities.
- Drag the Virus Scan activity and drop on to the Flowchart designer on the Canvas.
- In the Parameter bar, create an In argument, FolderPath of String type to pass the folder path of the required folder where the virus scan must be performed. Define the input value.
- In the Parameter bar, create an In argument, OperationResult of Boolean type to store the result of the operation performed.

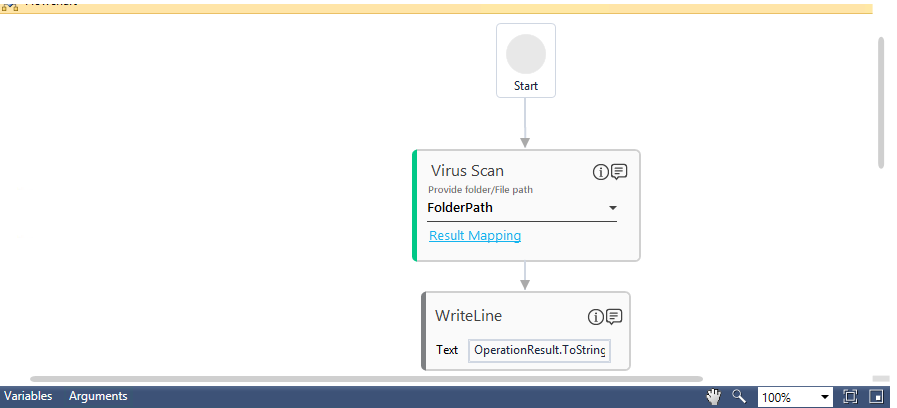
- In the Provide folder/File path list, select the FolderPath argument created above.
- Click the Result Mapping link. The Output Mapping list appears. Select the OperationResult argument created above.
To view the output in Automation Studio, let's add WriteLine activity. You can publish, deploy and assign this process to a robot if you want to execute the process outside Automation Studio.
- Add a WriteLine activity and in the Text field, enter the OperationResult argument created above to store the result of search operation performed. Below is the sample automation process workflow created:
- Save the process.
- Setup the environment and then perform test run. Below is the sample screen shot of the command line invoking the virus scan and the virus scan performing the scan displaying the related details:

The Output console of Automation Studio displays the virus scan operation result:
