Step-By-Step Guide to Use File Merger to Merge Different Excel Files
Let's see an example of merging two Excel files with different kind of data and see how the merged files looks like.
To merge two Excel files:
- In the Canvas Tools pane, click File to expand the tool and view the associated activities.
- Drag the File Merger activity and drop on to the Flowchart designer on the Canvas.
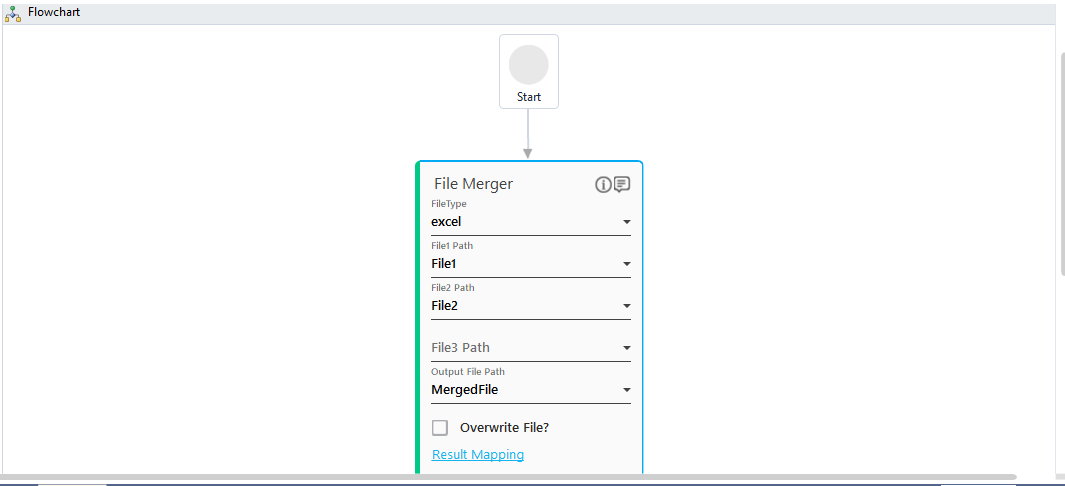
- In the Parameter bar, create In arguments of type String and define the input values:
- File1 - to pass the file path of the first file along with the file name and file extension as input.
- File2 - to pass the file path of the second file along with the file name and file extension as input.
- MergedFile - to store the merged file. Define the destination folder and the file name along with the file extension to save the merged file with the specified name.

- In the FileType list, select excel.
- In the File1 Path, select the File1 argument created above.
- In the File2 Path, select the File2 argument created above.
- In the Output File Path list, select the MergedFile argument created above. Below is the sample automation process workflow created:
- Save the process.
- Setup the environment and then perform test run. You can publish, deploy and assign this process to a robot if you want to execute the process outside Automation Studio.
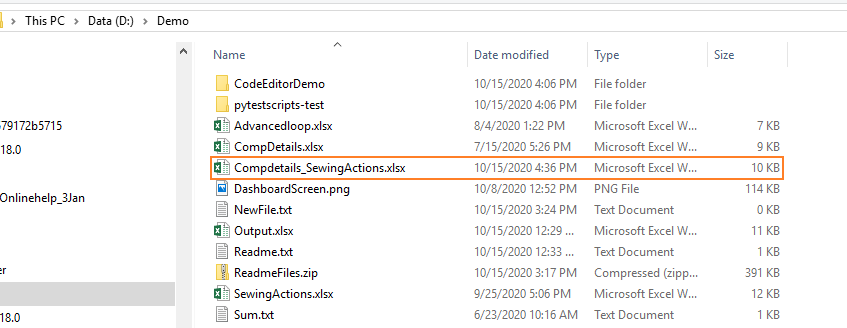
Observe that an Excel file, MergedFile.xlsx gets created at the specified location:
The files merged files contains two different sheets corresponding to each of the Excel file:
