Step-By-Step Guide to Use Outlook Mail to Automate Sending Email From an Outlook Account
Let's create an example to automate sending e-mail from an Outlook account to an external recipient.
To automate sending an e-mail:
- Create a new process.
- From the Canvas Tools panel, add the Outlook E-Mail activity to the Flowchart designer on the Canvas.
- In the Parameter bar, create In arguments:
- ProName - to store the profile name of the Outlook application
- From - to store the e-mail Id of the sender
- SendTo - to store the e-mail Id of the recipient
- Subject - to store the subject line of the e-mail
- Body - to store the body content of the e-mail
- In the Parameter bar, create Out argument, Output to store the return value of the success or failure of the operation.
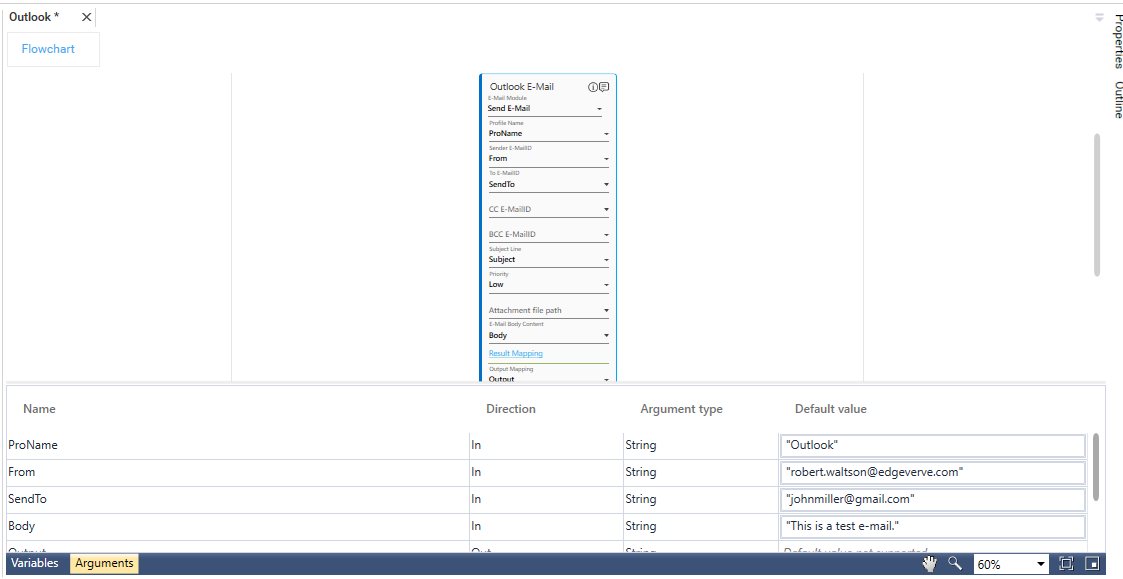
- In the Profile Name list, select the ProName argument, created above.
- In the Sender E-MailID list, select the From argument, created above.
- In the To E-MailID list, select the SendTo argument, created above.
- In the Subject Line list, select the Subject argument, created above.
- In the E-Mail Body Content list, select the Body argument, created above.
- Click Result Mapping link. The Output Mapping list appears. Select Output argument, created above.
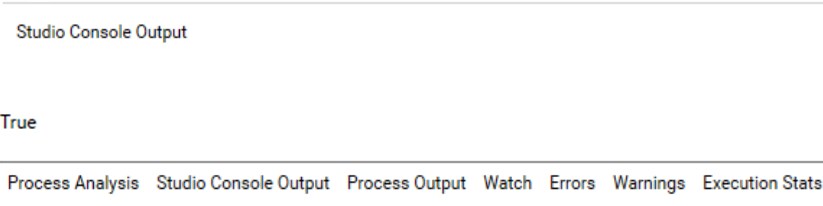
To view the output in Automation Studio , let's add WriteLine activity that returns True, if the e-mail sending is successful. You can assign this process to a robot, if you want to execute this process outside Automation Studio.
- Add a WriteLine activity and in the Text field enter the Output argument, created above.
- Save the process.
- Setup the environment and then perform test run.
The Output console displays True that signifies that the e-mail is sent successfully.
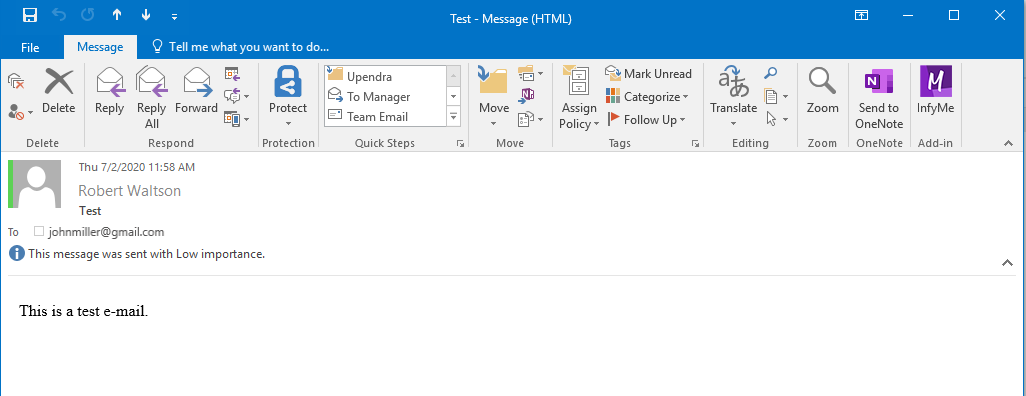
Below is a sample e-mail sent from Outlook application:
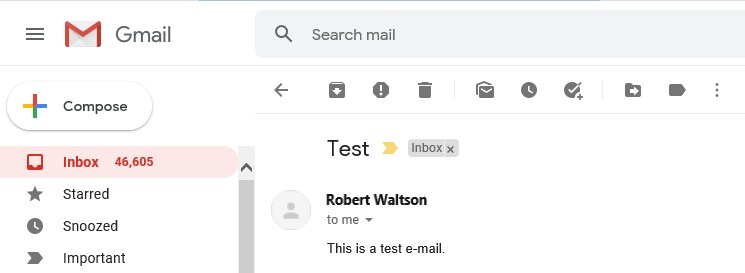
Below is the sample e-mail received on Gmail application: